Stained Glass Cookies are a fun way to jazz up cut-out sugar cookies! Made with your favorite hard candies, these cookies are as fun to make as they are to eat.
The first time I made Stained Glass Cookies was the Christmas I was in 6th grade.
We were moving from Indiana to Illinois and just so happened to be moving the week before Christmas. Not exactly fun stuff for a moody 6th grade girl, so my parents wisely shipped me off to my grandmother’s house for the week.
I was admittedly pretty miserable about the fact that we were moving 3 hours away from all of my friends – although, to be fair, are 6th grade girls ever not miserable about all the things?
In an attempt to cheer me up, my grandmother came up with all sorts of activities to keep my cousins and me occupied, including baking Christmas cookies.
Now, my grandmother has never been one to cook. Her idea of a lot of steps when it comes to cooking is turning the oven on and back off again. So baking cookies with her always meant getting slice-and-bake cookies or rolling and cutting out pre-made sugar cookie dough.
(For the record, the lack of homemade cookie dough at her house never mattered to me. I had just as much fun cutting out and eating the cookies with my cousins as if we had made the dough from scratch.)
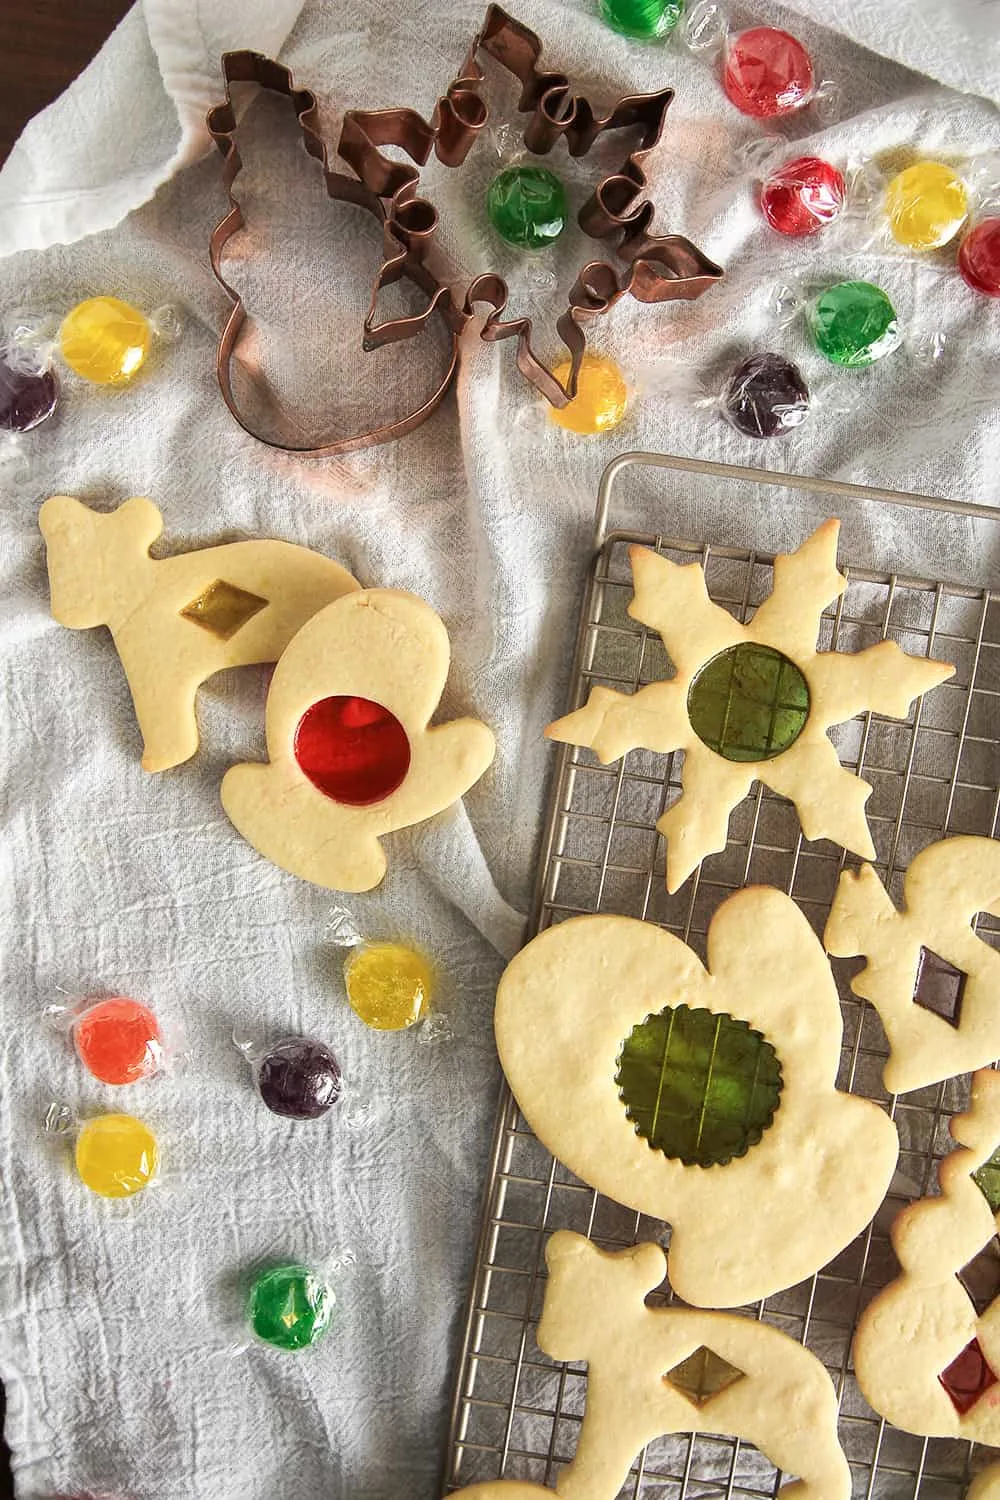
On this particular occasion, we cut out “windows” in our cookies and filled them with crushed hard candies to make pretty sugar designs in our cookies.
I honestly had not made them since until this weekend, but something made me want to get in the kitchen and make Stained Glass Cookies again, this time with some homemade dough.
STAINED GLASS COOKIES WITH HARD CANDY
Stained Glass Cookies are a ton of fun to make and really only require a few key things: sugar cookie dough, cookie cutters, and hard fruit-flavored candies.
Any hard candy will work for Stained Glass Cookies. I have used Jolly Ranchers and Life Savers in the past, but have also just used inexpensive hard candies as well.
Because you can use any hard candy you like, you can get really personalized with the color scheme if you want. Use red and green for Christmas, try blue and white for Hanukkah, or get creative with the colors for a birthday party or baby shower!
You could even sandwich the cookies together and add sprinkles inbetween for a “shaker” effect, like in star and moon shaker cookies.
I should also note that this method will work with peppermint candies as well, but of course they won’t result in a nice clear “glass” in the baked cookies.
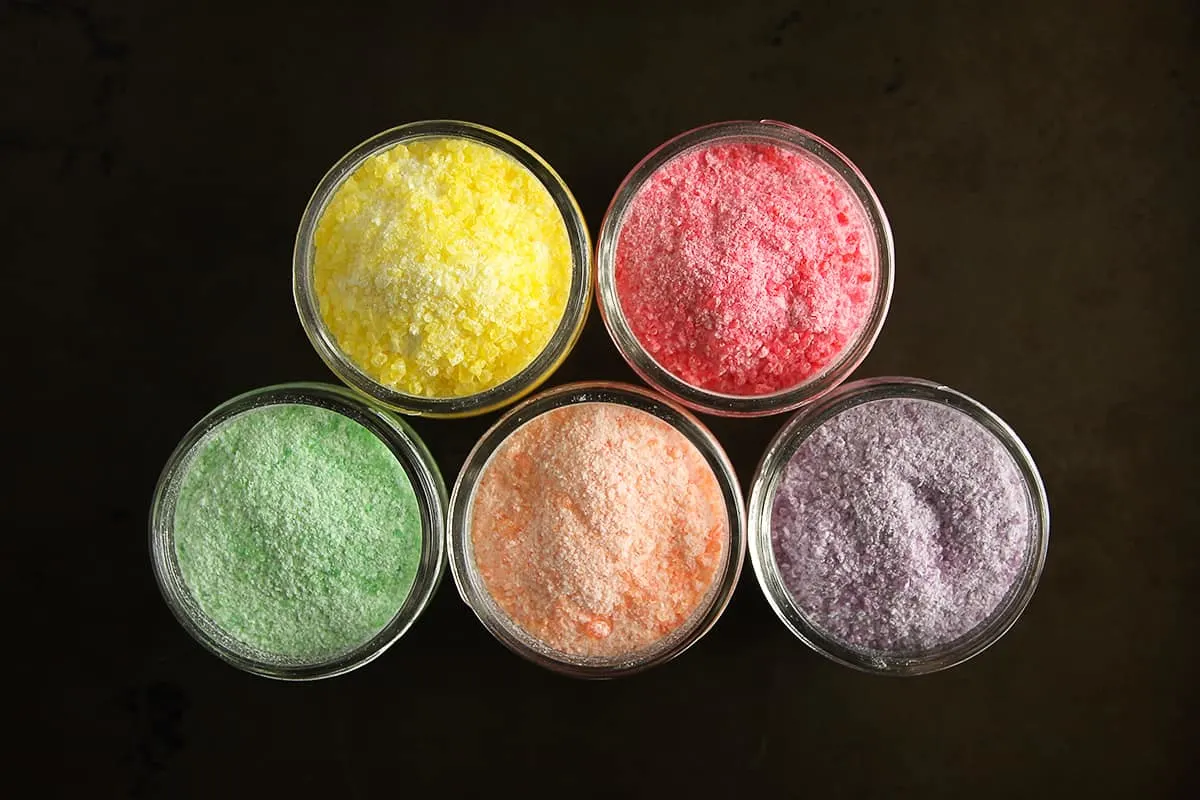
Before you make the cookies, pulverize the hard candies. I have a mini food processor that I use for this, but you could probably go to town with a mallet or rolling pin if you have a lot of angst to work out.
I just like the quick and easy food processor method, personally.
HOW DO YOU MAKE STAINED GLASS COOKIES?
One of the reasons I love making Stained Glass Cookies is because they look really pretty, but require almost zero artistic talent. This is especially wonderful for someone like me who is not so great at decorating cookies with royal icing, for example.
To make Stained Glass Cookies, start by rolling out your favorite sugar cookie dough.
I used my No-Chill Sugar Cookie dough for these, which I highly recommend. Stained Glass Cookies require a bit more handling and room-temperature time than regular cut-out cookies while you make the “windows,” so a dough that doesn’t need to stay cold is particularly helpful.
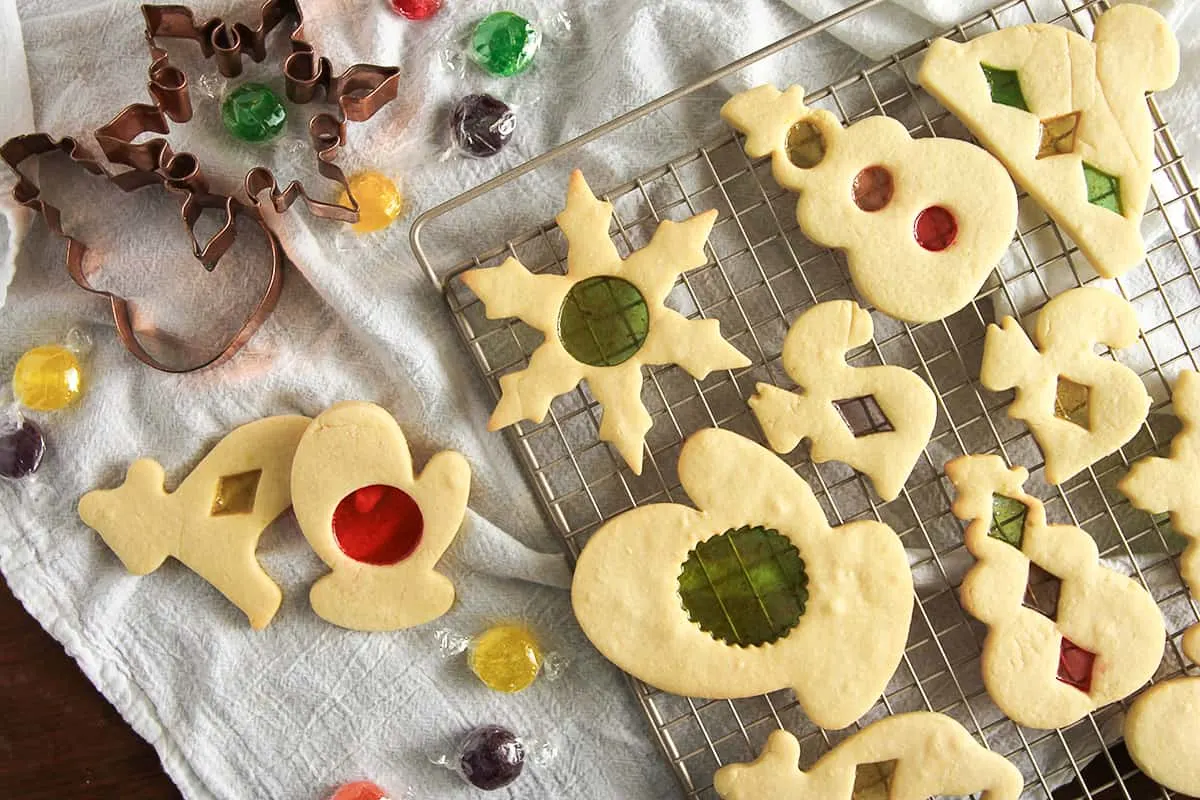
Roll out the dough to ⅛-inch to ¼-inch thick. Cut out your cookie shapes, and then use smaller cookie cutters or a paring knife to cut “windows” in the cookies.
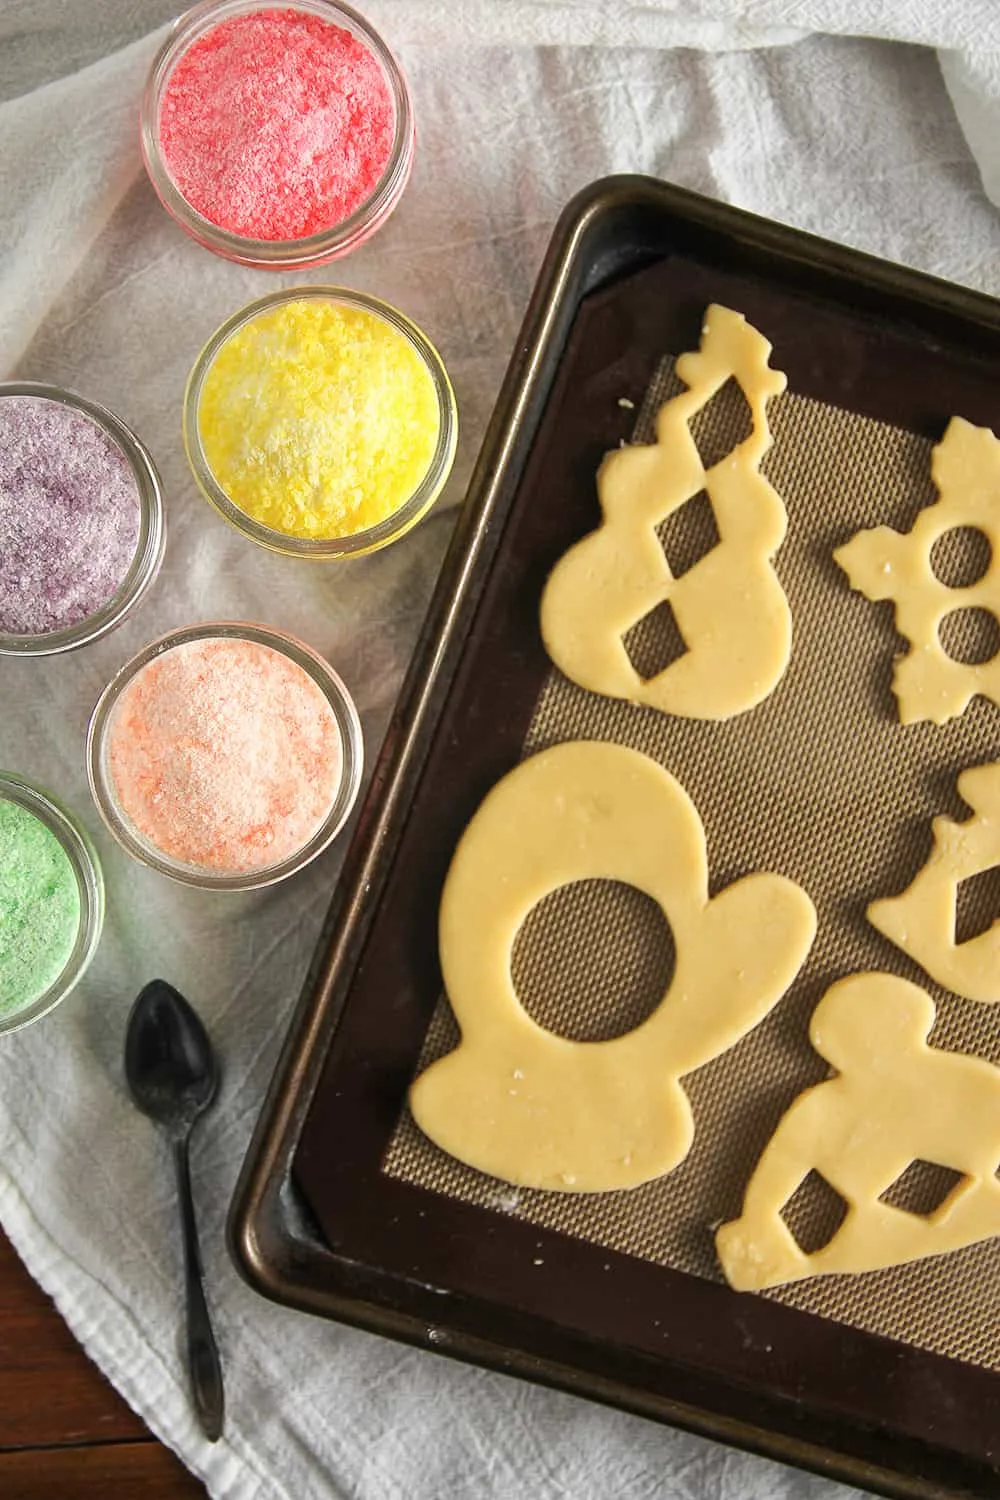
Place the cookies on a baking sheet lined with parchment paper or a silicone baking mat. This is super important, as otherwise the hard candy “glass” will stick to the baking sheet. And you really don’t want to go to this work only to have your Stained Glass Cookies welded to the pan!
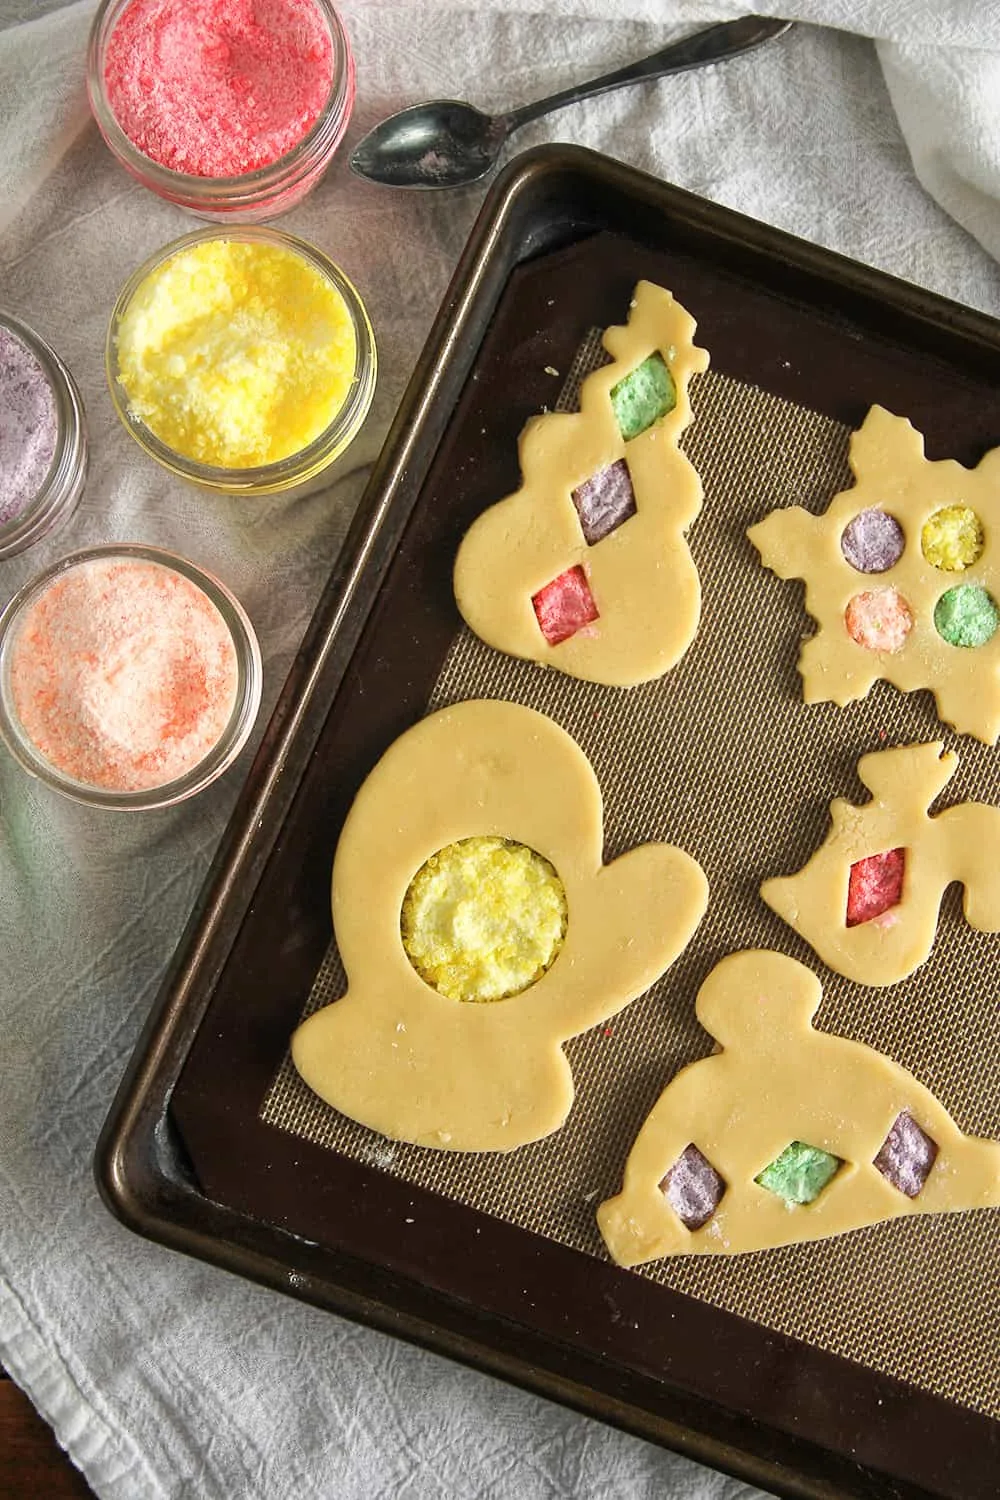
Once the cookies are on the baking sheet, use a small spoon to spoon the crushed candies into each window. You can use one color in each window or mix colors – it’s entirely up to you!
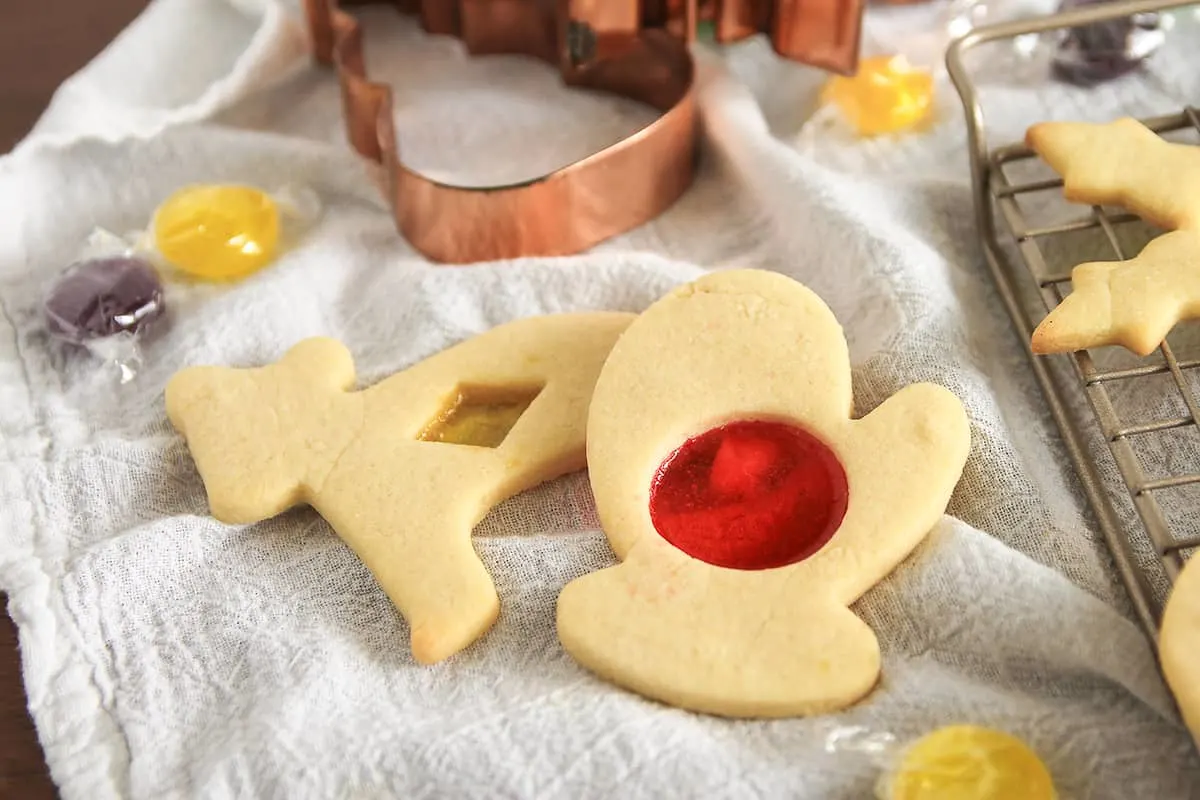
As the cookies bake, the candies will melt. Let the baked cookies cool for at least 5 minutes on the baking sheet while the candy hardens again. Once it does, voila! Stained Glass Cookies.
Your friends and family will be so impressed with these pretty cookies, they’ll barely want to eat them. But trust me, they taste as good as they look!
For another twist on my No-Chill Sugar Cookies, check out my Chai Sugar Cookies. Or for another easy but delicious holiday cookie, give Maureen’s Rice Krispie Cookies, Chocolate-Dipped Peppermint Meringue Cookies, No-Bake Avalanche Cookies or Christmas Lights Cookies a try!
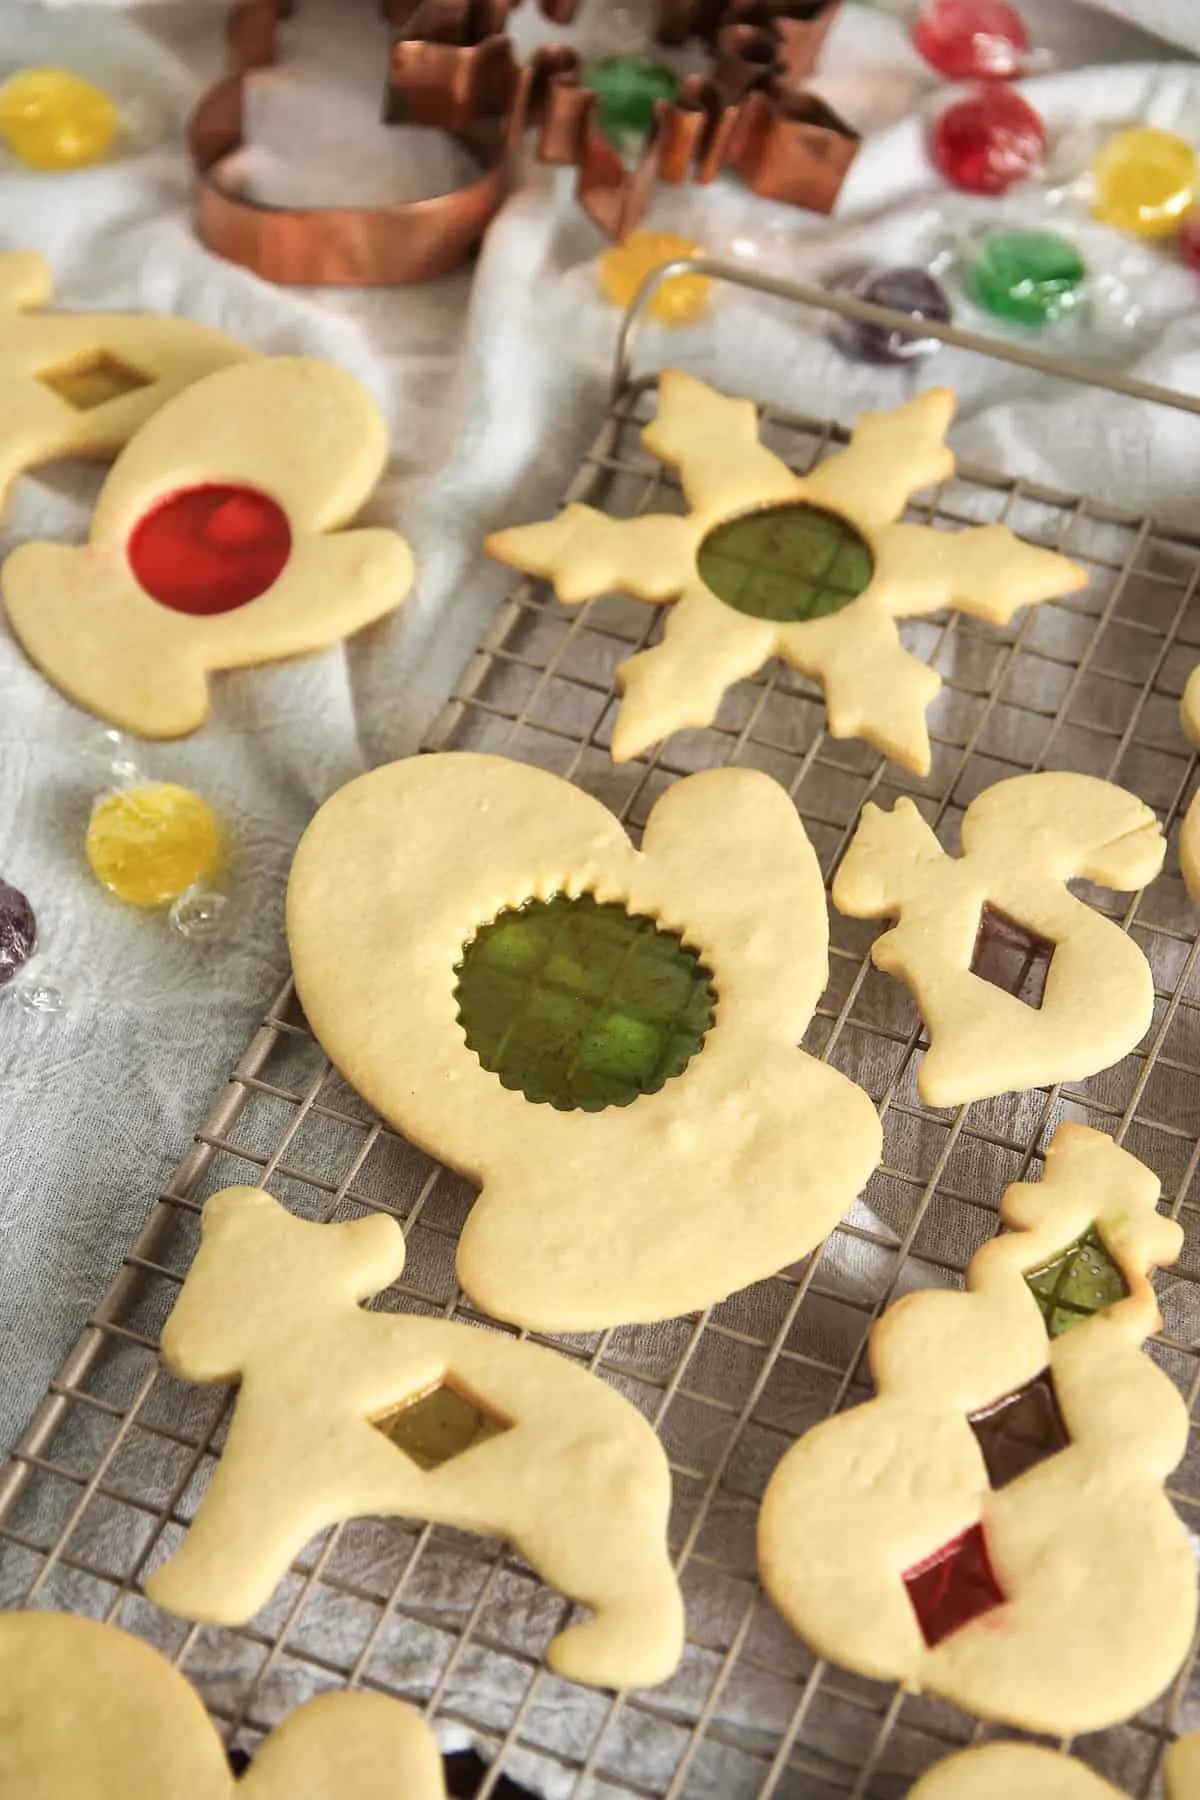
Stained Glass Cookies
Equipment
Ingredients
- 1 cup unsalted butter softened
- 1¼ cup sugar
- 2 eggs
- ½ teaspoon vanilla extract
- 1 teaspoon almond extract optional
- 3 1/2 cups flour
- fruit-flavored hard candies in assorted colors
Instructions
- Preheat oven to 375 degrees. Line cookie sheets with parchment paper or silicone baking mats. Set aside.
- Unwrap each hard candy and sort by color. Using a food processor, crush each color separately and place into individual small bowls. Set aside.
- In the bowl of a stand mixer, cream the butter and sugar together until light and fluffy. Add in the eggs, vanilla, and almond extract and beat until combined.
- Slowly add the flour, stirring just until combined. Turn dough out onto a lightly floured work surface and use your hands to form into a disk.
- Roll the dough to ⅛ to ¼-inch thick and cut with lightly floured cookie cutters. Use smaller cookie cutters or a paring knife to cut “windows” in each cookie shape. Place cookies on the prepared baking sheets.
- Use a small spoon to spoon the crushed candies into the windows of each cookie.
- Bake cookies for 10-12 minutes, or just until the edges barely start to turn golden.
- Allow cookies to cool on the baking sheets for a minimum of 5 minutes, or until the candy “glass” has set.” Remove from the baking sheets to a rack to finish cooling completely.

I don’t know why but I’ve never seen stained glass cookies before! They’re so pretty-I love them!