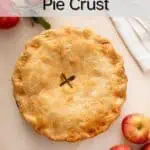
A mixture of half butter and half shortening, along with a splash of vinegar, make this homemade pie crust perfectly tender, flaky, and delicious.
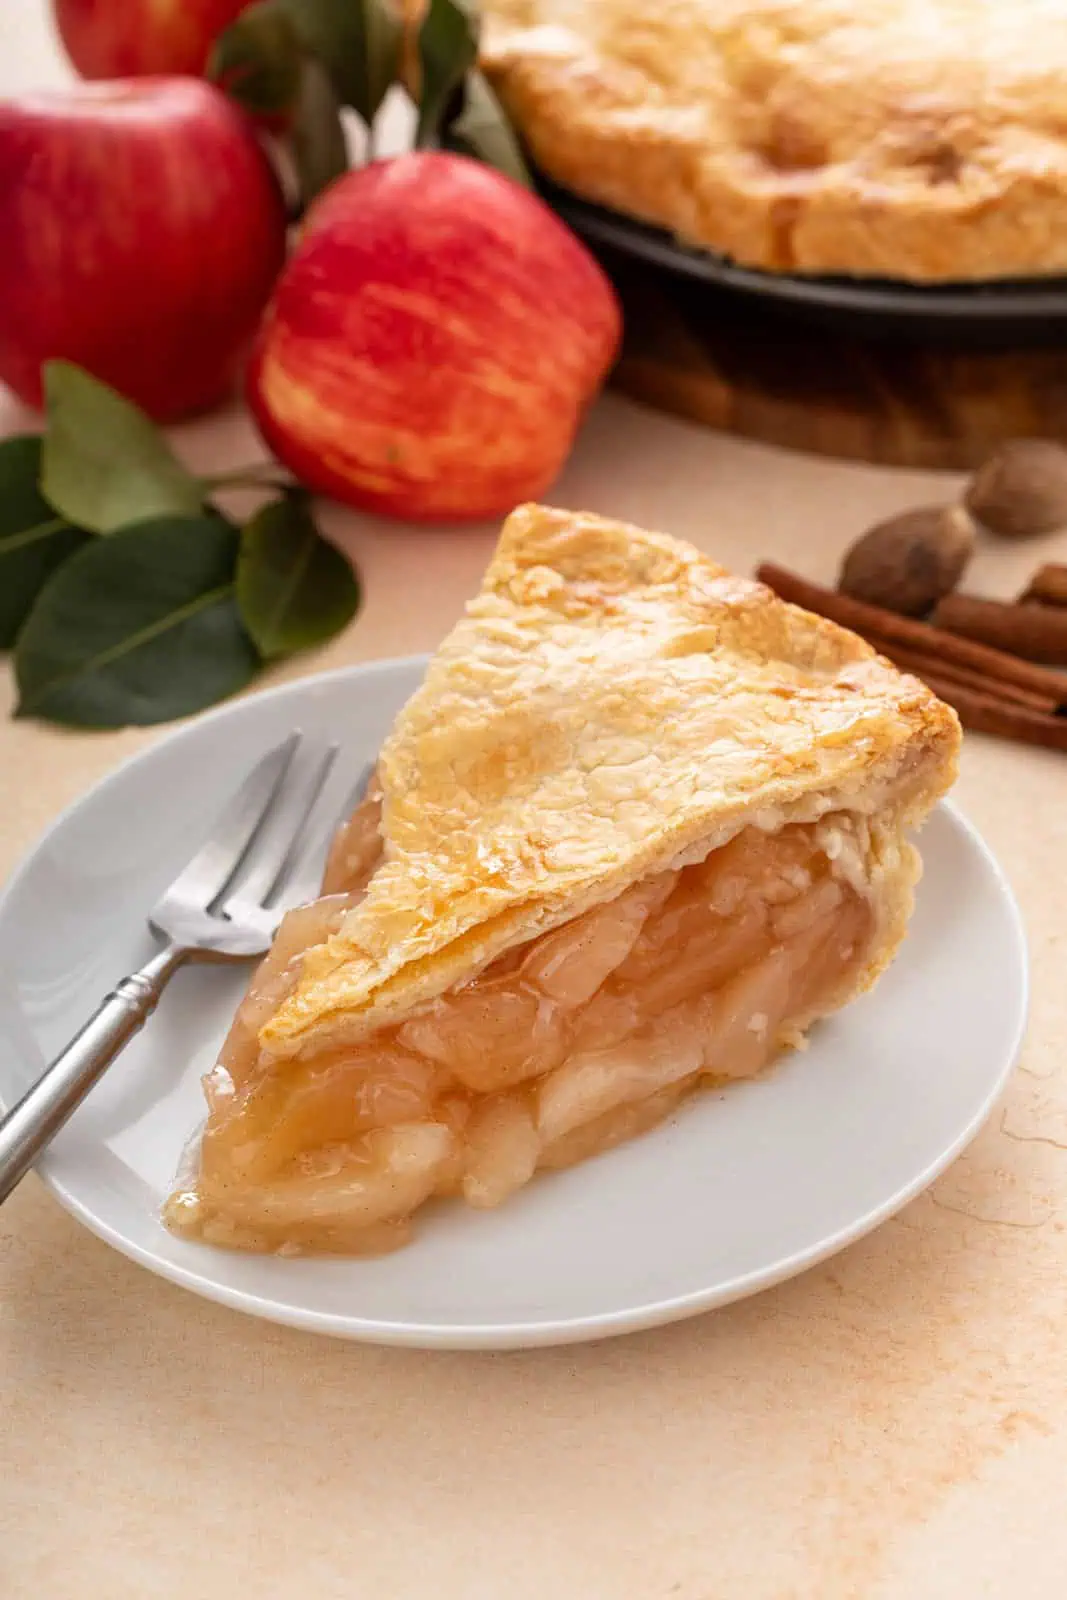
My family does not mess around with pies. In fact, pies are just about the universal favorite dessert for us.
There were a whole bunch of years that I requested my mom’s pecan raisin pie for my birthday in lieu of cake. She even made one for Alex and I to cut at our wedding.
One of the reasons my family has always been so fanatical about pie is because my mom was the Queen of Pie Crusts. I was spoiled from a young age with her homemade pie crusts – I was probably a teenager before I ever had a store-bought, refrigerated pie crust.
Lucky for me (and all of you), she taught me her secrets. I took those and tweaked her original crust recipe into this flaky and tender homemade pie crust recipe.
If you’re intimidated by the idea of making pie crust, hang in there. I’m going to walk you through the process so you can impress your friends and family with your new pie-crust skills.
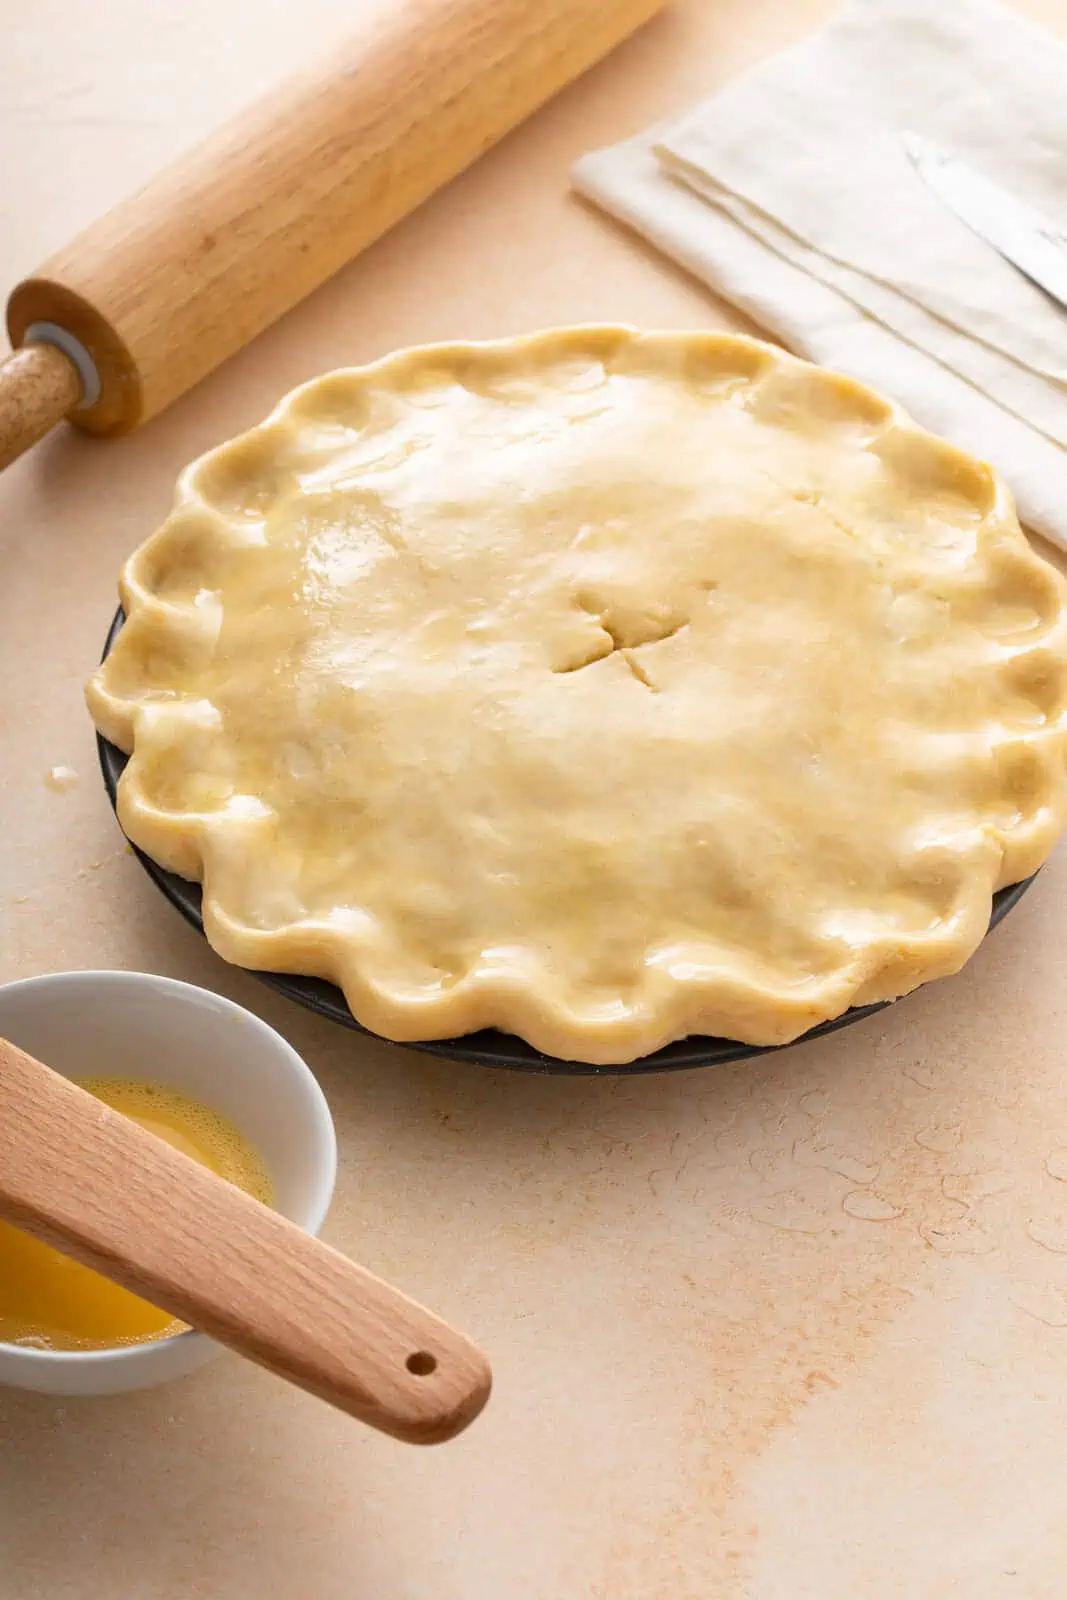
My favorite flaky and tender pie crust recipe
I know that a lot of folks grew up on and stand by all-butter pie crusts. I, on the other hand, grew up on all-shortening pie crusts.
These days, I fall squarely in the half-and-half camp.
Several years ago, because I’m an ultra nerd, I wrote an entire post on butter vs shortening in pie crust. But here’s the TL;DR version for you:
Because shortening is 100% fat, it makes pie crust tender. Because butter is about 20% water, it releases steam as it bakes, making pie crust flaky.
Use all shortening and you will have a much harder time achieving a flaky crust. Use all butter and your dough will be much trickier to work with.
In order to get a tender AND flaky crust that is not a pain to work with, I like to use half butter and half shortening in my pie crust.
This recipe also includes a tablespoon of white vinegar. In theory, vinegar helps prevent the formation of gluten as you mix the pie dough, helping keep your crust from getting tough.
I say “in theory” because some folks have debated if adding vinegar really does help or not. But Here’s what I know: It sure doesn’t hurt, so I still add it as insurance against slight over-mixing.
One more reason I love this recipe: you don’t have to chill the dough before rolling it out. You can, but it’s not strictly necessary. We’ll talk more about that in a minute, though!
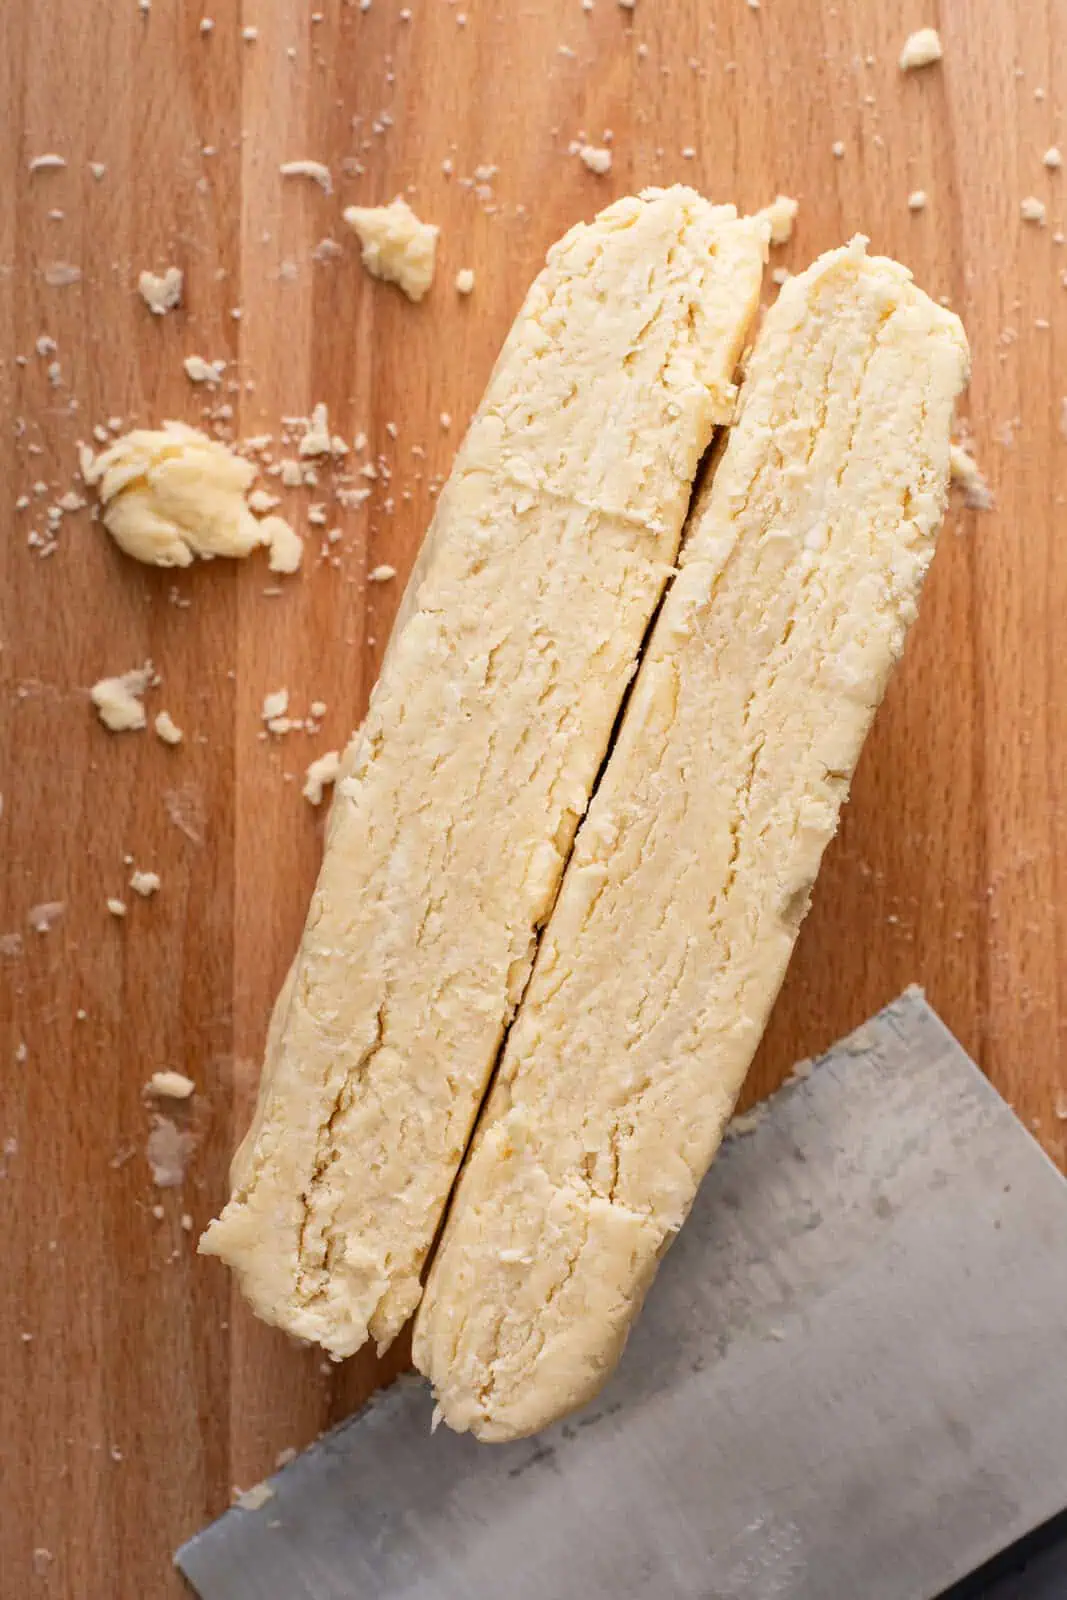
Tips for making the best homemade pie crust
Keep your ingredients cold: If you’ve ever worked with puff pastry, you know that it’s the butter in the dough melting in the oven and releasing steam that causes the dough to “puff” and form those flaky layers.
The same is true for pie crust! Keep your butter cold until it’s time to add it to the dough and make sure you are using ice water, not room-temperature or tepid water.
If you’re baking during the summer or if your kitchen is warm, you may want to also chill your bowl and shortening before mixing the pie dough.
Use a light hand when working with the dough: Over-mixing the pie dough will make your crust tough. Use a fork to mix the dough – this will bring it together without over-mixing it.
When you get ready to roll the dough out, knead it only a couple of times to bring it into a ball. Don’t worry if some of the edges are a bit shaggy; it’ll taste amazing even if it doesn’t look 100% perfect.
Remember that the weather affects the dough: When you’re making recipes like homemade yellow cake or maple walnut blondies, the recipe comes together the same way every time.
But with pie dough (and even a lot of yeast breads, such as Ukrainian Easter bread), the humidity can affect how much liquid the dough will need.
So even though this recipe calls for 7 tablespoons of ice water, keep in mind that you may need to add a bit more on really dry days. I’ll teach you what to look for to know if you need to add more water or not.
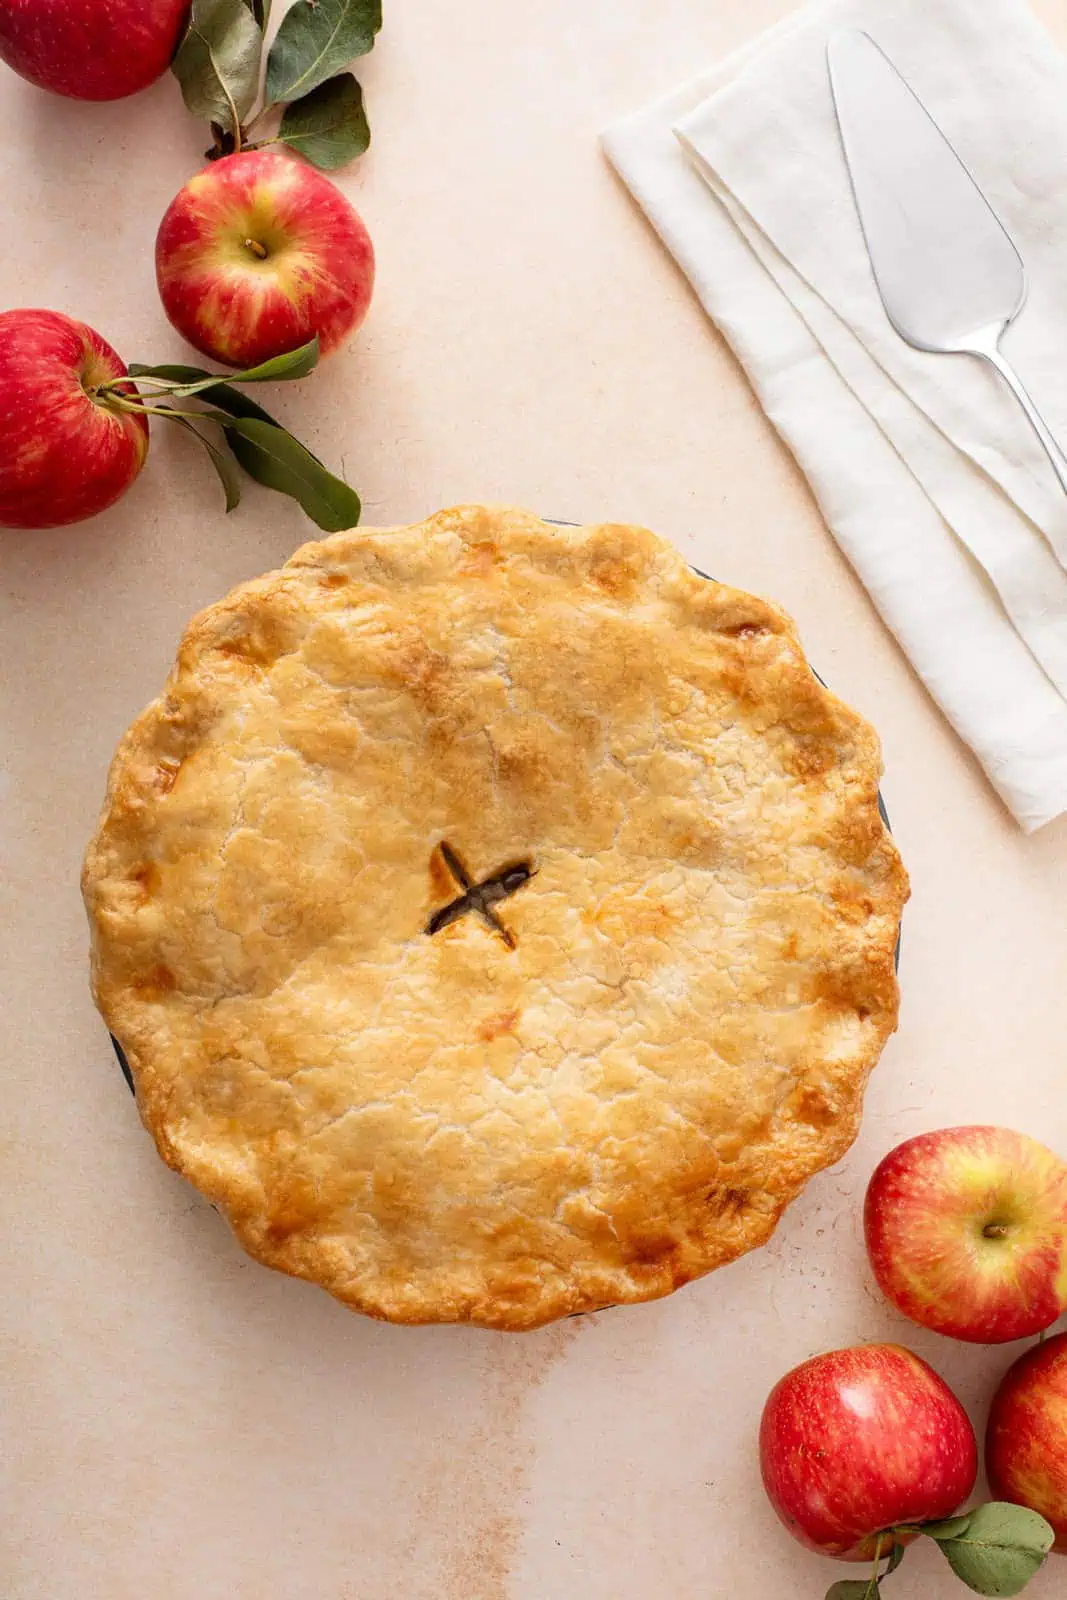
How to make homemade pie crust
Ok, let’s get down to the nitty-gritty of actually making your pie crust. Don’t be intimidated – I’m going to hold your hand through every step.
What you’ll need
The ingredients for your pie dough are very simple. For a 9- or 10-inch double-crust pie (or two single-crust pies), you will need:
- 3 cups all-purpose flour
- 1 teaspoon fine sea salt
- 1/2 cup shortening
- 1/2 cup cold unsalted butter, cut into pieces
- 1 tablespoon white vinegar (cider vinegar works fine, too)
- 7 tablespoons very cold ice water
All of this is stuff you probably have on hand. I always have these ingredients in my pantry, so I can whip up a pie crust at any time.
We are fine sea salt people in our house, although I grew up using regular table salt in my crust recipes. Just make sure to avoid coarse salt here – you want fine salt so it better disperses through the dough.
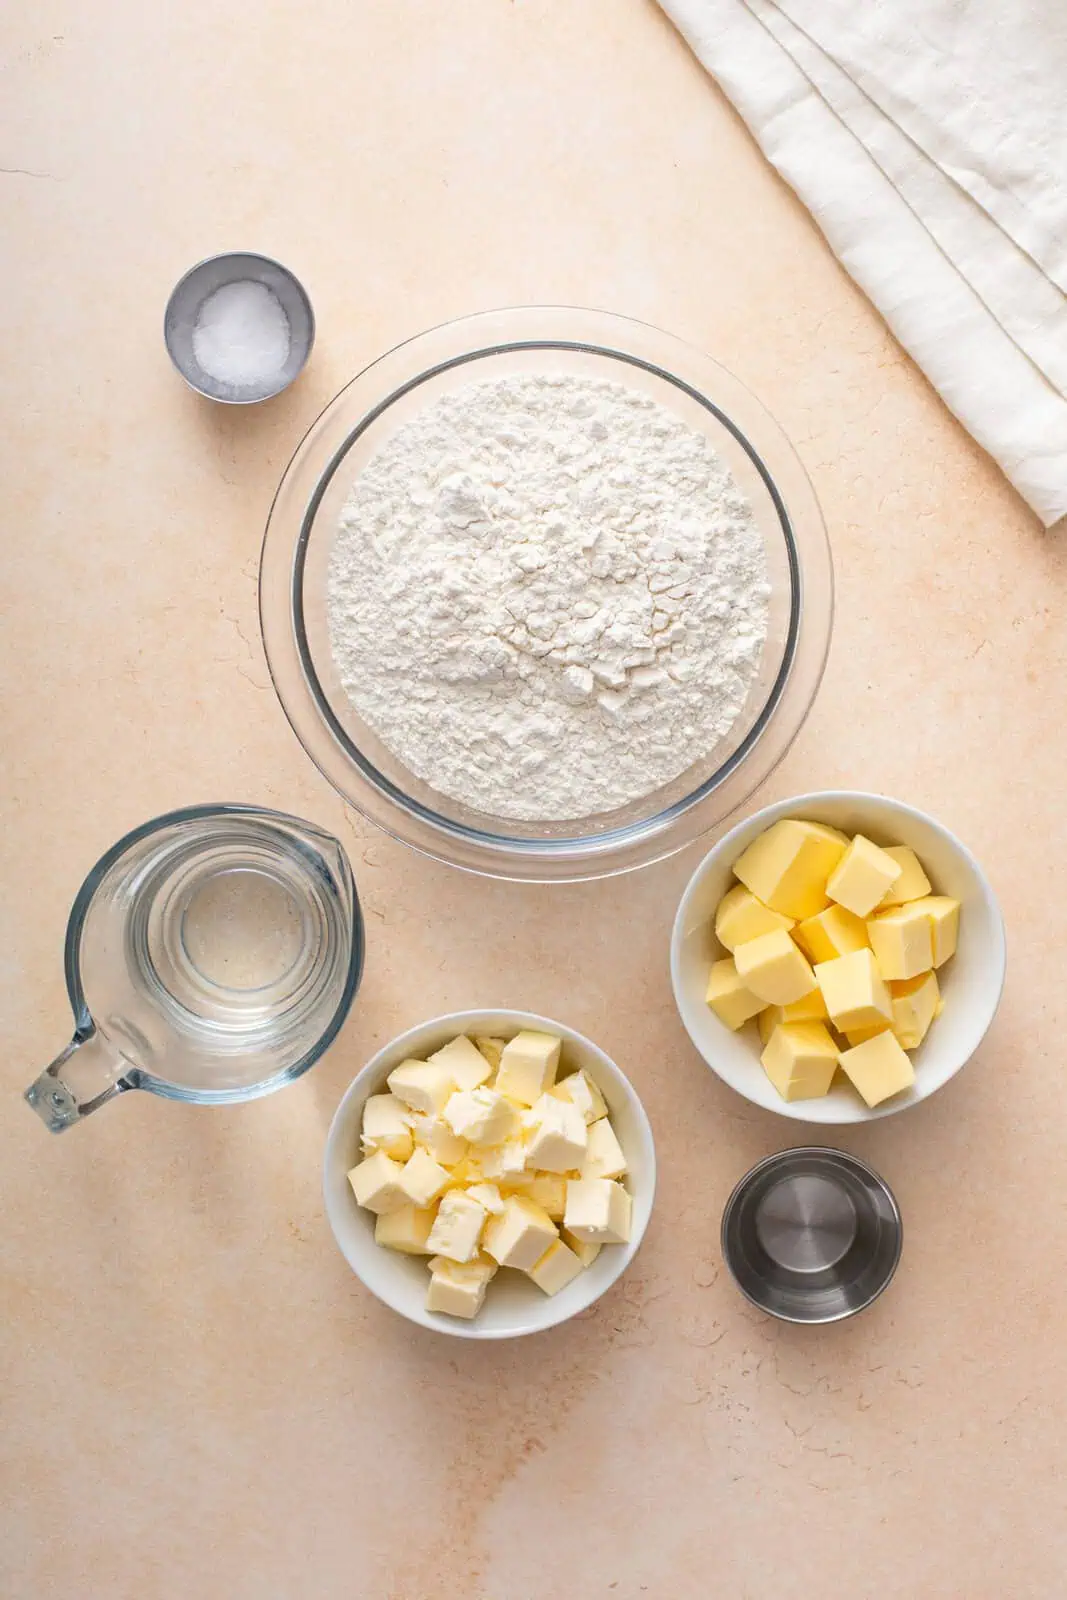
If you are only making one single-crust pie (such as cherry crumble pie), you can easily halve the ingredients. Another option is to make a full batch of dough, freezing half of it for a later use.
As for equipment, you’ll want to have:
- A large mixing bowl
- Measuring cups and spoons
- Pastry cutter/pastry blender
- Fork
- Rolling pin
- 9-inch or 10-inch pie pan
That’s all you need. Some folks like to roll their crust out on a silicone rolling mat, but I don’t think they’re necessary.
If cutting the butter and shortening into the flour by hand is not accessible for you, you may want to use a food processor to help with this.
If you are planning to chill the dough, you’ll need plastic wrap as well.
For blind baking, you may way to have some pie weights or beans on hand, but we’ll talk about that process in a minute.
Making the pie dough
Now let’s make our pie dough. Before you get started, drop some ice in your cold water; sometimes I even tuck it into the refrigerator or freezer for a few minutes to get extra cold.
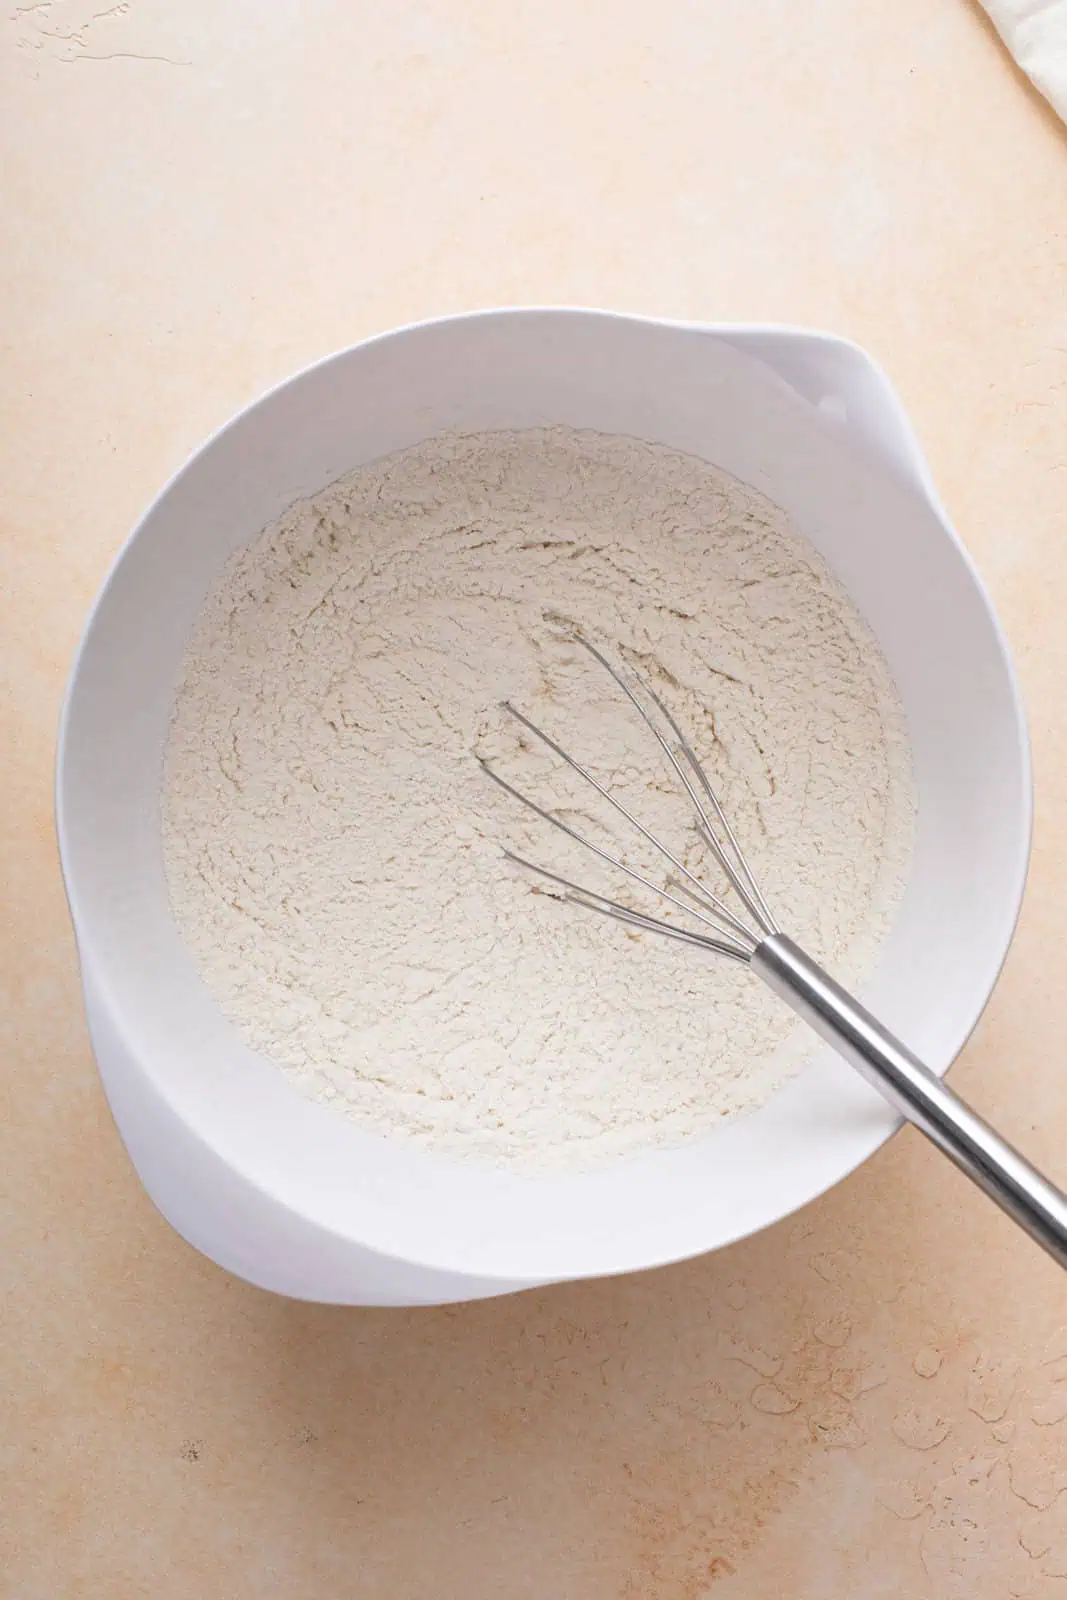
In a large bowl, whisk together the flour and the salt. (I’ve been known to use my pastry cutter or fork to mix these two together so I have one less thing to wash!)
Add the shortening and the cold butter to the bowl – make sure the butter has been cut into pieces.
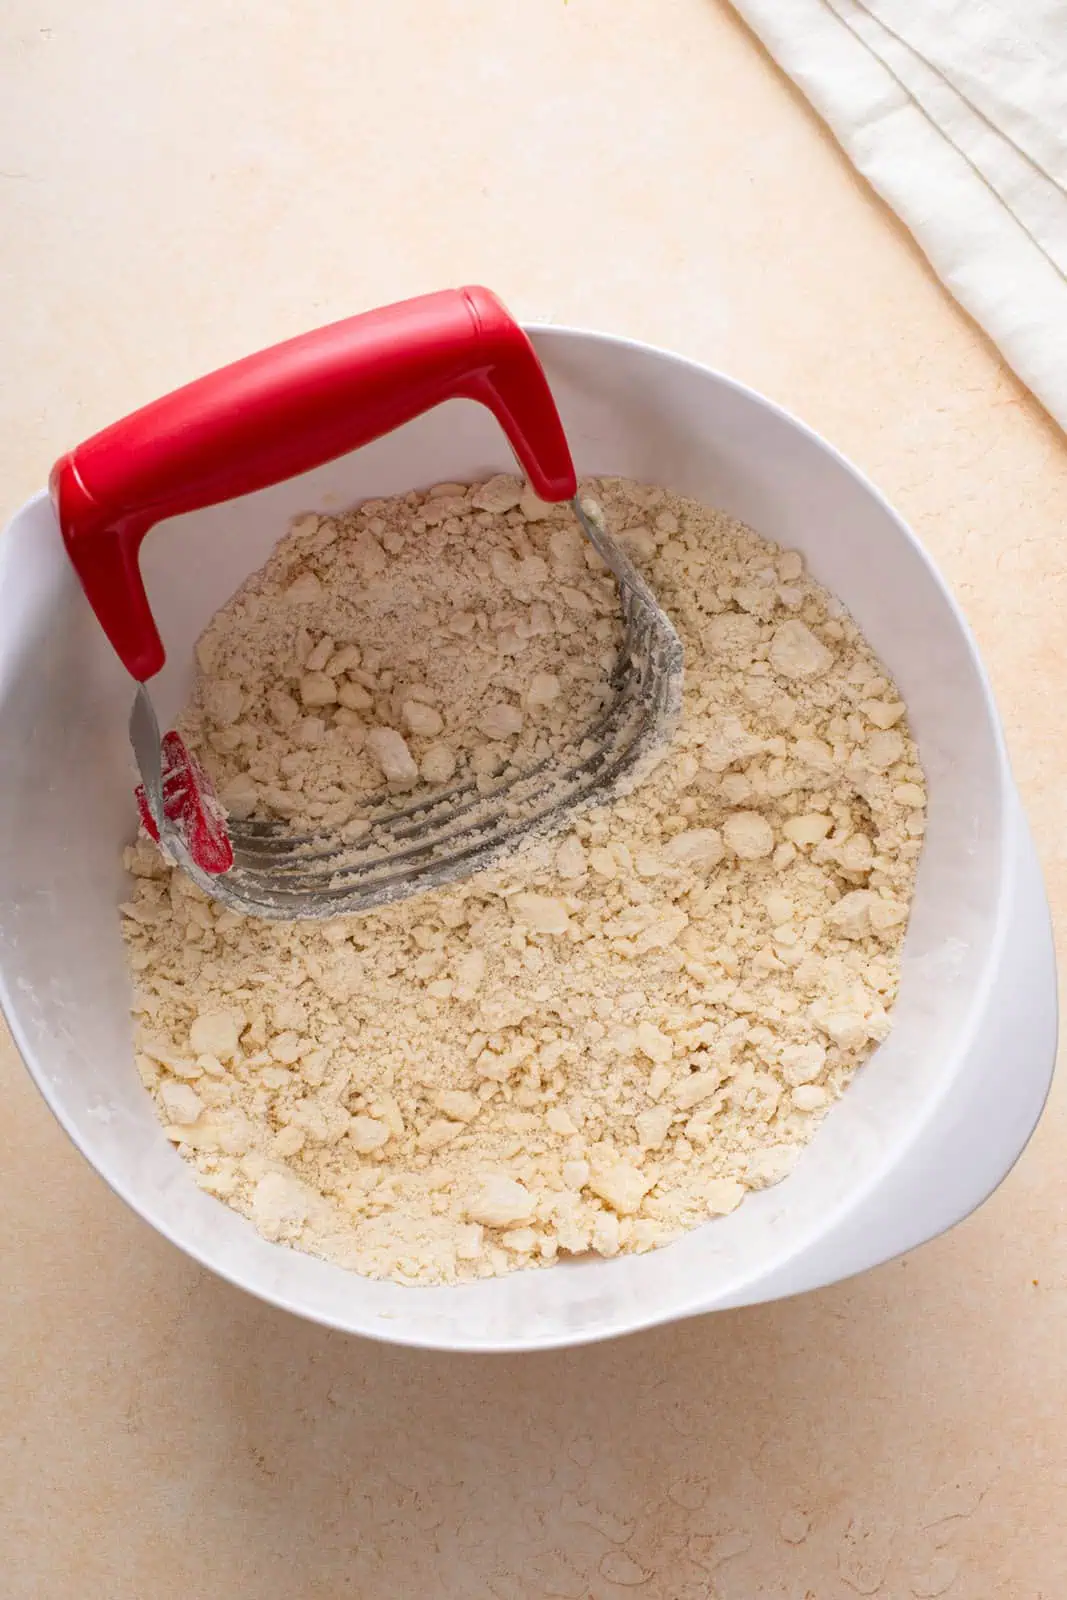
Use your pastry cutter to work the shortening and butter into the flour mixture. You want the mixture to resemble a coarse meal, but for there to still be a few pea-sized pieces of the butter and shortening throughout.
Sprinkle (or drizzle) the vinegar and ice water over the mixture. Use your fork to start to stir everything together.
I’ll warn you now: It won’t look like dough in the bowl. It’s going to look like a crumbly mess. That’s ok!
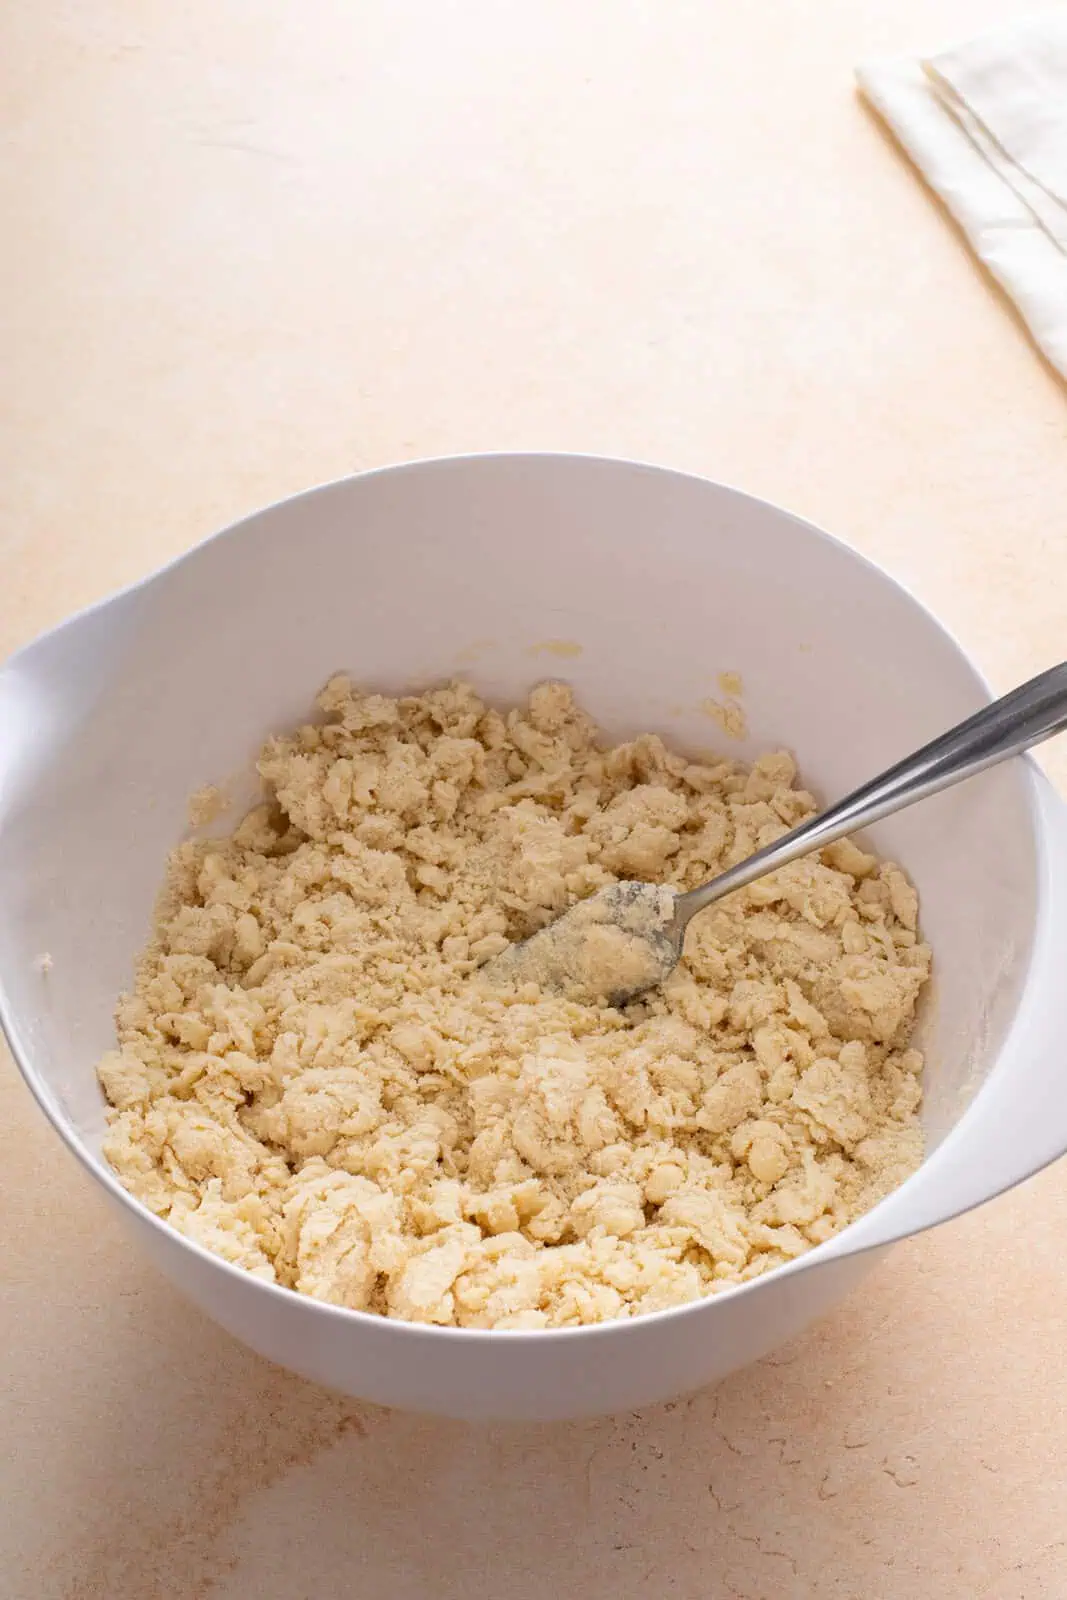
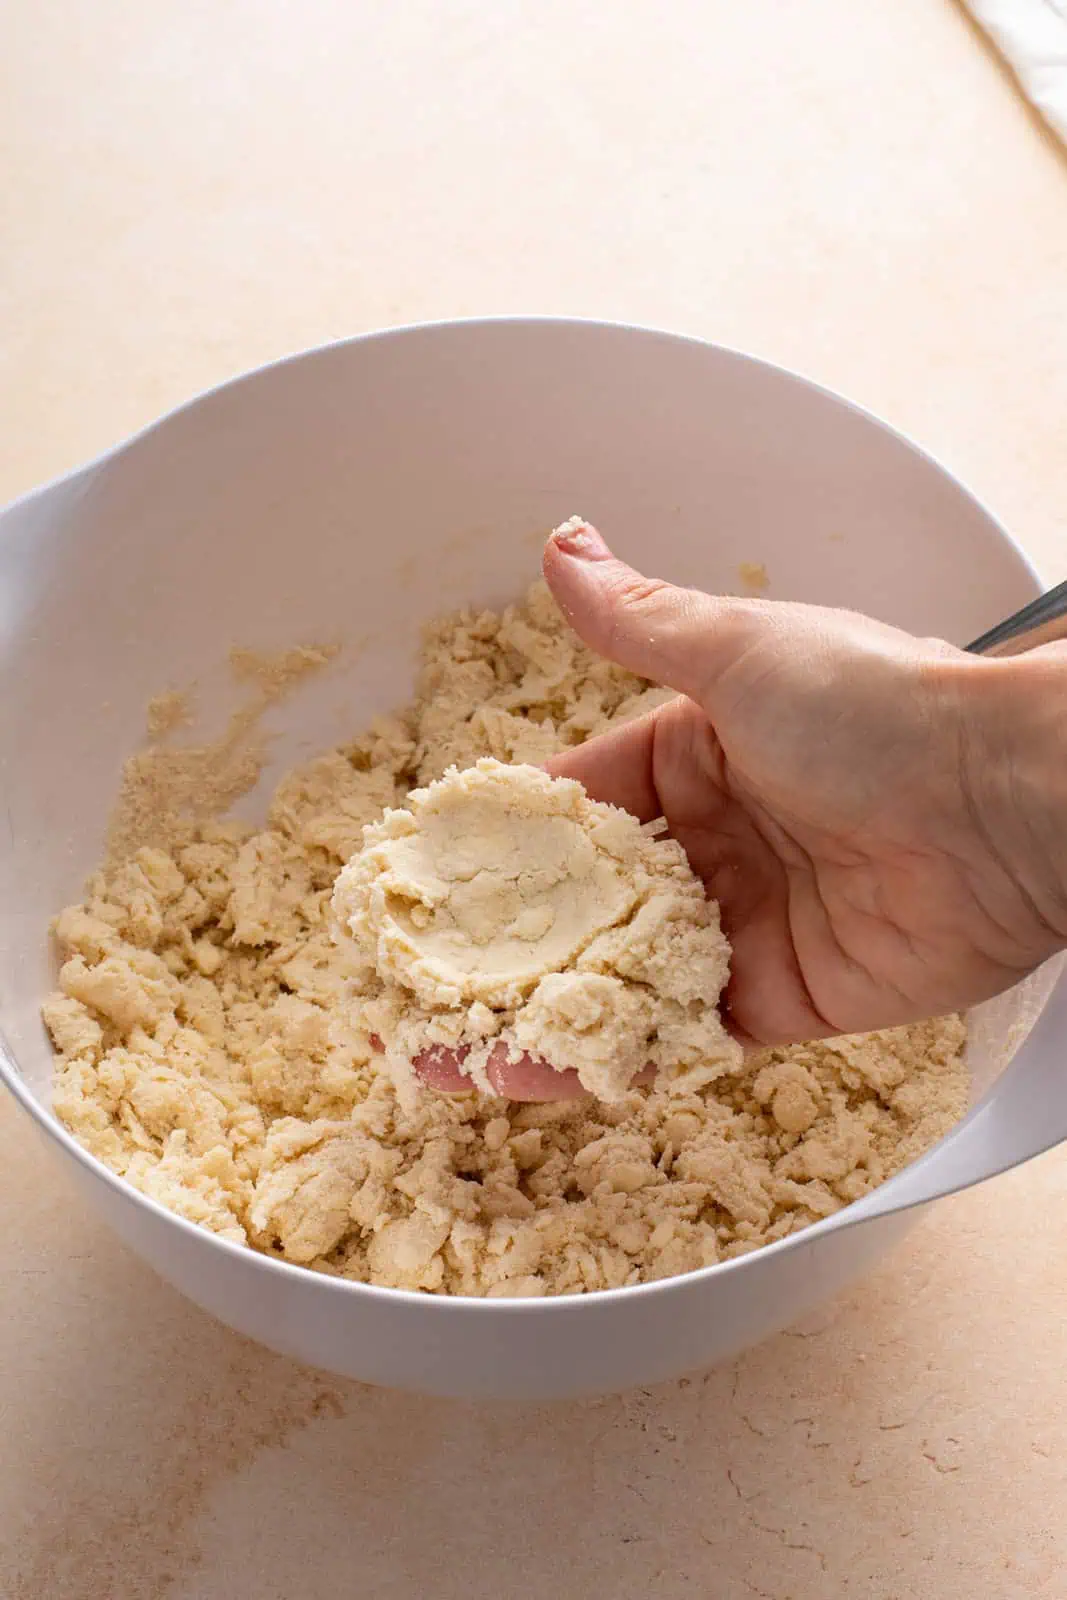
You’ll know the pie dough is ready when most of the dry ingredients seem to be moistened and you can squeeze some of the mixture in your palm and it holds together. If you see a lot of dry bits in the bowl or it doesn’t hold together after being squeezed in your palm, you need a bit more water.
If you need more water, add it 1/2 tablespoon at a time, just until you get to the point described above.
At this point, I will very gently press the dough against the side of the bowl until it starts to hold together. Turn it out onto a lightly floured surface.
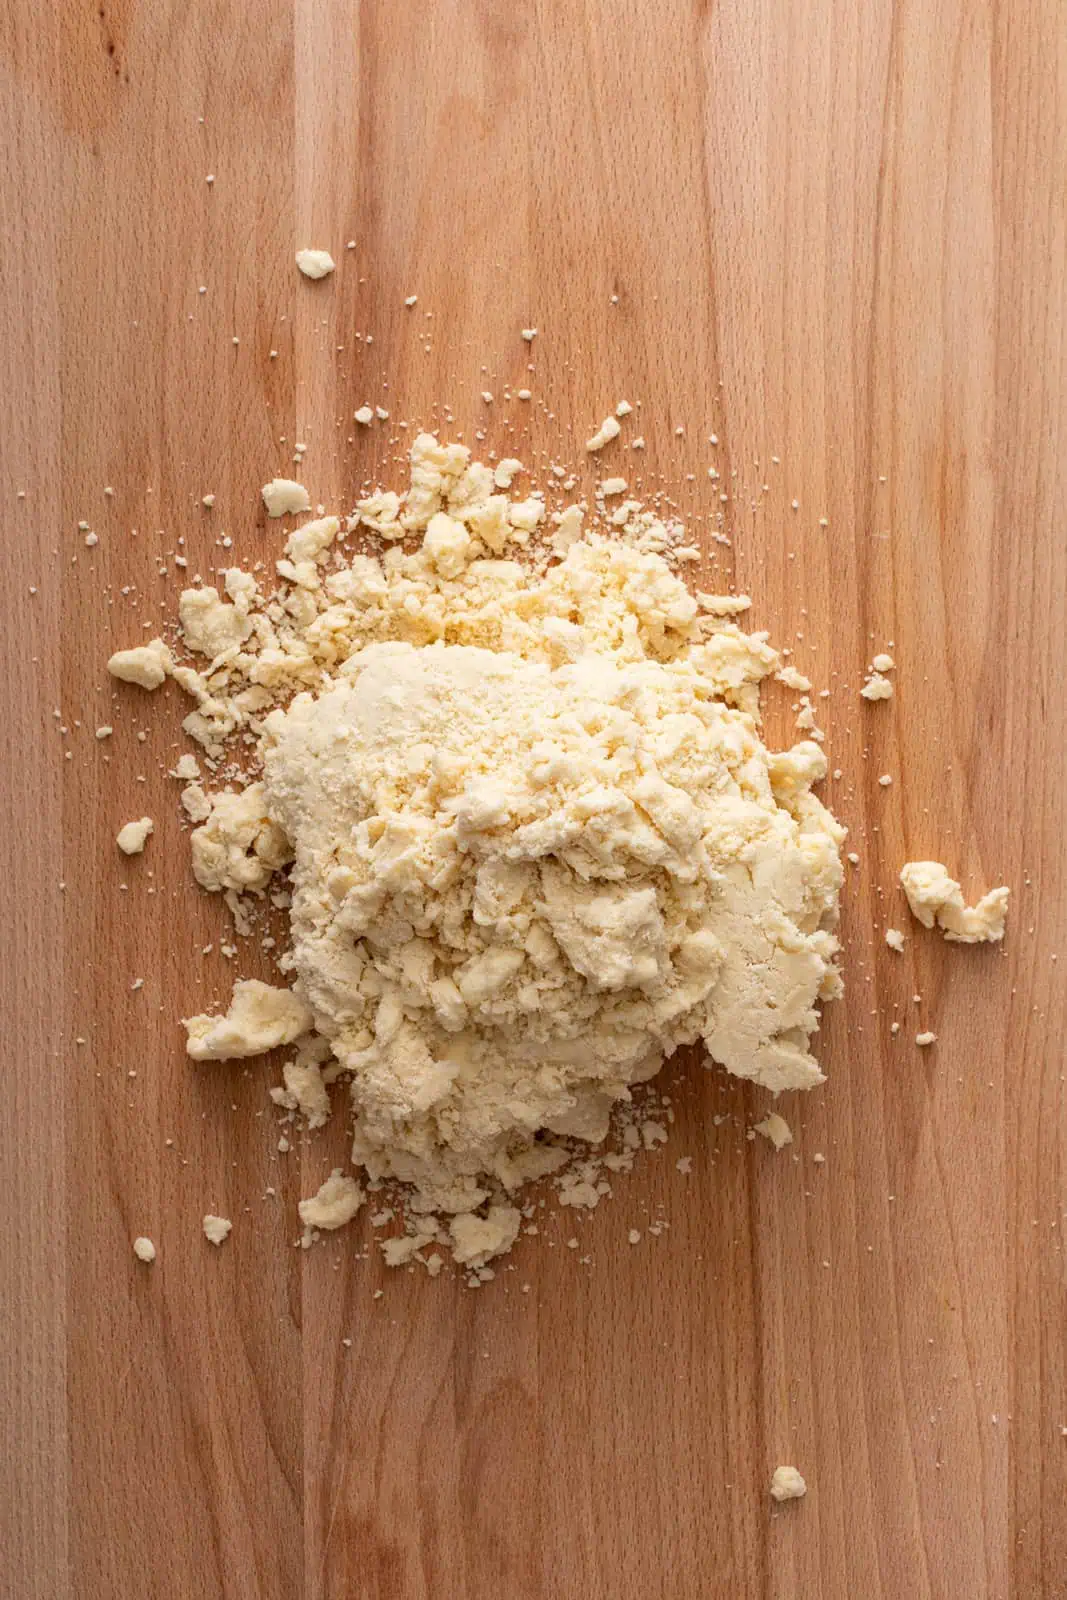
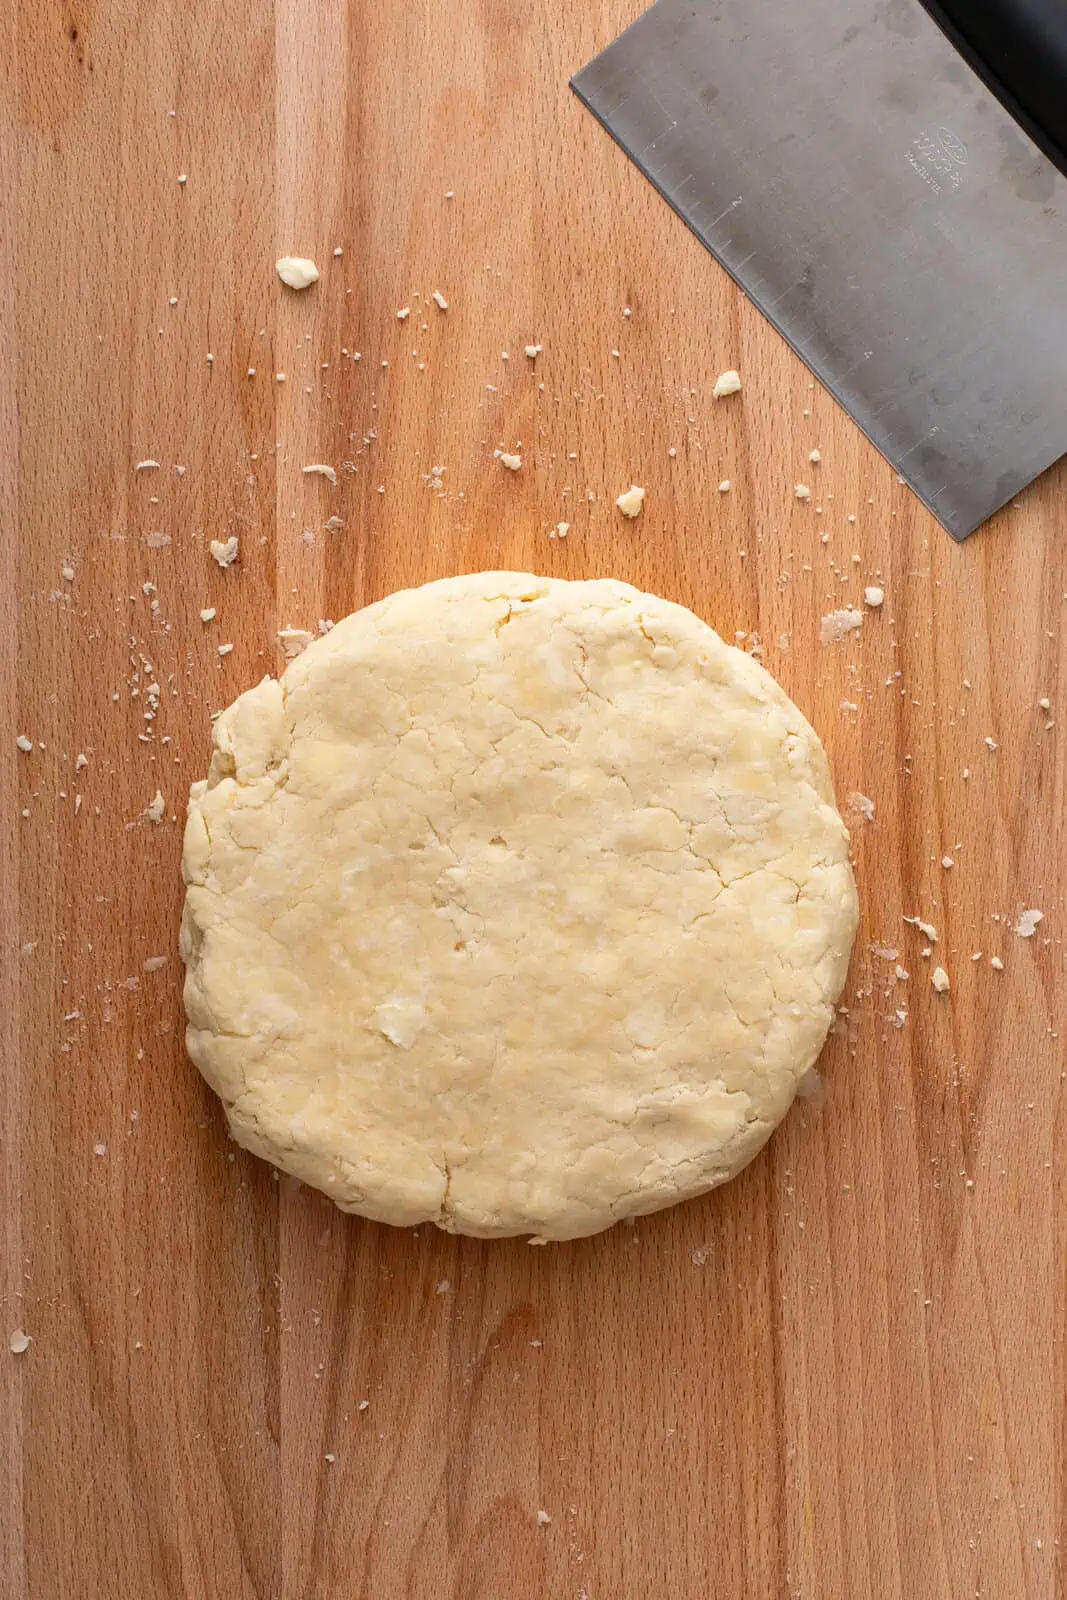
If you are chilling the pie dough, gently form it into a disk and wrap it tightly in plastic wrap. Place it into the refrigerator until you’re ready to work with it.
If you are assembling your pie right away, you can move on to rolling the dough out.
Assembling a pie
Cut the pie dough in half; place one half in the refrigerator to stay cold while you roll out the bottom crust.
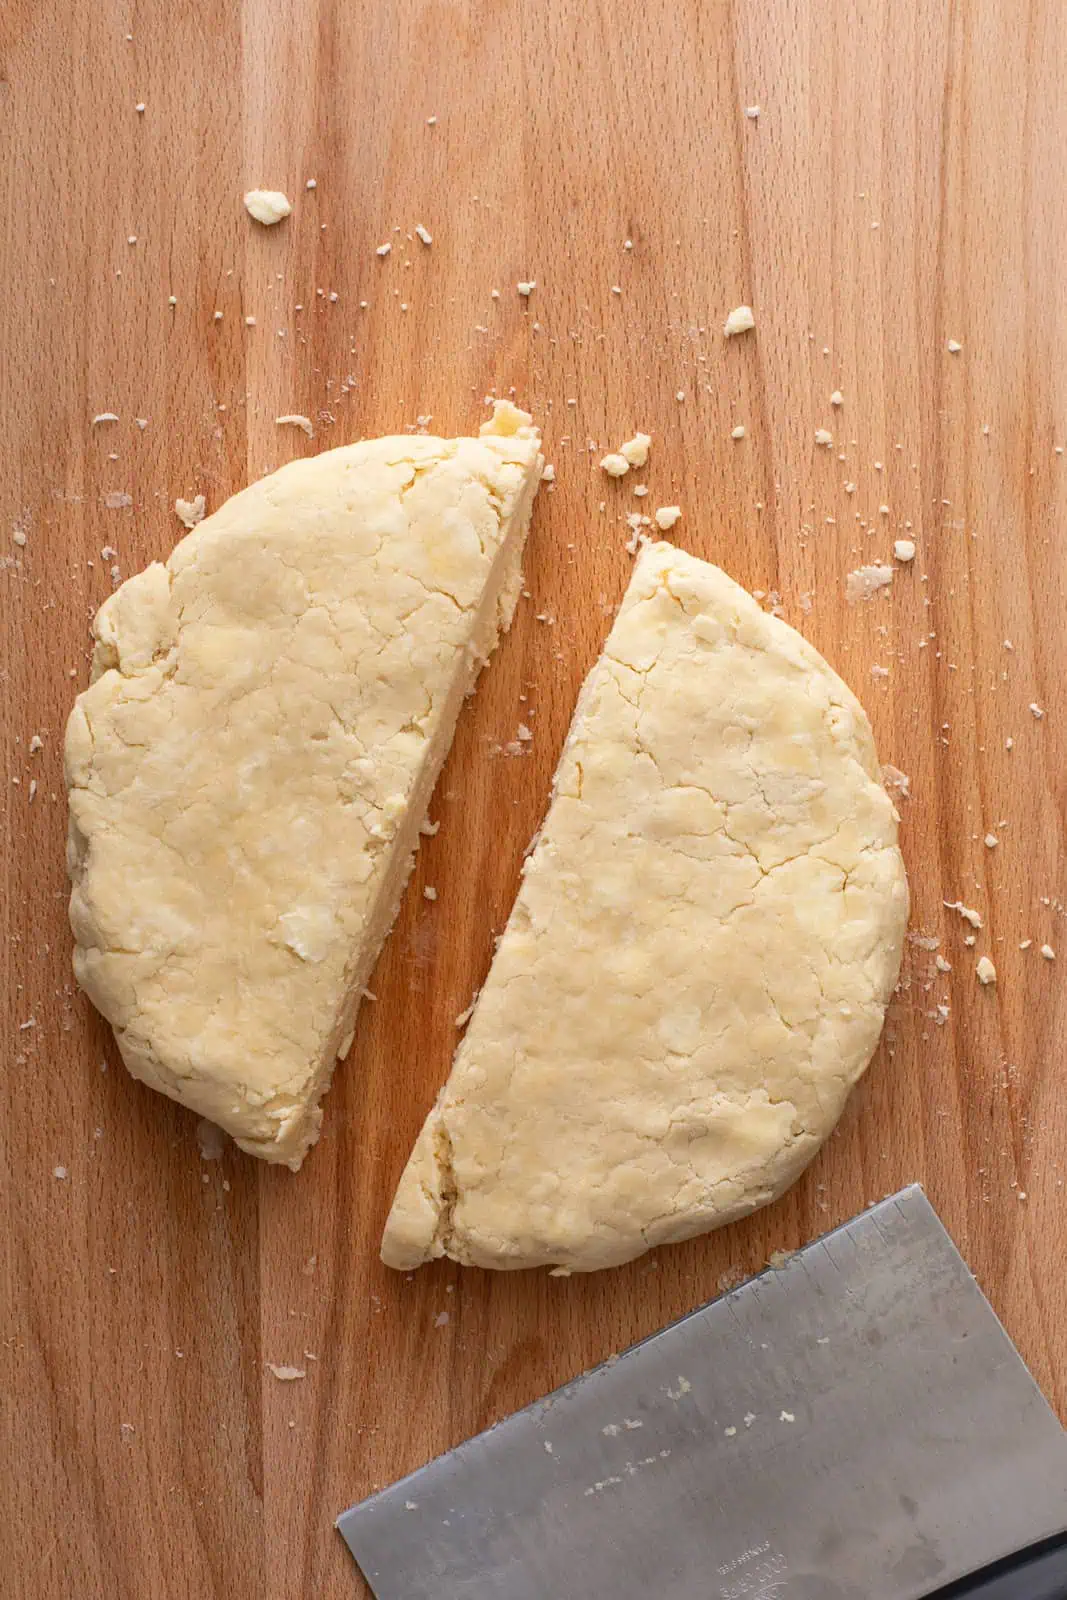
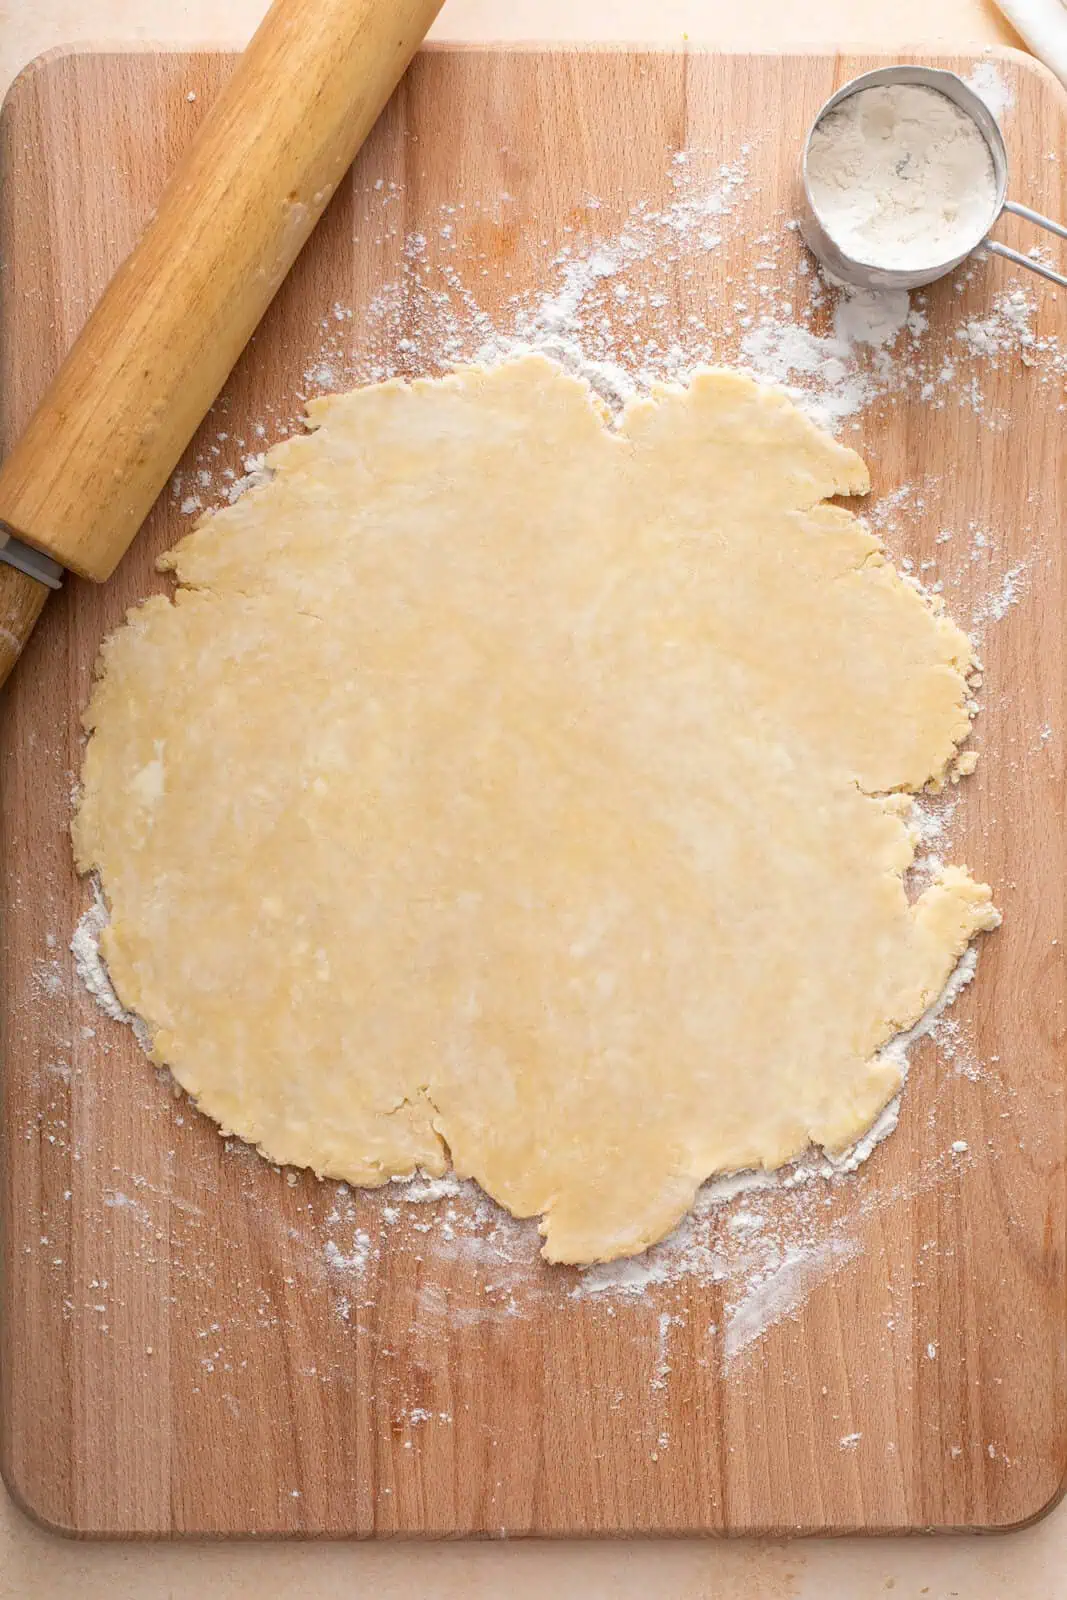
Gently pat the dough into a circle, then use a lightly floured rolling pin to roll it out large enough to fit your pie plate.
To check if the pie dough is rolled out enough to fit my pie plate, I periodically place the pie plate on top of the dough circle. When the dough extends about 1 1/2 inches past the edges of the pie plate, I know it’s big enough.
Don’t worry if the edges crack a bit; you can use some of the excess later to patch the edges together if needed.
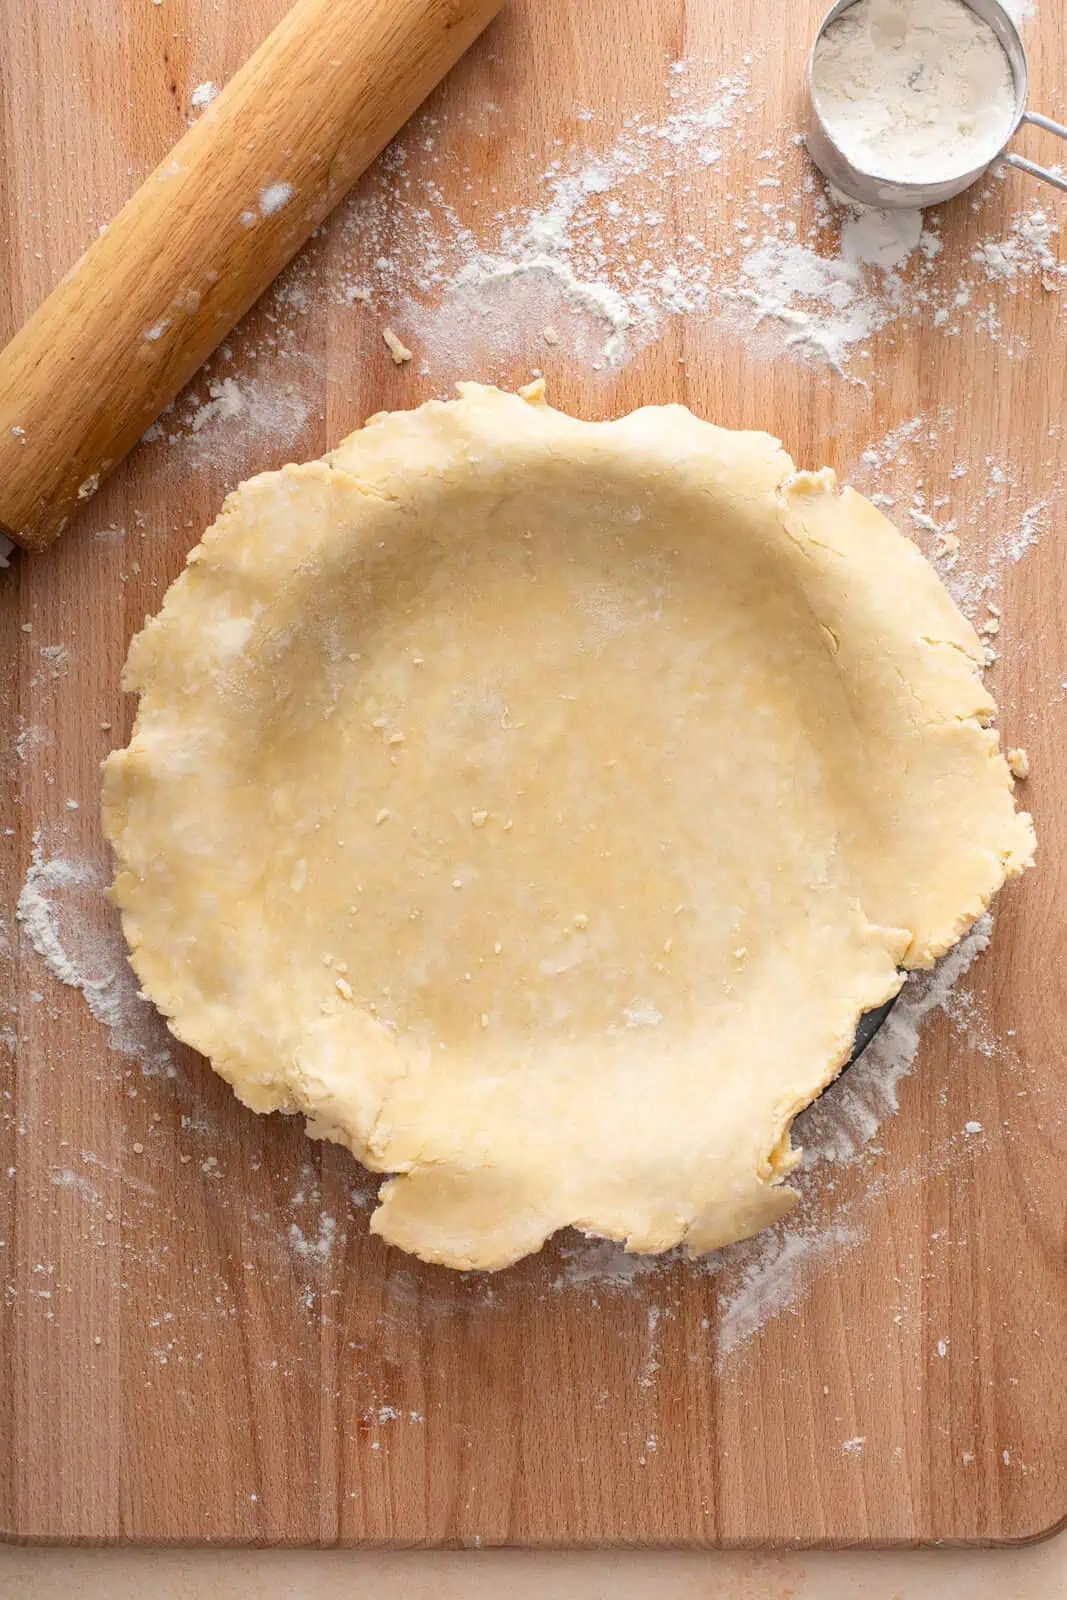
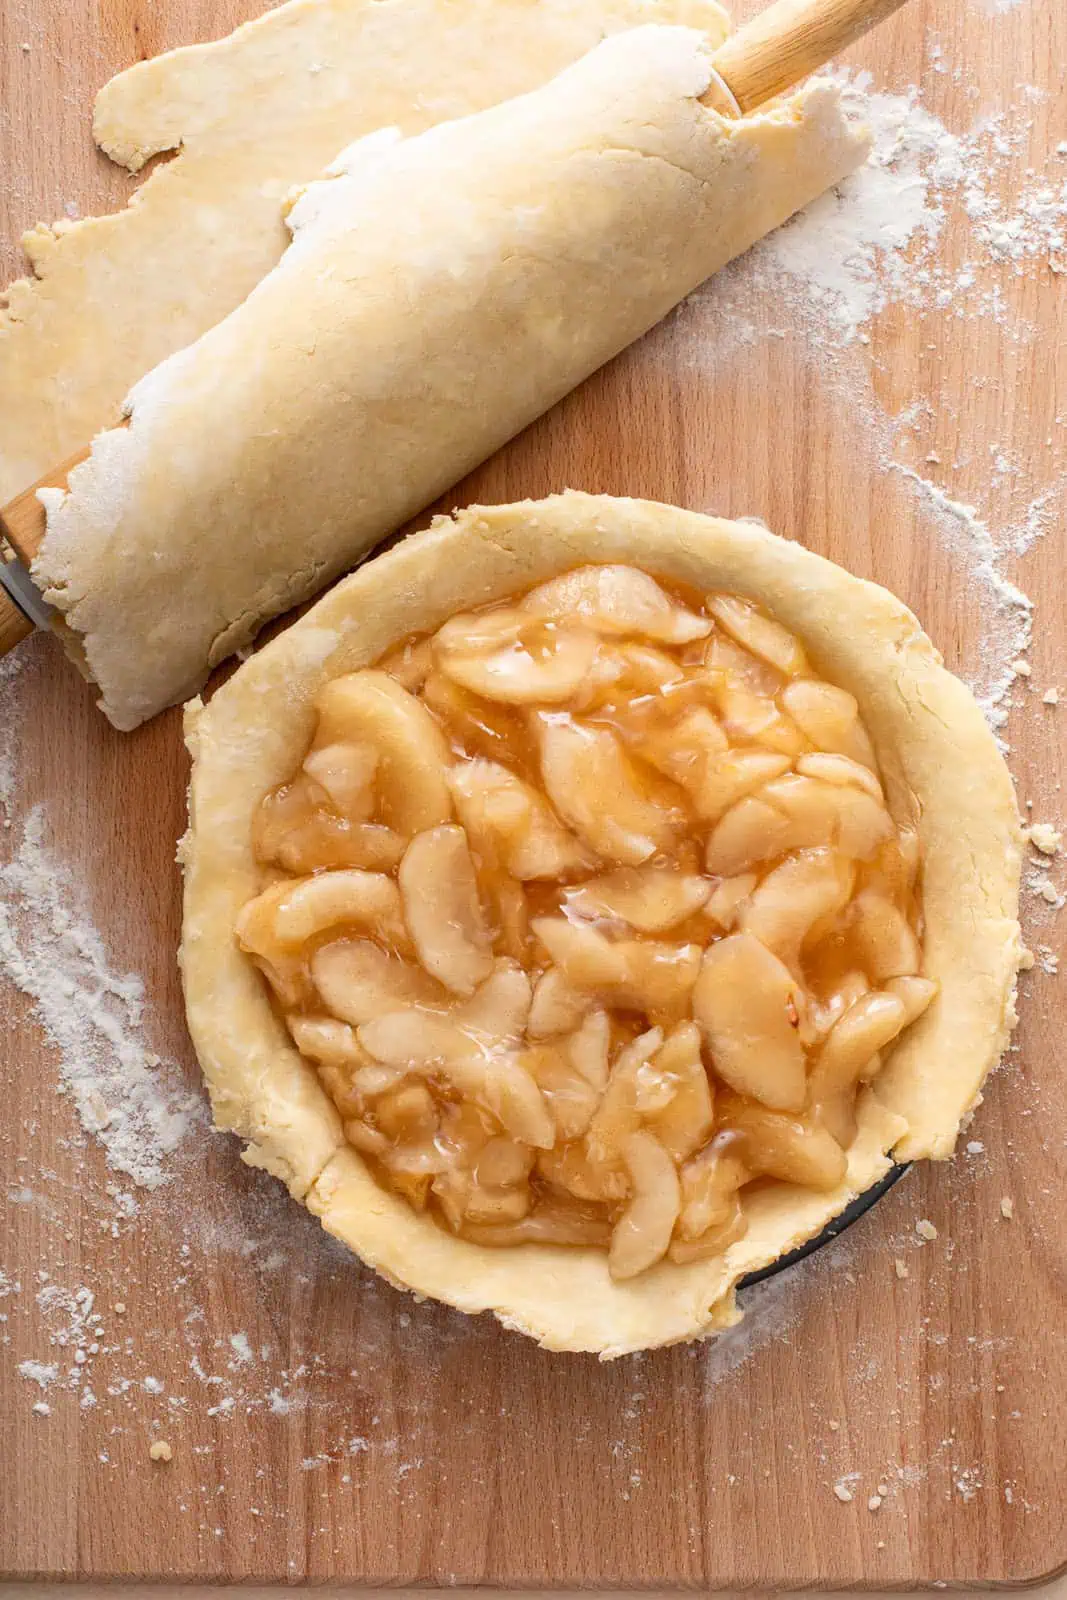
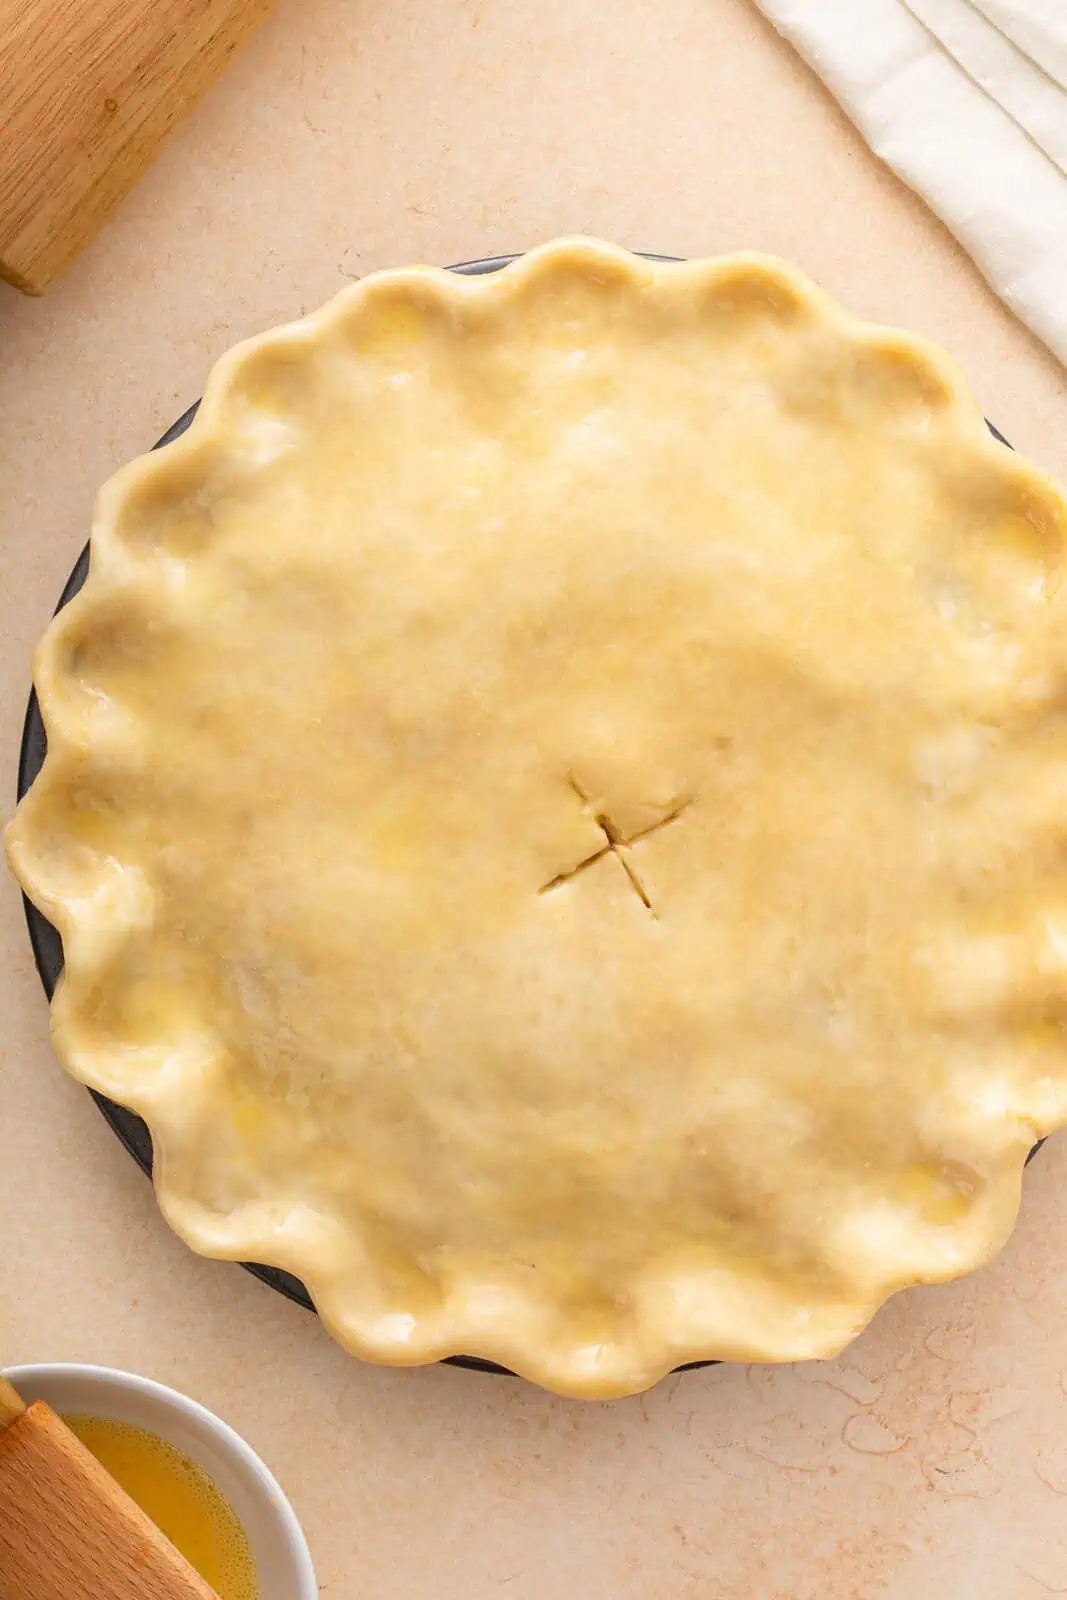
Transfer the dough into your pie plate. If you’re making a single-crust pie, trim the excess dough and crimp the edges.
If you’re making a double-crust pie, add the filling to the pie plate. Roll out the second half of the crust until big enough to cover the pie and place it on top, or cut it into strips to make a lattice crust.
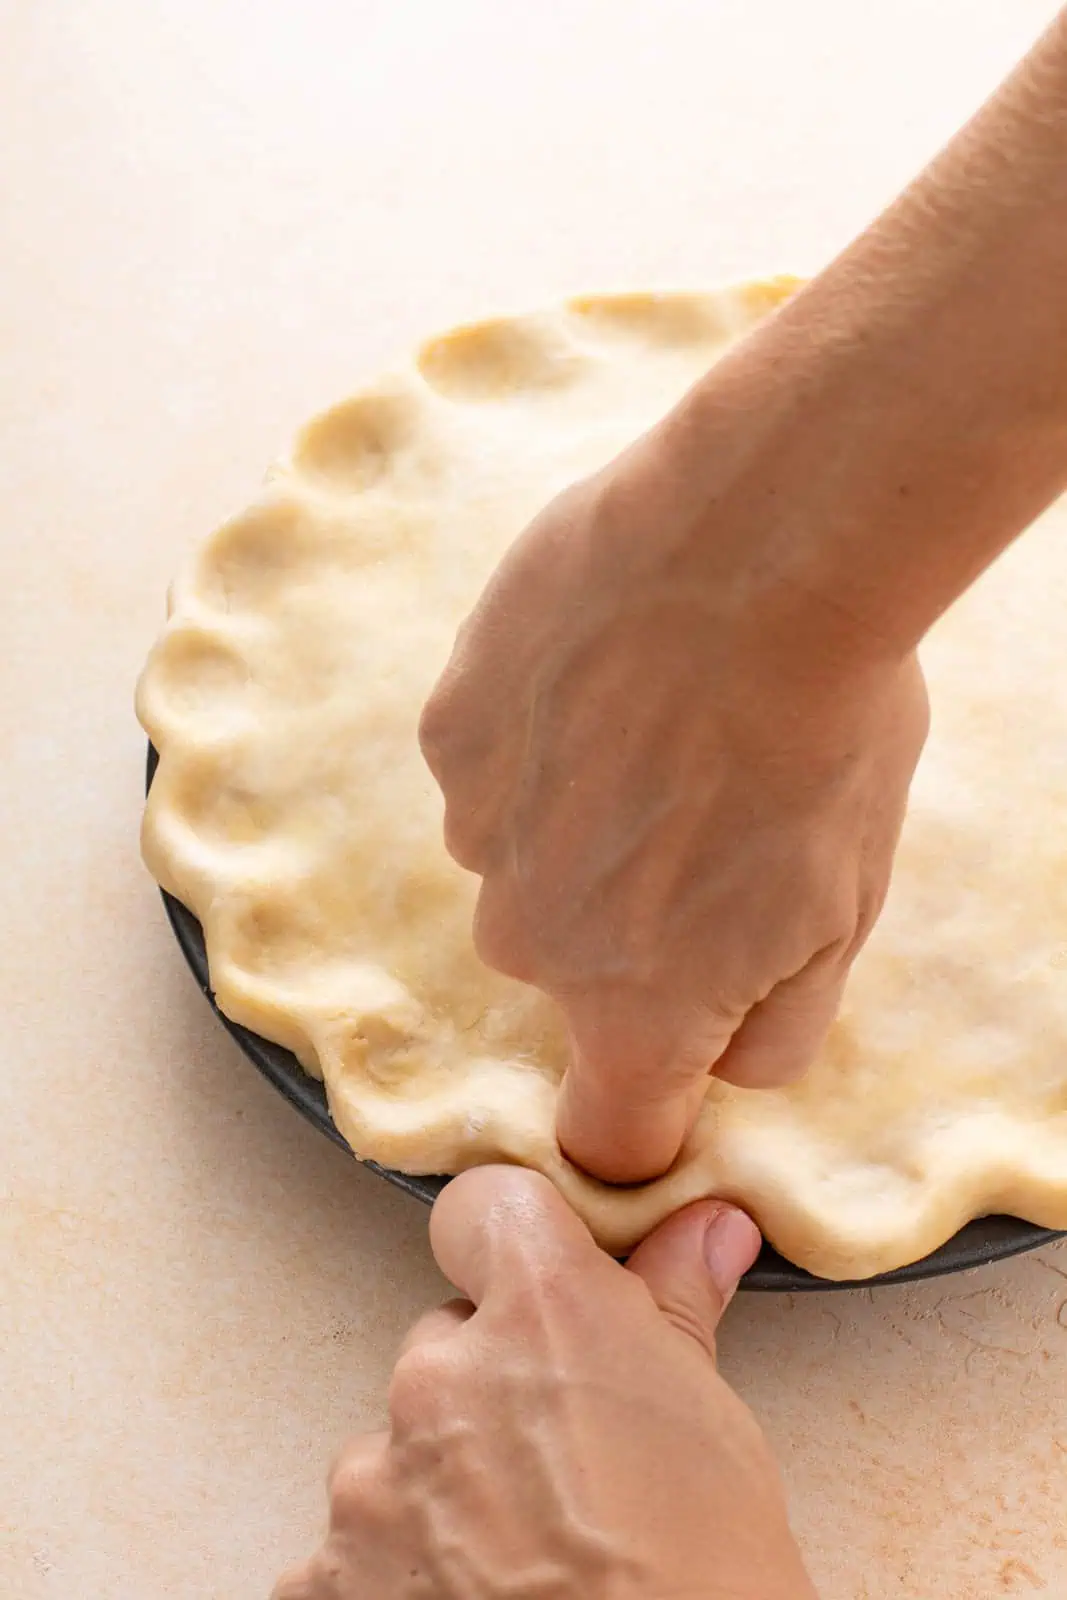
Trim the excess and crimp the edges.
If you find yourself with a good bit of excess dough, you can always use it to decorate the top of the pie by cutting it with little seasonal cutters. Adhere the decorations with a bit of water or egg wash.
Bake the pie according to the recipe instructions. If you find the edges of the pie are getting too dark before the pie is done baking, use a pie crust shield or pieces of aluminum foil to prevent further browning.
Blind baking instructions
A of custard pies, such as buttermilk pie, require you to blind bake the crust before you add the filling. This just means that you partially bake the crust before adding any of the fillings to it.
There are two ways you can do this with this particular homemade pie crust recipe.
- If you want to use weights, line the unbaked crust with a piece of parchment paper. Fill with pie weights or dry beans. Bake at 450°F for 8-10 minutes or just until golden. Make sure to remove the pie weights or beans very carefully – they’ll be hot!
- Since this recipe uses half shortening, it doesn’t shrink as much as an all-butter crust does. This means you can choose to skip the pie weights; instead, use a fork to poke all along the bottom and sides of the crust before baking at 450°F for 8-10 minutes or just until golden.
Make-ahead and freezing tips
I once made 5 pies in an Airbnb kitchen in the middle of Savannah, GA, for our friends’ wedding. How did I do that without losing my mind?
I made my pie dough ahead of time!
The day before, I made all of my pie dough. The Airbnb had an extra fridge, so I rolled out the crusts, placed them in the pie plates, trimmed and crimped them, and gently covered them with plastic wrap before refrigerating overnight.
The next morning, I made and added the fillings and baked all of the pies.
If you don’t have enough room in your refrigerator to hold an extra pie plate, wrap up the disk of pie dough with plastic wrap and refrigerate up to overnight.
When ready to go, roll out the dough and bake as per your recipe. If it’s too firm to roll right away, let it rest at room temperature just until it’s soft enough to work with.
And yes – you can freeze pie dough! Wrap it in a layer of plastic wrap, then place it in a zip-top freezer bag. Freeze for 3-6 months.
Let the dough thaw in the refrigerator overnight before using to make your pies.
FAQs
Homemade Pie Crust
Ingredients
- 3 cups all-purpose flour
- 1 teaspoon fine sea salt
- 1/2 cup shortening
- 1/2 cup unsalted butter cold, cut into pieces
- 1 tablespoon white vinegar
- 7 tablespoons very cold water
Instructions
- In a large bowl, whisk together the flour and salt. Add the shortening and butter; use a pastry blender to cut the butter and shortening into the flour until the mixture resembles a coarse meal with a few pea-sized pieces of butter/shortening throughout.
- Sprinkle the vinegar and water over the mixture. Mix with a fork, just until the mixture holds together when squeezed in your palm – it will still look crumbly in the bowl. Depending on the weather, you may need to add a bit more water, 1/2 tablespoon at a time, until you reach the correct consistency.
- Turn the dough out onto a floured board. Pat into a circle; cut in half. You can now use the dough right away or wrap in plastic wrap and chill in the refrigerator for 30 minutes or until ready to use, up to a day.
- Place one half in the refrigerator while you roll out the second half on a floured surface to fit your pie plate. Remove second half from fridge and roll out to top the pie, baking according to your recipe.
- If blind baking, bake at 450°F for 8-10 minutes or just until golden.


Ok, I’m going to try this! I’m actually thinking of making a pie for Valentine’s Day, and using this recipe. You know I’m getting bold by changing things up when it comes to my pie crust, but I’m excited to try it. I’m always looking to improve my pies. If I freeze one, should I just wrap it up and freeze it, or should I put it in the pie pan first?
Beats the heck out of me. I actually think freezing it in the pan might work well, especially if you buy a cheapie metal one for it. Yes, try that.
When I make pie crusts I make a large batch. I roll them out into discs for the size pie plate I need. Then I wrap each rolled out crust disc in saran wrap and lay it on a cookie sheet (the kind without sides) and stack them up each individually wrapped and stick them in the freezer on the pan for support. Then when I want a pie I take out one disc and let it thaw (takes no time at all). This works really well. I tried freezing them in pie plates stacked and after a time the would break from being hit by something else in the freezer.
That’s a great tip! Thanks, Sue!
You are very wise. You have much to teach me.
Amen.
People always get a little weirded out when I tell them I use white vinegar in my pie crust. I’m so glad that you do to! Your crust looks perfect!
My pot pie recipe uses a little bit of vinegar and that crust NEVER fails, so I finally looked into the science of it. I tell ya, whoever figured this stuff out was a straight up genius. It works so well!
All I can think about now is how quickly I can get this pie crust into my mouth. Not even in a pie, necessarily — just straight-up crust. So yum.
Honestly, I’d be totally happy with a no-filling pie. So, you know, crust.
Ooh, this is a fantastic post Stephie! So much technicality but… well, you’re not boring AT ALL. I wish you taught all my subjects at school (preferably with free pie). I’ve actually never made pie crusts with shortening before. I think i need to give this technique a go. Thanks… oh, and that sweet heart in the pastry? Gorgeous! xx
Phew! I was hoping I wasn’t getting too boring for people. I have been told before that I should have been a teacher.
1. I’m over shortening. There, I said it. For most of my life, I didn’t believe in shortening in crusts. It had no flavor, it is rather icky and mysterious if you give it too much thought, and who cares about flakiness in a one-crust pie anyway? But then I weakened my resolve. All the Cook’s Illustrateds and Ina Gartens claimed that the only! best! way to make the flakiest! pie dough was to use shortening in part, and I do value their opinions so. I did this for about two years, and now I’m back to all butter, baby. Do you know why? Well, for all of the original reasons–flavor rules and ickiness is not worth it–but because I have also realized that when you really know how to make pie dough, it won’t matter which fat you use. So butter it is baby! I’ll never doubt it again.
If all butter works for you, power to you! Go for it, girl! Everyone has their preferred method. This one just happens to be mine and I think works well for beginners, who might find all butter to be tricky to work with.
I had my hand up but you probably couldn’t see me all the way over here in Georgia. I had a recipe something like this but lost it. Thanks for posting this!
So glad you were able to find a lost recipe through it!
Since 1986, I’ve been using a method I found in our Sunday paper. It calls for the vinegar, all shortening (keep in freezer till mixing), and one egg! It has been a “no-fail” for me, but not as flaky as I’d like. I am going to try your method. It makes sense to me. We are a pie-loving family! I’m so glad I saw this and so anxious to make a pie right now!! Thanks. I’ll let you know if it is successful for me!!
I hope it goes well! keep me posted. 🙂
I agree- straight up rhubarb! I also sprinkle a little cinnamon and dot it with butter before putting on the top crust. This might sound gross but we went to an organic farm and bought some lard. I used half butter and half lard. I also used apple cider vinegar. It made the flakiest pie crust I ever had. What do you think your great grandma used before commercial shortening!
Not gross at all! I totally approve of the lard. 😀
Hi! The crust tasted wonderful I plan on using the 2x recipe & 3x recipe during the holidays ! I see in those larger recipes that the amt of water stayed the same? Is that correct?
Hi Jen – That’s due to the way the recipe card is configured. I just made a slight change to the card and it should properly increase the water amount now. So glad you enjoyed this recipe!