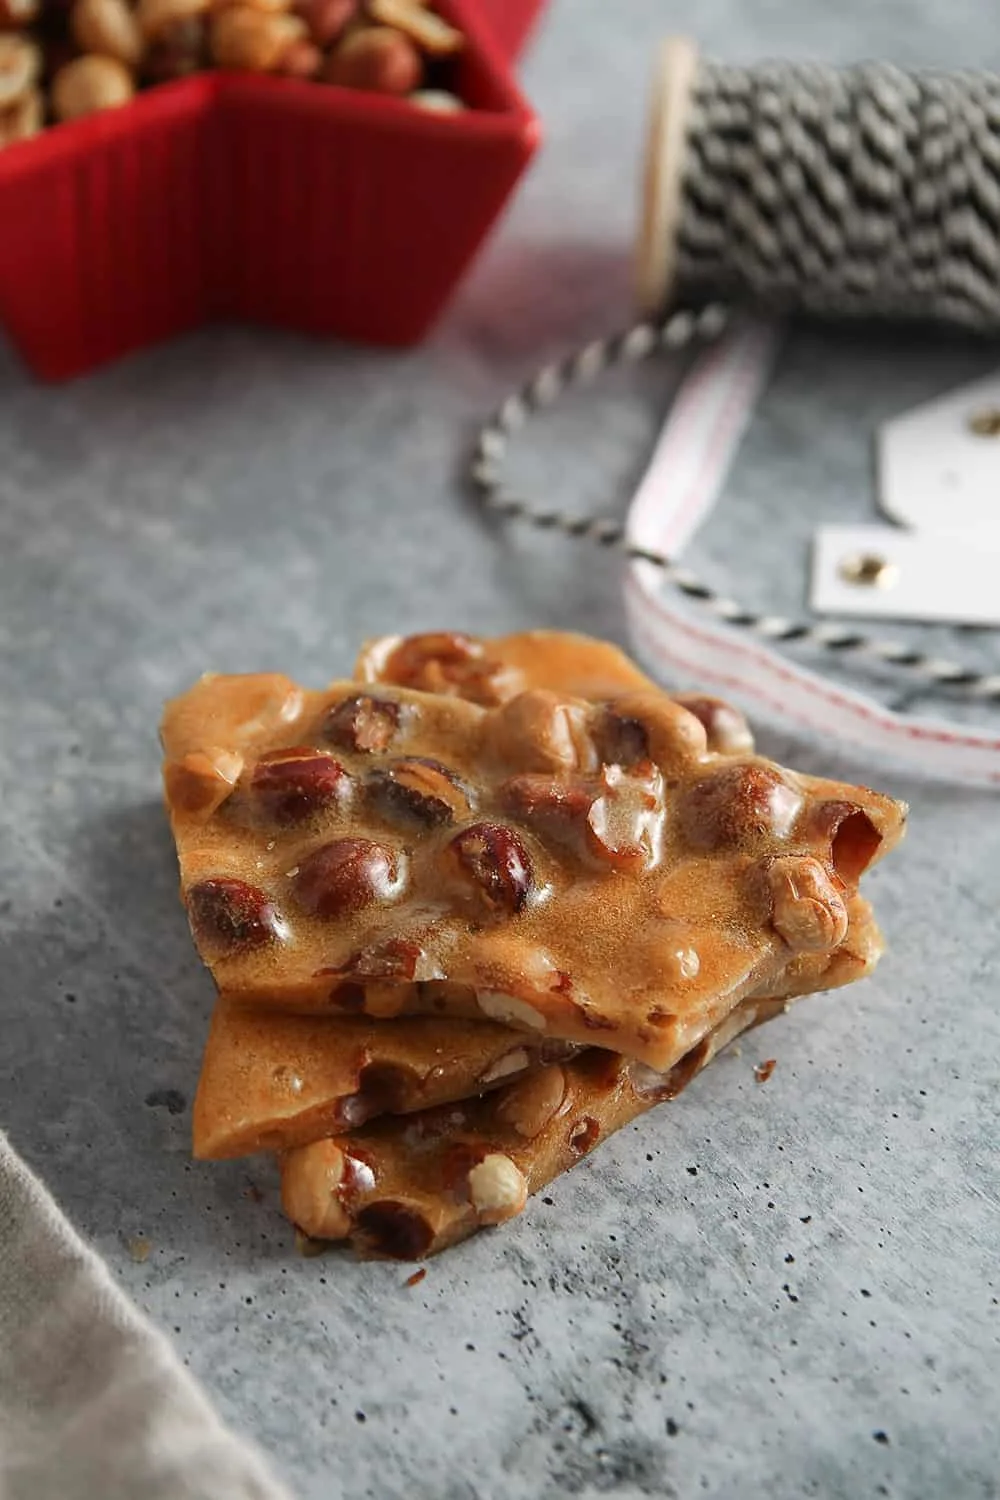
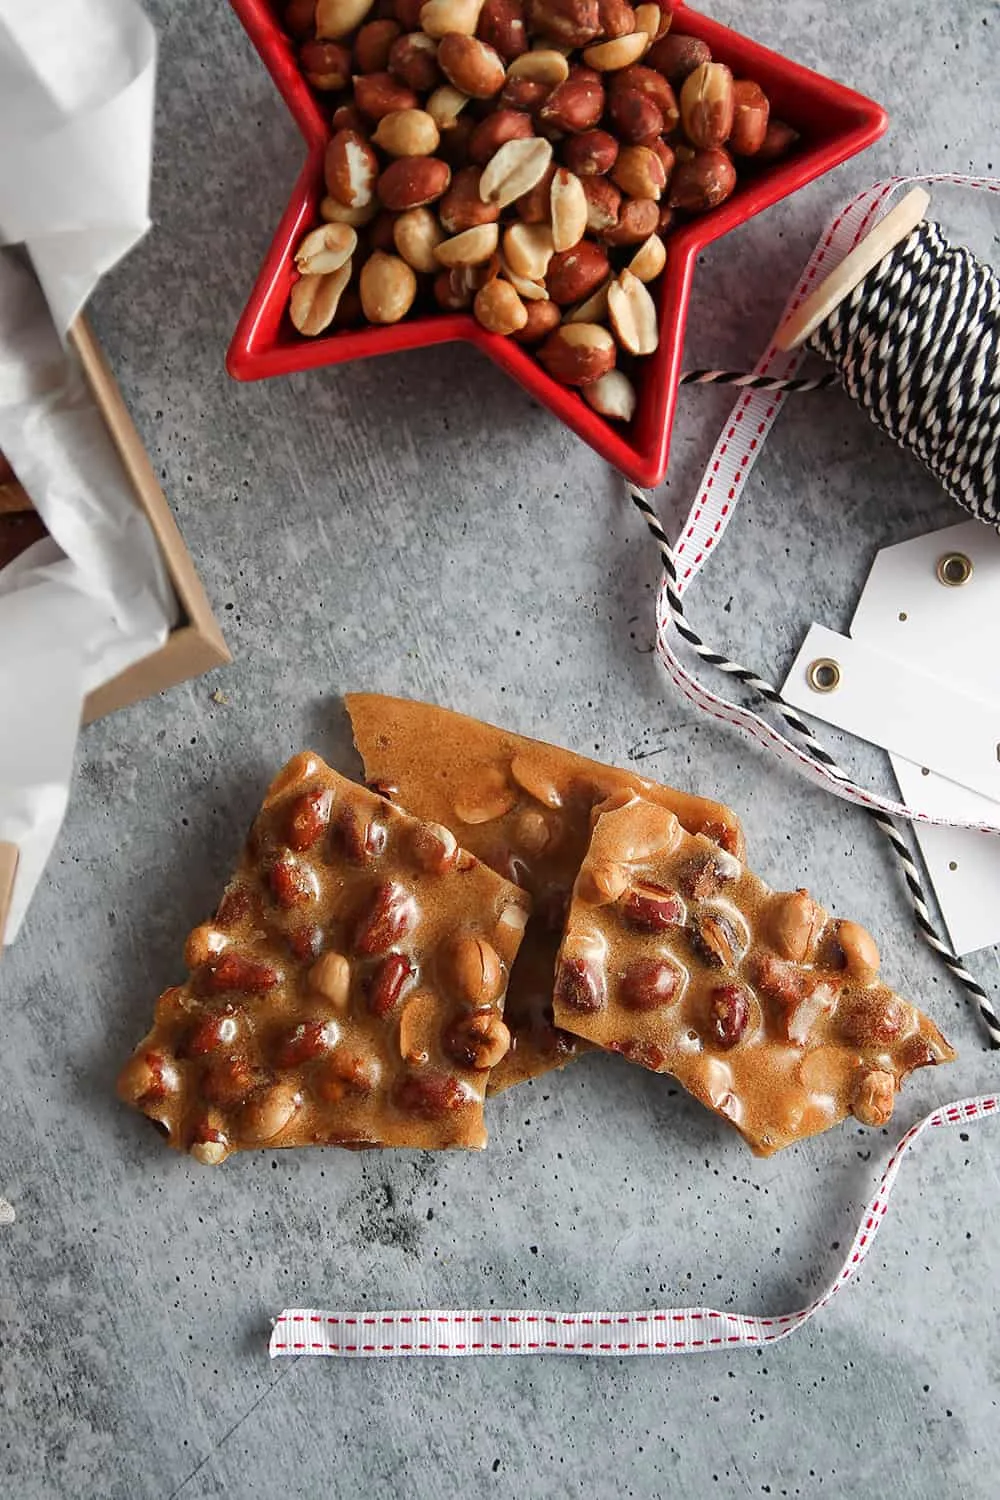
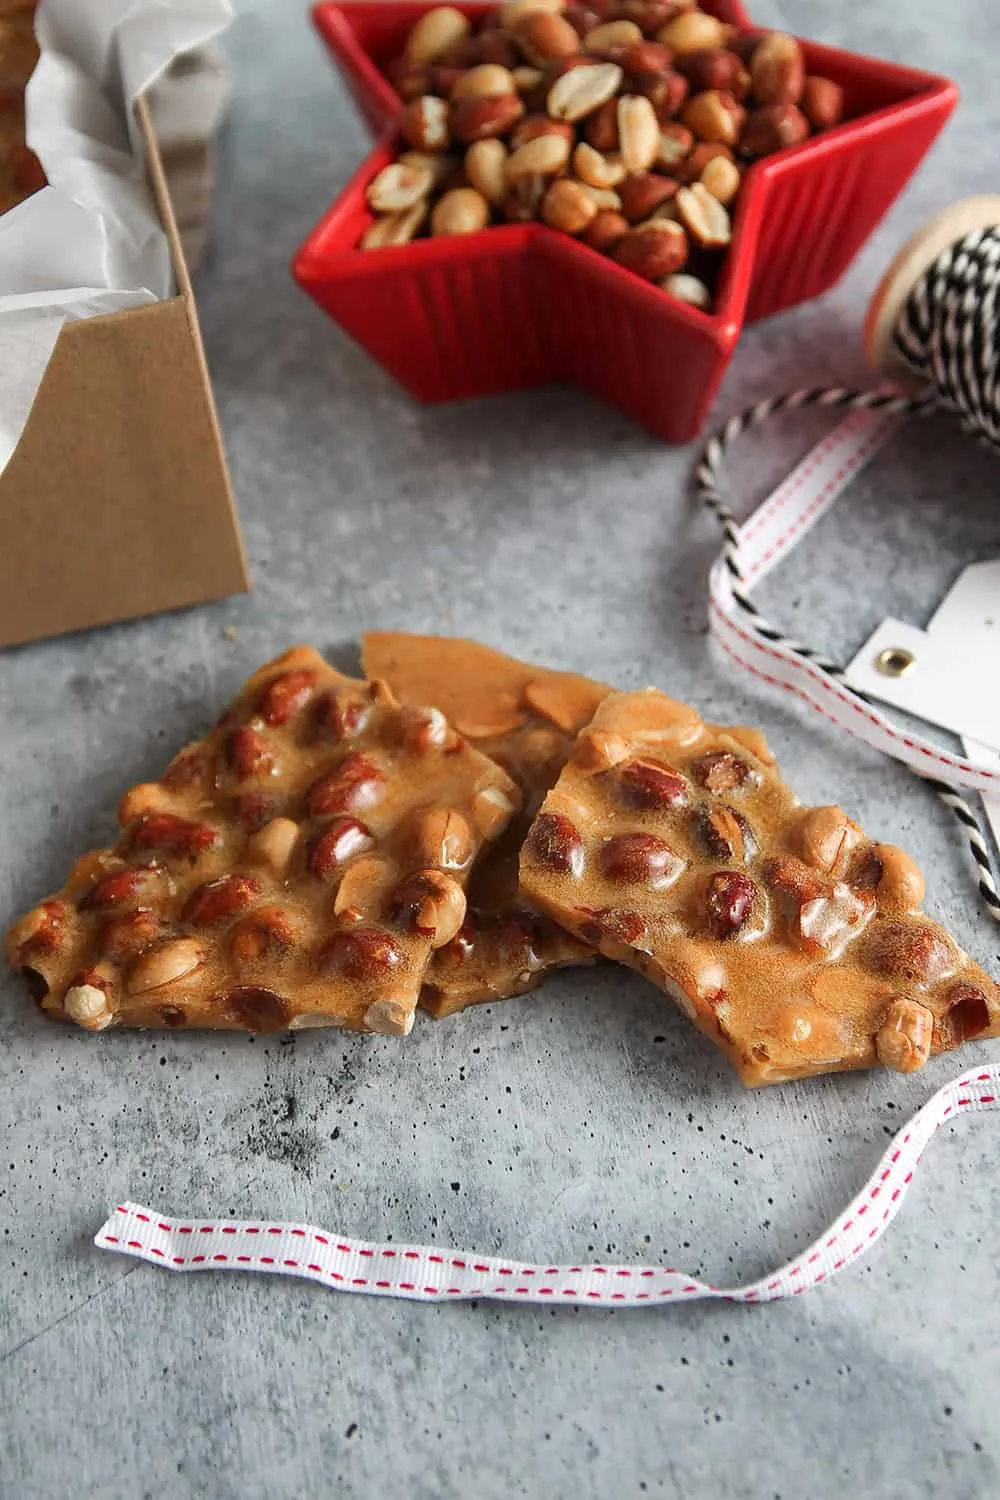
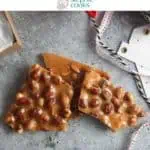
Homemade Peanut Brittle is a classic Christmas candy with a hard, crackly texture and rich flavor. This is a recipe that your family will want to make for years to come.
I’m weird about a lot of things. Number 2,764 is candy thermometers.
My momma taught me how to make candy using an old-school candy thermometer. The round type with the little orange cap on top that looks like it’s right out of the 80s. (Because it is.)
I still have that candy thermometer. It’s certainly as old as I am. I finally had to admit that perhaps it isn’t as accurate as it once was, although I expect I’ll keep that thermometer in the drawer for years purely out of nostalgia.
In buying myself a new candy thermometer, you’d think I could have picked a fancy digital one or an instant read one. But I’m weirdly distrustful of digital candy thermometers.
I don’t know why. Couldn’t begin to tell you. But there’s something I really like about watching that red line go up or down as I make Brown Sugar Fudge, Brown Sugar Caramels, or my personal favorite, Homemade Peanut Brittle.
My grandmother’s homemade peanut brittle recipe
Like so many of my favorite recipes on this site (hello, Fruitcake Cookies, Pickled Cucumbers, and Angel Food Cake), Homemade Peanut Brittle is one of my great-grandmother’s recipes.
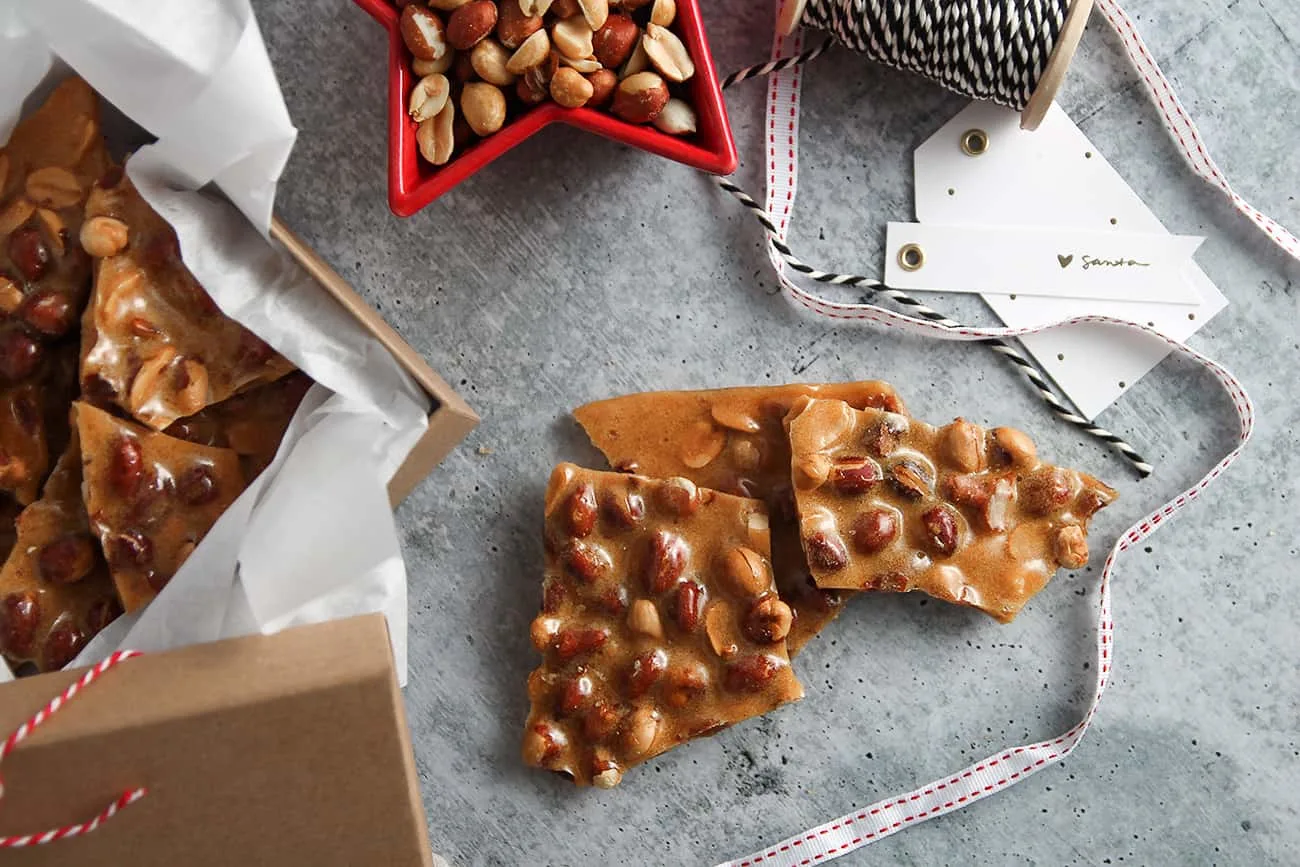
Honestly, Christmas just isn’t Christmas without a batch of Ma-Ma’s Homemade Peanut Brittle. It’s perfect for taking to a party, packaging up to gift to loved ones, or just for sneaking a piece of as you walk through the kitchen.
In my family, there’s a lot of sneaking pieces every time we walk by the container. It’s why a double batch is usually a good idea for us. We just can’t get enough of that crackly texture and rich caramel flavor mixed with the flavor of peanuts.
Ma-Ma’s recipe uses raw peanuts, which can be a bit harder to find than their roasted counterparts. Make sure to check in the produce section (weird, I know) or the bulk section.
Here in Illinois, I can often find raw peanuts at Farm and Fleet – what doesn’t that place have?? So when in doubt, a quick Google search can help you track down the stores near you that carry them.
How to make peanut brittle with raw peanuts
If you aren’t familiar with making homemade candy, don’t panic at the idea of making your own peanut brittle. I’ll help you know what to look for so your candy turns out perfect every time.
Ingredients you’ll need
It’s always a good idea to measure out and prepare your ingredients before you start baking, but it’s especially important when you’re making peanut brittle. Once we start making the candy, it’ll go fast so we want to have everything laid out for each step.
For my homemade peanut brittle, you’ll need:
- 1 1/4 teaspoons baking soda
- 1/2 teaspoon salt
- 1 teaspoon vanilla extract
- 3/4 cup light corn syrup
- 1 1/2 cups sugar
- 3/4 cup water
- 1 1/2 cups raw peanuts
Aside from the raw peanuts, there’s a good chance you have most of what you need for this recipe in your pantry already.
You will also need a candy thermometer. I prefer an analog candy and fry thermometer that clips to the side of my pot, but you can also get a digital thermometer that can be used for meats and frying as well.
Regardless of the kind you buy, it’s a good idea to periodically check your thermometer’s accuracy. Making candy is a precise process, so use a precise tool!
Making this classic candy
Before you get started making your peanut brittle, make sure to measure out your baking soda, salt, and vanilla. You will also need to grease a rimmed baking sheet thoroughly with butter.
After you’ve prepared your ingredients and greased your sheet pan, you can get started cooking!
Add the corn syrup, sugar, and water to a large saucepan. Use a pot bigger than what you think you need.
Place the pan over medium-high heat with the candy thermometer in it and cook, stirring occasionally, until the mixture reaches the soft ball stage (230°F).
Add the raw peanuts to the pot and continue cooking, stirring frequently, until the mixture reaches the hard crack stage (300°F). The peanuts are going to make a lot of popping, cracking, and whining sounds as they cook – that’s normal!
After you add the peanuts, there’s going to be a few minutes where the temperature rises pretty slowly. Don’t let this fool you! Once it gets close to your target temperature, it’ll shoot up pretty quickly so don’t walk away.
Once you reach 300°F, take the pan off the heat and immediately add the baking soda, salt, and vanilla. The mixture will foam up – stir vigorously until the foaming subsides.
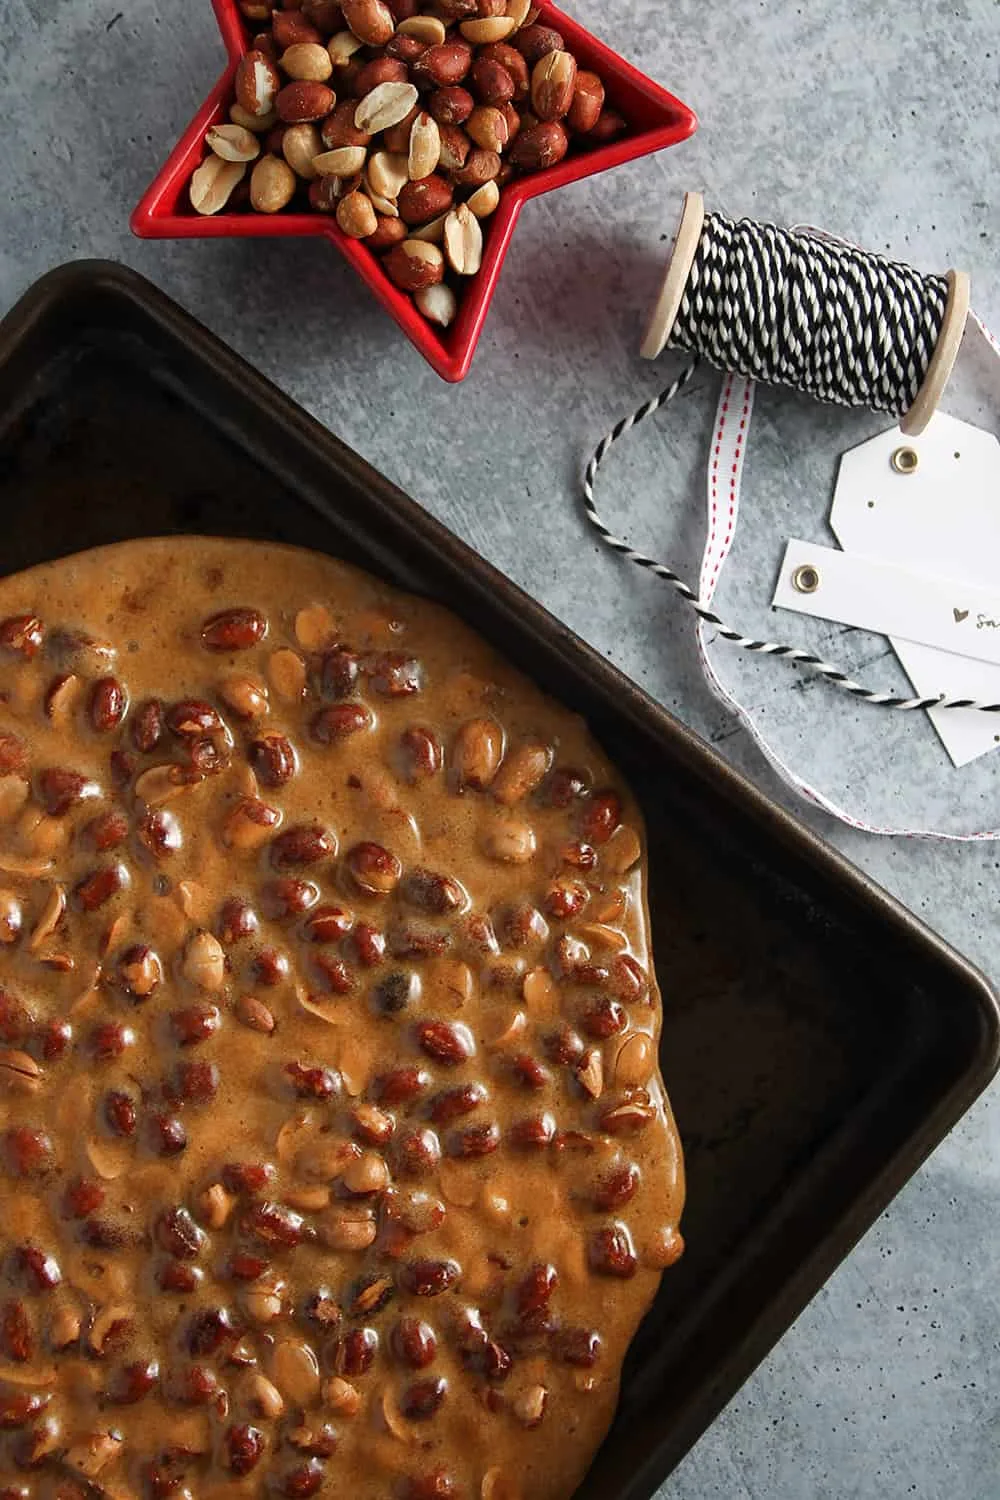
Immediately (carefully!!) pour the candy onto the buttered sheet pan. Use a wooden spoon or rubber spatula to spread it out to your desired thickness.
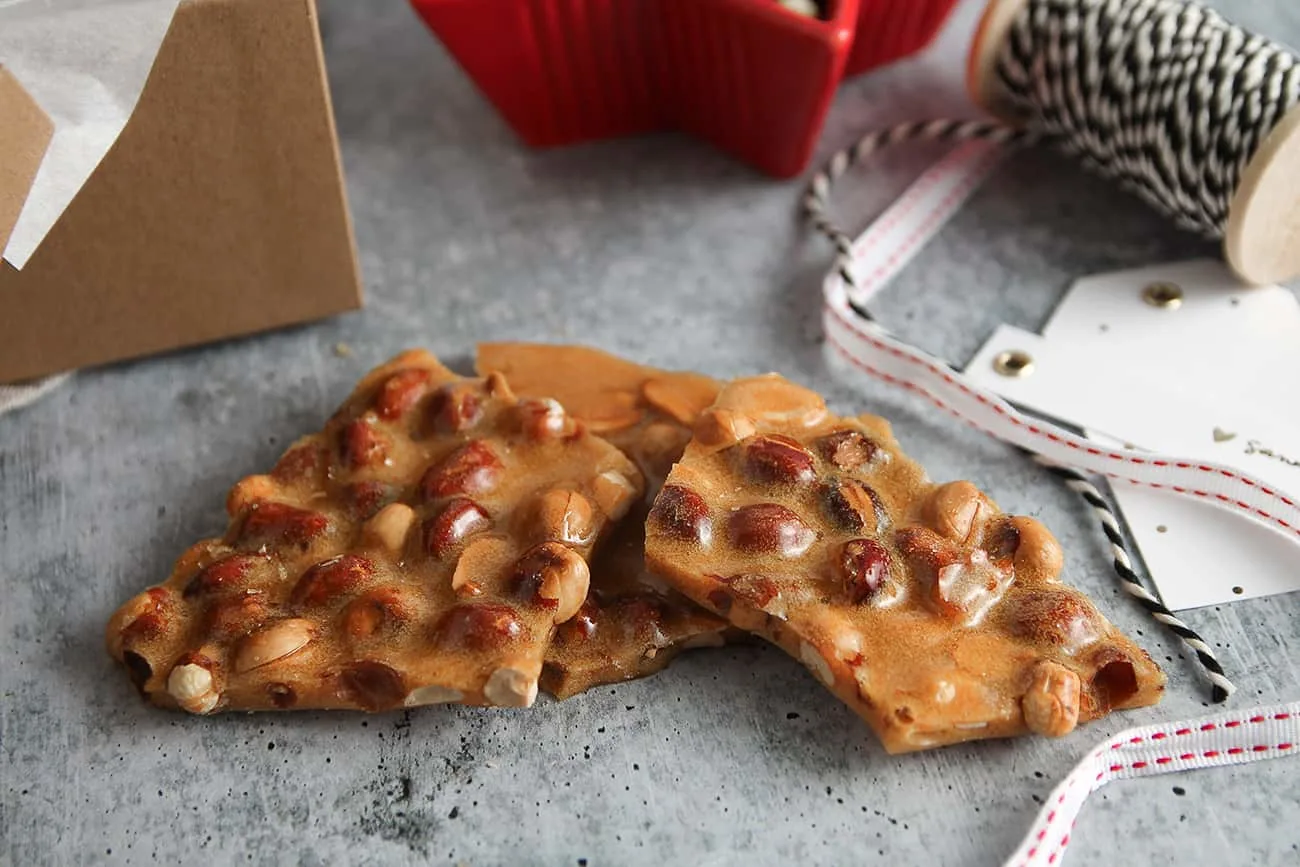
After the candy cools, you can break it into pieces and package it up to gift to loved ones or take along to a holiday party.
Or, you know, just eat by yourself in the privacy of your own home. You do you!
Tips for making homemade candy
I’m a weirdo, so I actually really enjoy making homemade candy recipes. But I know it’s a process that freaks a lot of people out!
If you’re someone who is intimidated by the process, I’ve got a few tips for you:
- Read through the recipe at least twice before you start cooking. Once you start making your candy, the process can move quickly, so it’s important to know what steps are coming up next. Reading through the entire recipe a couple times will help prepare you for the process.
- Prep your mise en place. “Mise en place” is a French term that means “putting in place” and is used in professional kitchens all of the time. It basically means measuring out and preparing all of your ingredients before you start cooking. Remember how I said candy making can move fast? You want to have all of your ingredients ready exactly when you need them, so measure them out ahead of time.
- Don’t walk away! In almost every recipe, there’s a moment where it feels like the temperature is taking forever to change. Don’t be fooled and walk away from the stove! Because as soon as you do, the candy will suddenly seem to jump several degrees and by the time you get back, everything is toast. So don’t get distracted, ok?
Storage
Store your homemade peanut brittle in an airtight container at room temperature. I like to keep a couple of vintage cookie tins on hand for storing mine.
Whatever you do, keep it out of the fridge! The humidity of the refrigerator is the worst enemy of candies like this.
Stored properly, your peanut brittle will easily stay good for at least a couple of weeks. Now, whether you can refrain from eating it all for that long? That’s another story.
Homemade Peanut Brittle
Equipment
Ingredients
Instructions
- Use butter to thoroughly grease a large cookie sheet. Set aside.
- Measure out baking soda, salt and vanilla into small bowls. Set aside.
- In a large saucepan, cook corn syrup, sugar and water over medium-high heat to soft ball stage (230 degrees F), stirring occasionally. Add raw peanuts. Continue to cook, stirring frequently, to the hard crack stage (300 degrees F). As the peanuts cook, they will start to make popping, cracking or whining sounds.
- Remove from heat and immediately add the baking soda, salt and vanilla. The mixture will start to foam; stir vigorously until the foaming subsides. Pour the mixture onto the prepare cookie sheet, spreading it out to the desired thickness with a wooden spoon or a rubber spatula.
- Let candy cool. Once hard, break into pieces and store in a tin for up to a week.


I loooooove peanut brittle! Salty and sweet is alll me! Enjoy your vacation from the blog world!
You’re seriously inspiring me to try all sorts of new baking recipes. I’ve never made peanut brittle at home but have always loved it. My family is also huge on peanut brittle, so if I have time when I’m home, I’ll try your recipe!!
I cannot believe I have not ever had peanut brittle. That lucky duck Santa gets peanut brittle!