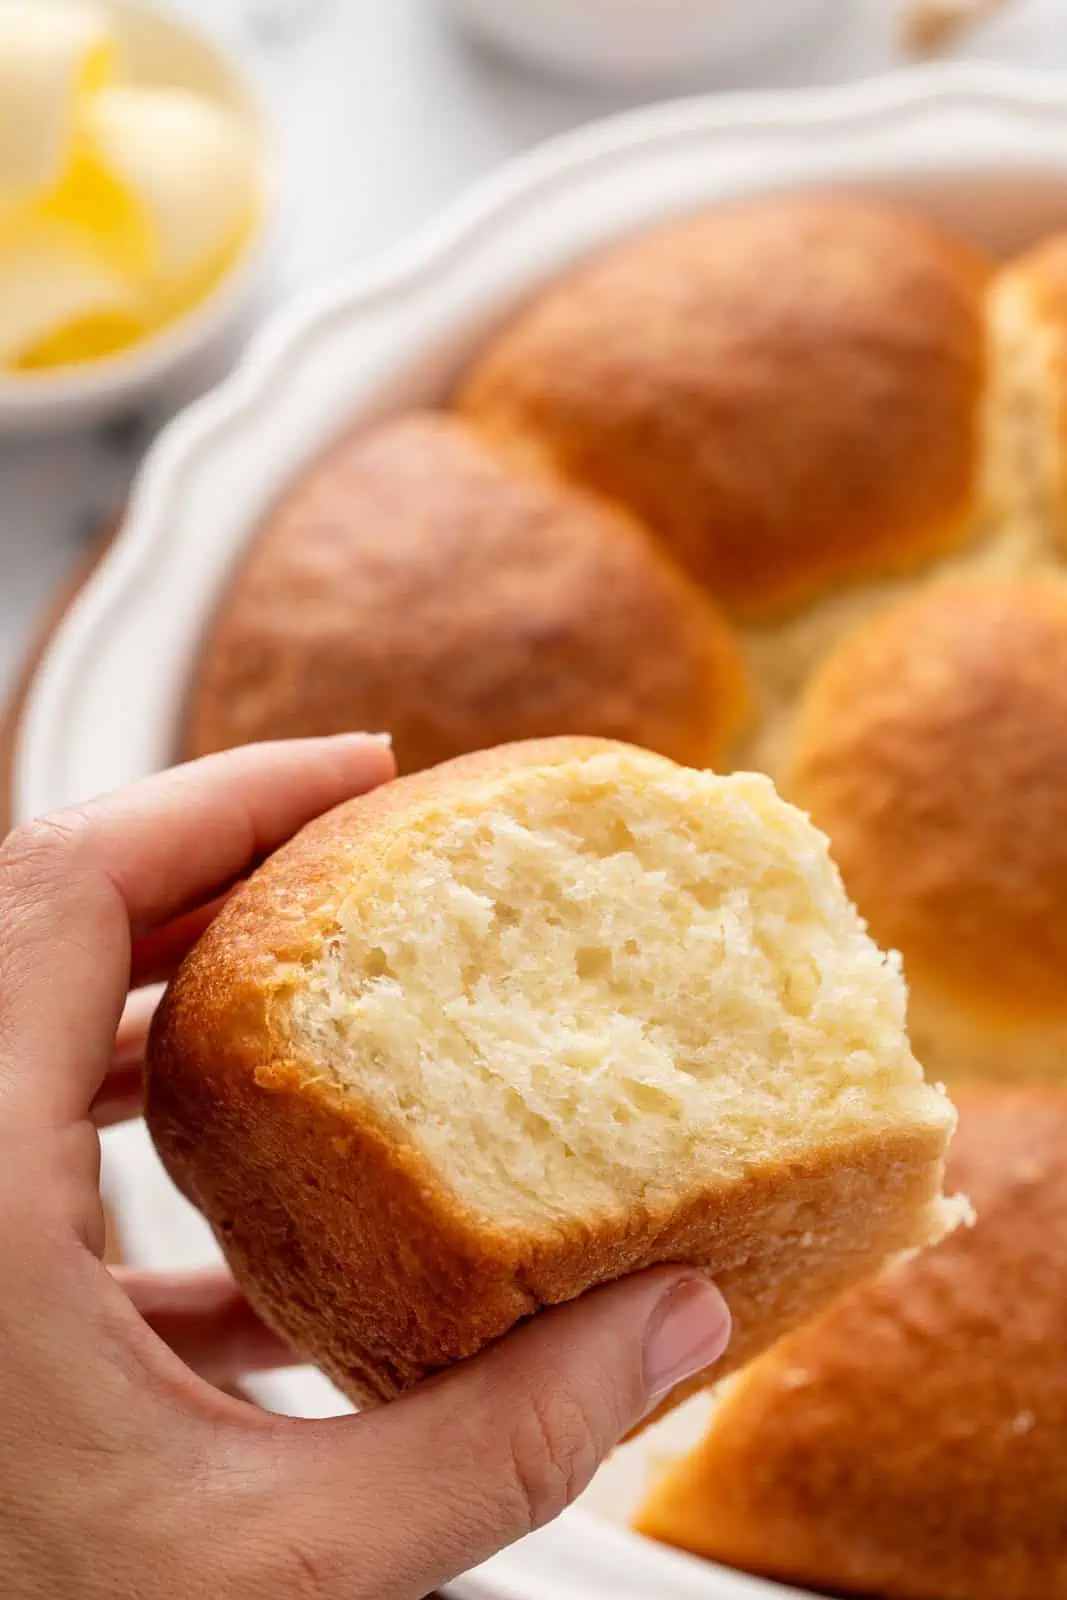
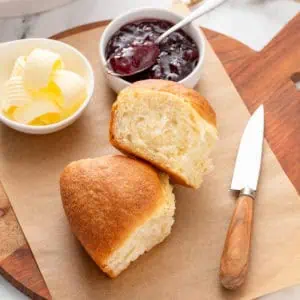
The fluffiest refrigerator rolls come from the easiest, no-knead dough. These dinner rolls are a hit at every holiday meal!
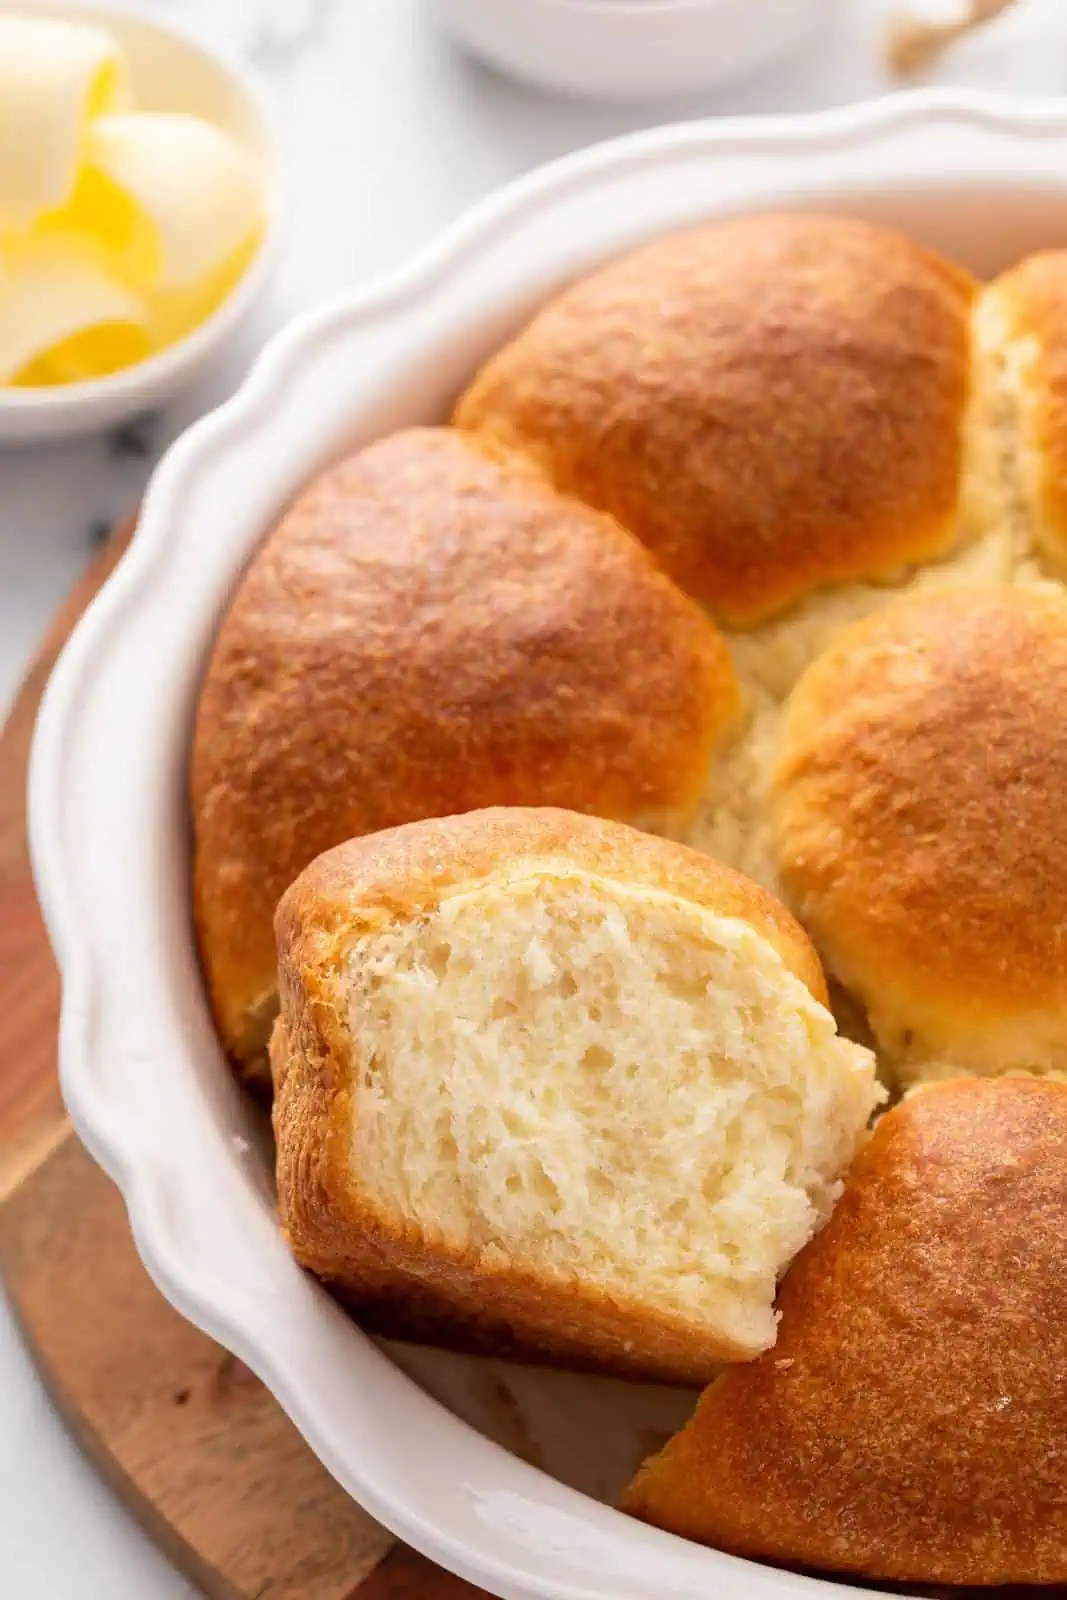
If there’s one thing my family loves, it’s carbs. We go bananas for everything from frosted orange rolls to angel food cake and everything in between.
And we REALLY love dinner rolls.
This recipe for fluffy no-knead refrigerator rolls comes from my great-grandmother’s recipe box. It’s pretty much a must at all holiday meals.
These rolls are so light and fluffy, our nephew used to call them “sponges” when he was a toddler. There was one Thanksgiving where I’m pretty sure these “sponges” are the only thing he ate.
And honestly, a toddler’s seal of approval is about the highest compliment you can get.
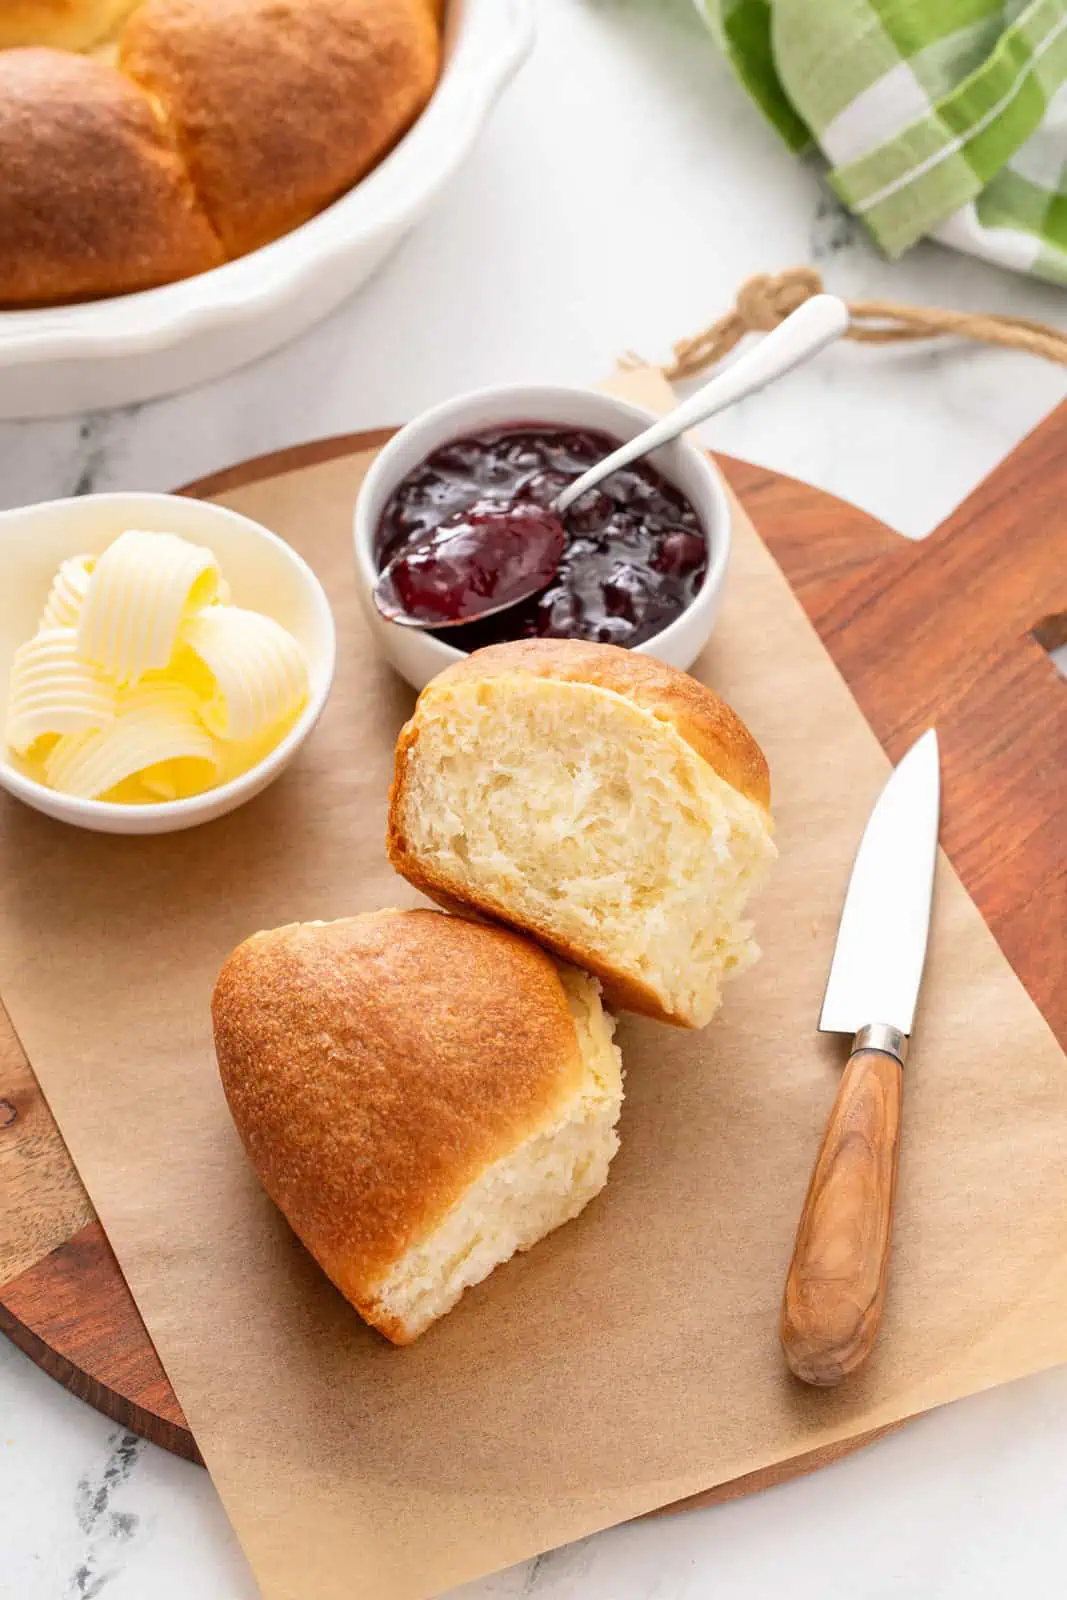
Easy refrigerator dinner rolls
This recipe was originally given to my Ma-Ma by a woman named Nancy Nanovski, who lived across the street from my mother’s family when she was growing up.
Nancy is known in my family for two things: this refrigerator roll recipe, and her “cleaning tip” that she would give to young women who were getting married: leave the vacuum cleaner out all of the time so that if someone stops by unexpectedly, they will think they interrupted your cleaning and automatically forgive your mess.
I think Nancy and I would have been friends.
There’s a reason this recipe has become famous in my family. You mix up the dough up to 48 hours before you need to bake the rolls, toss the dough in the fridge to rise, and pull it out when you’re ready for dinner rolls.
No kneading, no waiting around for multiple rises, no fuss. They’re a great alternative to Texas Roadhouse rolls if you need something that’s a little easier to make.
I make these almost every Thanksgiving because I can mix up the dough 1 or 2 days ahead of time and it’s way less to add to my day-of to-do list.
Added bonus: You can bake these rolls into 2 or 3 smaller cake pans. Keep one pan for yourself and share the second pan with a friend or neighbor.
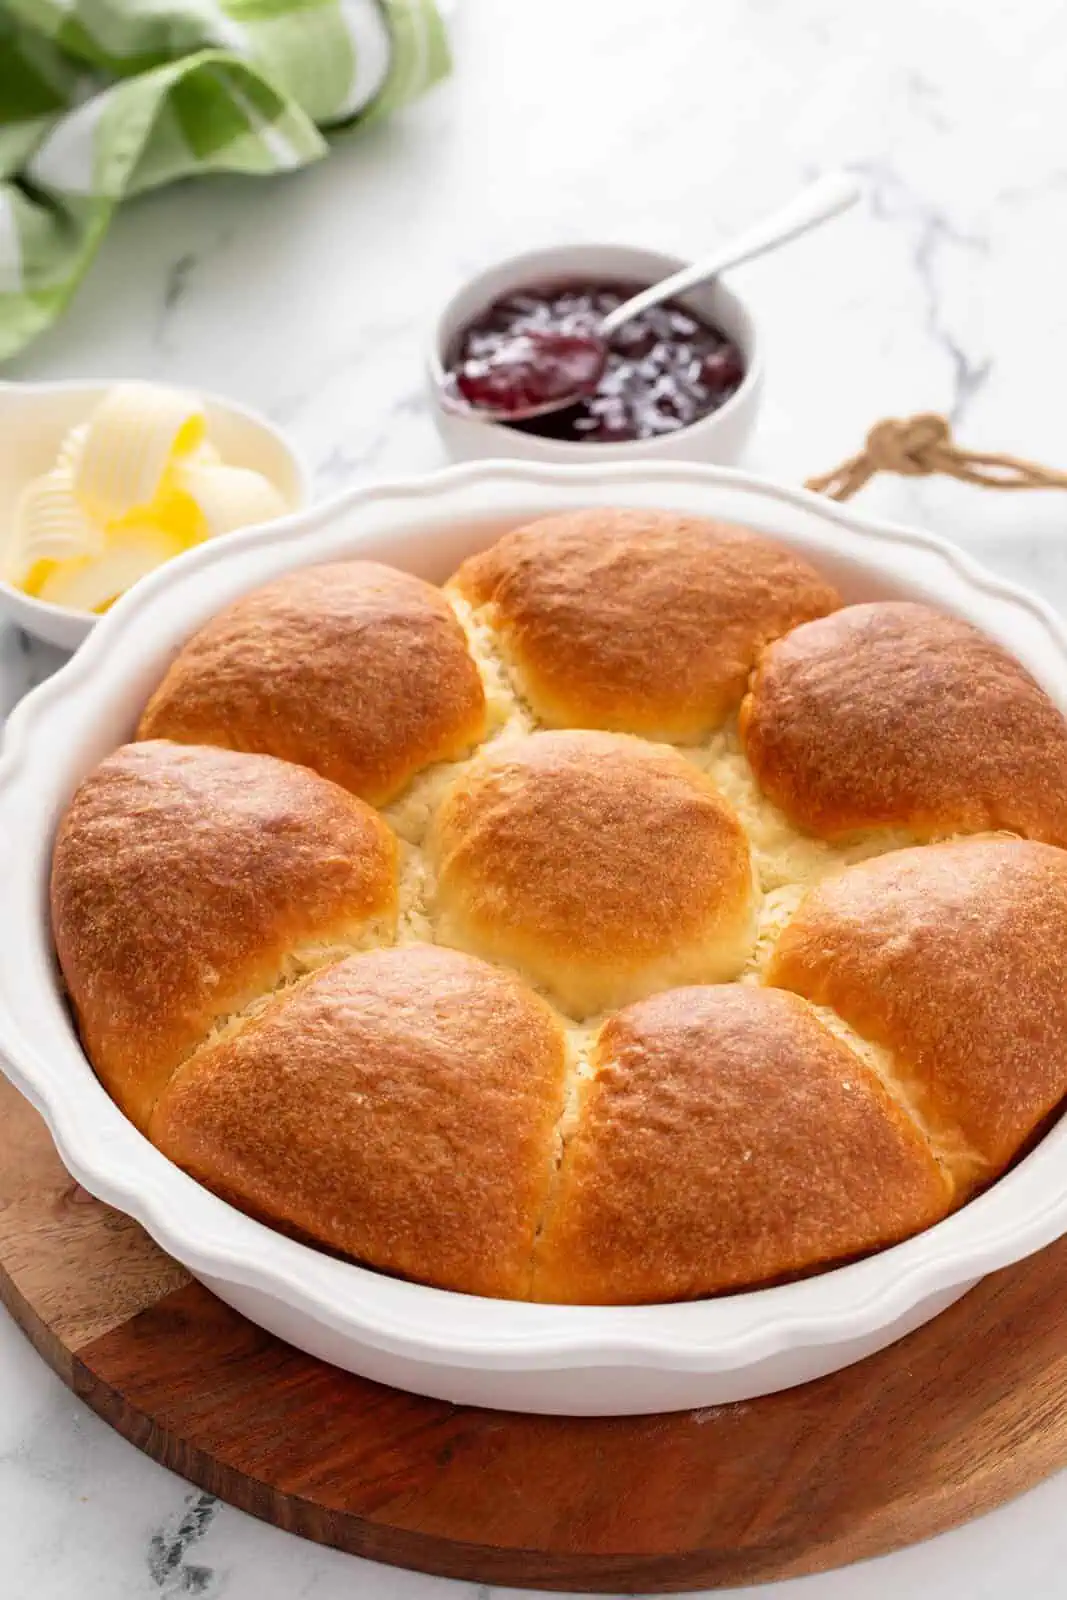
How to make no-knead refrigerator rolls
One of the best thing about Nancy’s refrigerator rolls (as they’re known in my family) is that they’re incredibly easy to make. Honestly, you don’t even need a mixer to make them – the dough comes together quickly with just a large bowl and a spatula!
I have friends ask me all the time for recommendations on easy dinner roll recipes around the holidays, and I always send them this recipe. I’ve had friends who have never made yeast rolls before pull these off perfectly.
Ingredients you’ll need
Since this is a no-fuss recipe, you probably won’t be surprised that the ingredients list is pretty simple. You’ll need:
- 1 cup shortening
- 1 teaspoon fine sea salt
- 1/2 cup granulated sugar
- 1 cup boiling water
- 2 packages instant yeast
- 1 cup warm water
- 2 large eggs
- 6 cups all-purpose flour
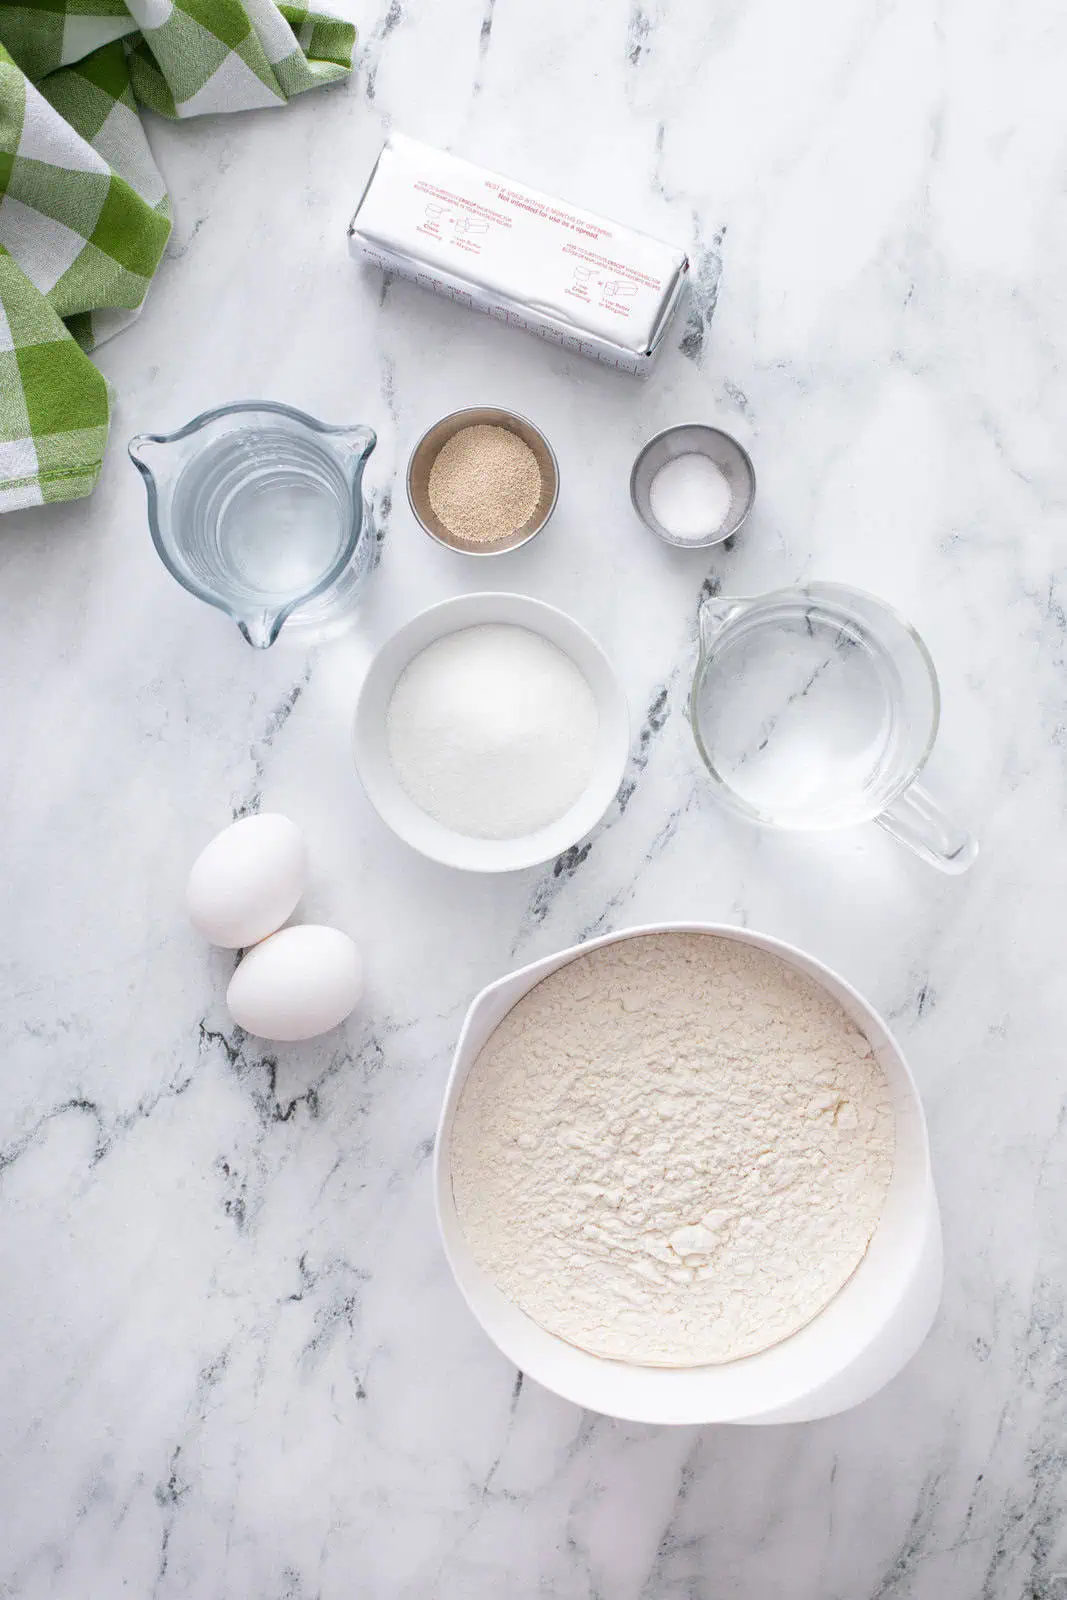
You know this is a vintage recipe when you see shortening in the ingredients list! If you are really opposed to using shortening, I have substituted butter in this recipe with no issue.
You can also use butter-flavored shortening if you like.
This recipe uses instant yeast. My personal favorite yeast to use in these rolls is Red Star Platinum Yeast – it makes the rolls super fluffy and amazing. But if you can’t find the Platinum Yeast, regular instant yeast works great!
If you are using a jar of yeast instead of packets, 2 packets of yeast is equal to 4 1/2 teaspoons.
Making these rolls
At least 6 hours or up to 2 days before you plan to serve these refrigerator rolls, mix together your dough.
Add the shortening, salt, and sugar to a large mixing bowl. Add the boiling water; mix to combine and let the mixture cool. Don’t stress if the shortening doesn’t melt completely.
Dissolve the yeast in the warm water. Add this to the bowl with the shortening mixture along with the egg, whisking to combine.
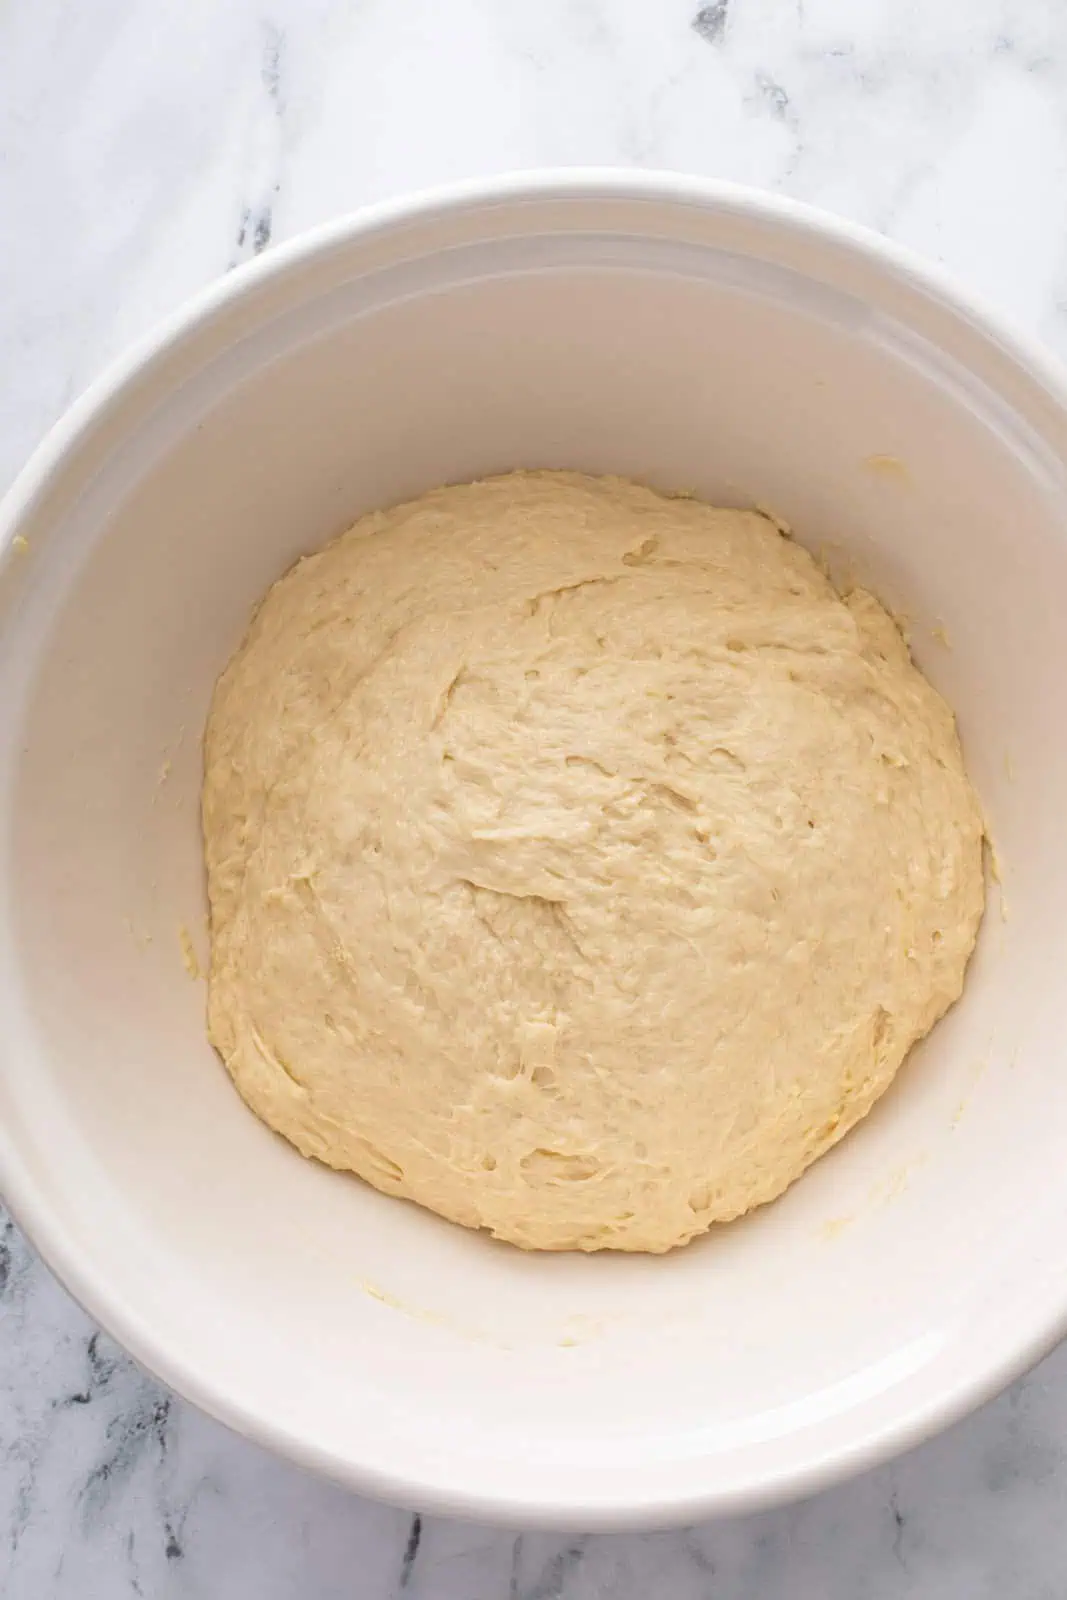
Switching to a spatula or wooden spoon, stir in the flour until the dough is well combined. The dough will be sticky – that’s ok! It’ll be less sticky after rising in the fridge.
Cover the bowl. If it has a lid, feel free to use that; otherwise, lightly grease a piece of foil or plastic wrap to cover the bowl. Place the dough in the refrigerator for at least 6 hours or up to 48 hours.
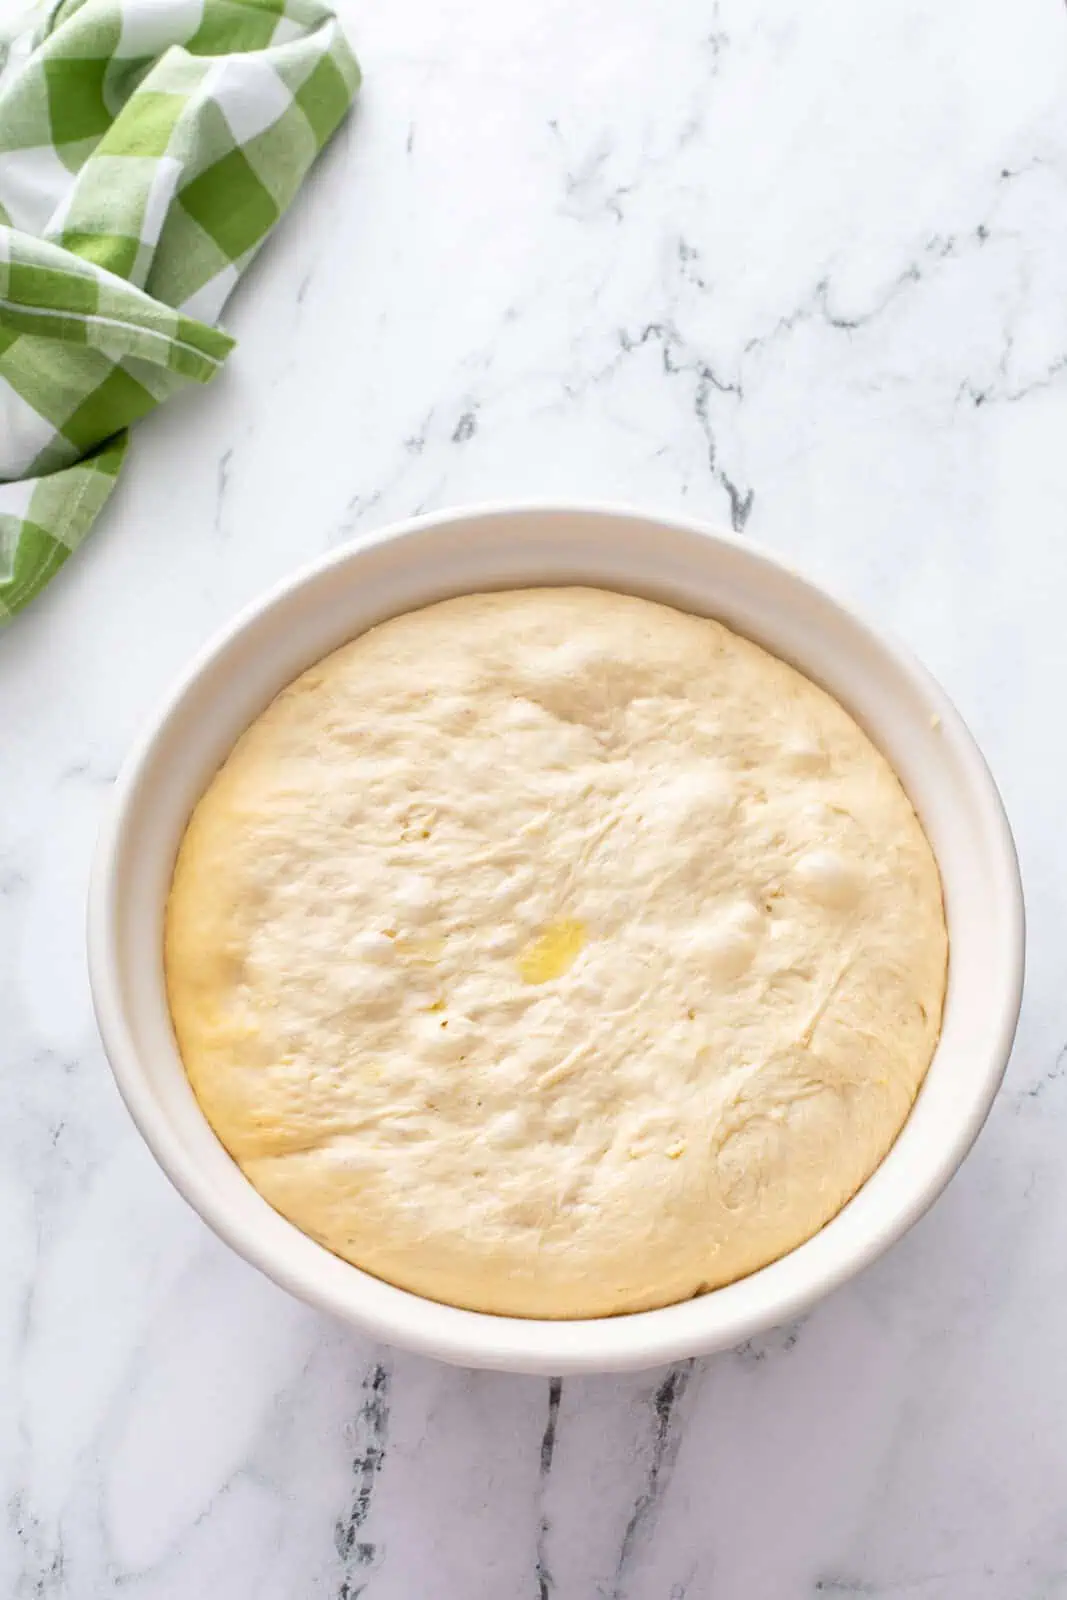
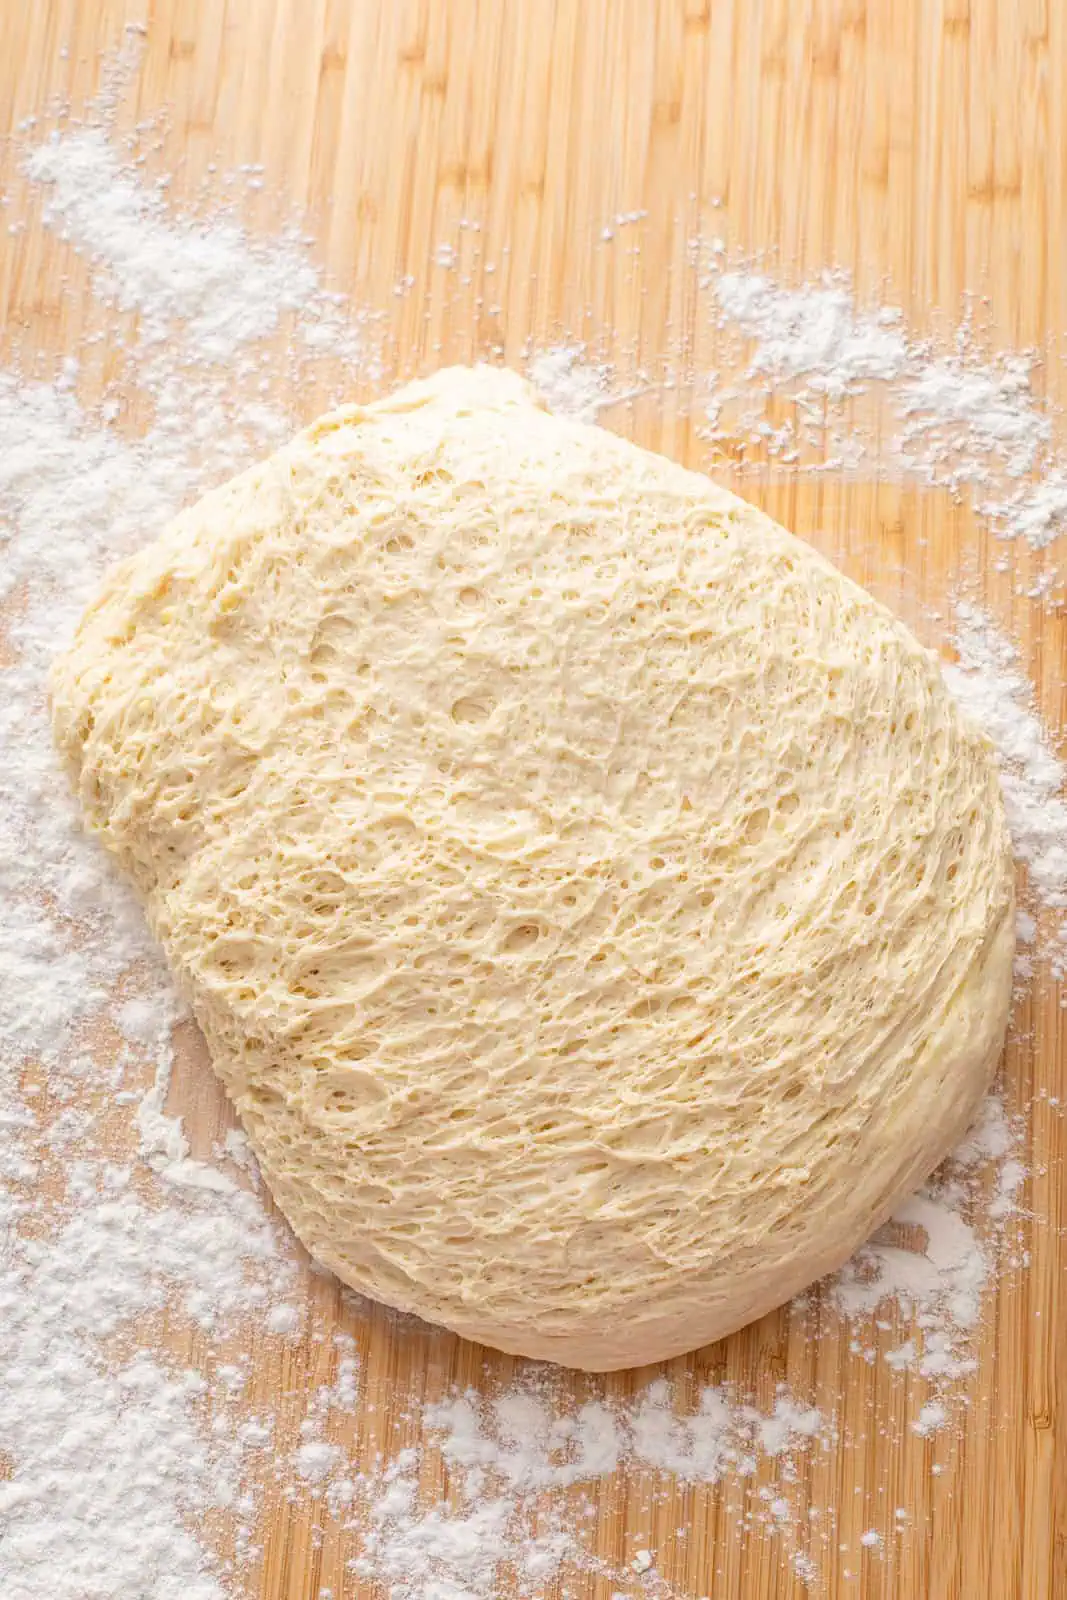
When you’re ready to bake the rolls, turn the dough out onto a lightly floured surface. Divide the dough into 16 pieces.
When forming the rolls, I like to tuck the edges of each piece under until the top of the dough is taught, almost like a bubble. Set the dough “bubble” side up on on the counter and roll it between your hands in a clockwise motion.
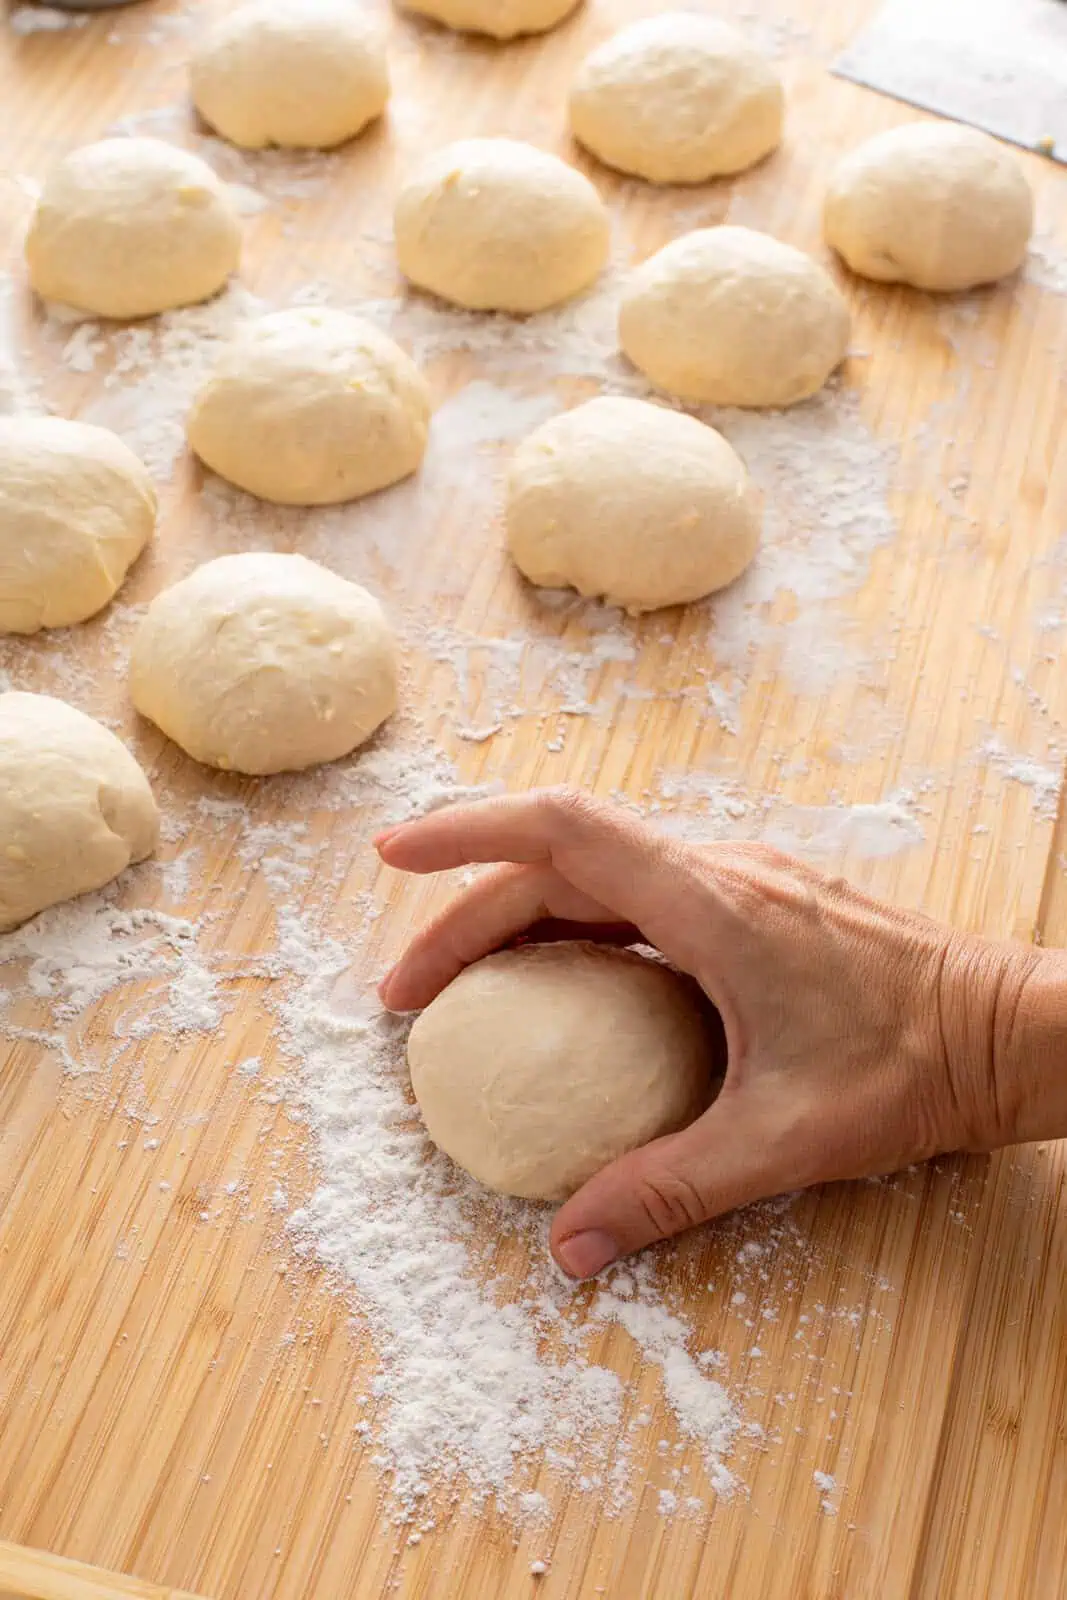
This will tighten up the dough nicely for you.
Arrange the shaped rolls in 2 or 3 greased smaller cake pans or 1 greased 9×13-inch pan. Cover lightly and let rise in a warm place for 1 hour, or until the rolls are about doubled in size.
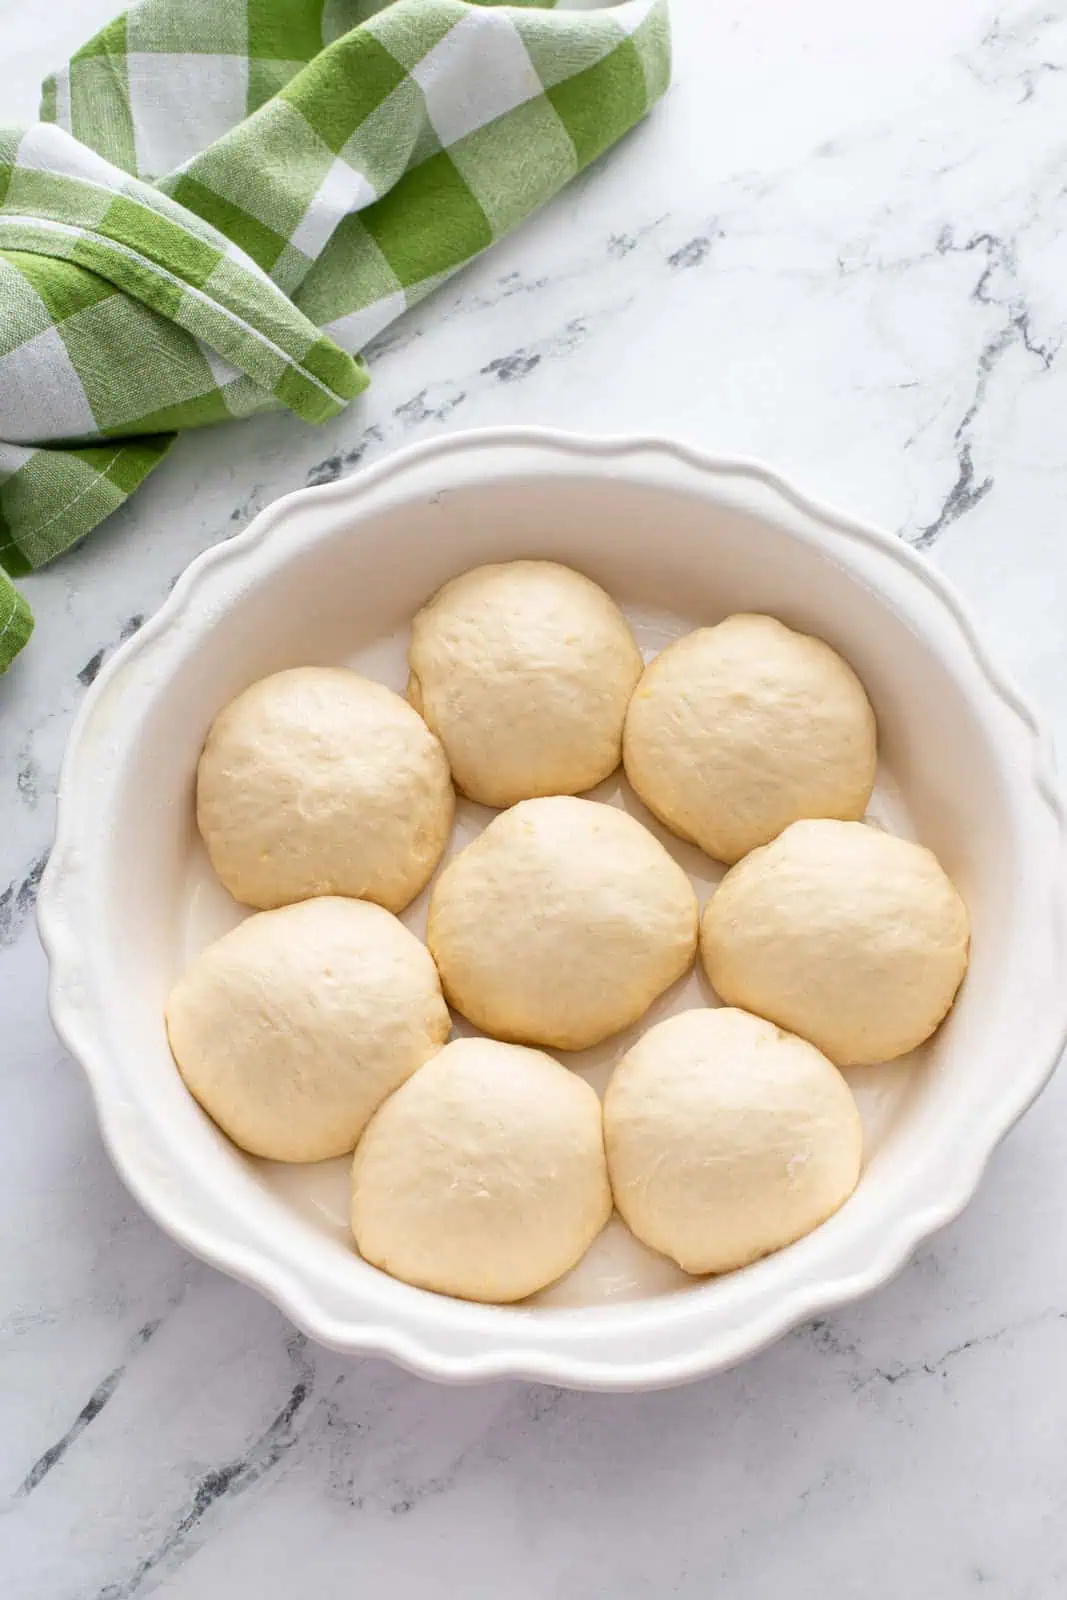
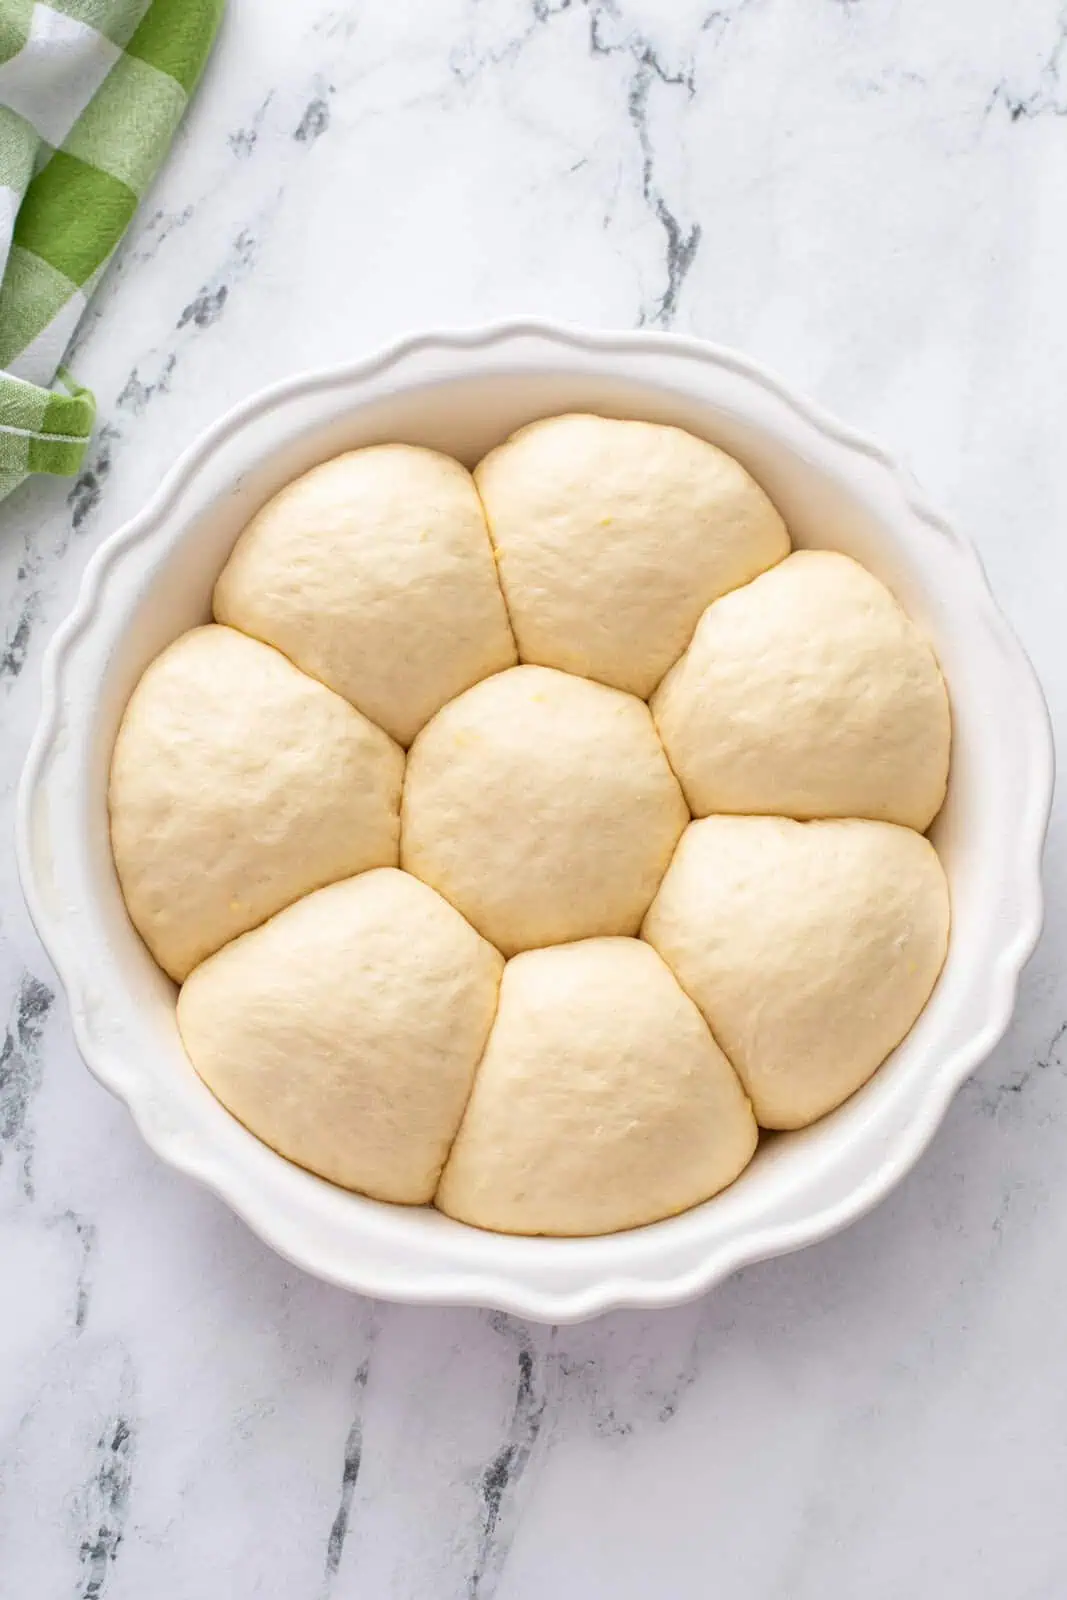
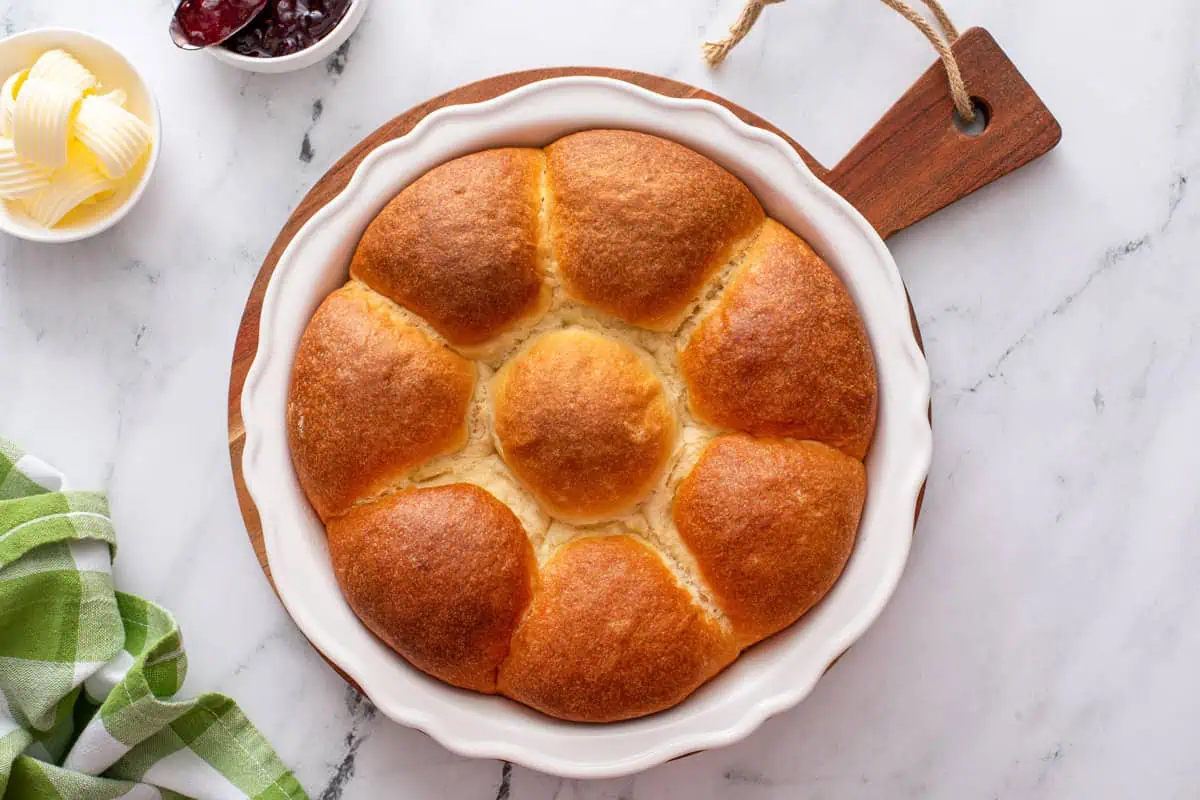
Bake the rolls at 425℉ for 20-25 minutes. They’re done when they’re deeply golden brown on top and the center of the rolls reads 190℉ on an instant-read thermometer.
I’ll often even brush the tops of the rolls with some melted butter after pulling them from the oven. Because really, who doesn’t love some extra butter?
Serving suggestions
These refrigerator rolls are incredible with everything from roasted turkey and cranberry chutney at Thanksgiving to roasted leg of lamb at Easter to crockpot corn chowder on a random Wednesday evening.
I love topping these rolls with butter, especially cinnamon honey butter. But don’t shy away from adding your favorite jam or fruit butter, such as instant pot persimmon butter!
Fluffy No-Knead Refrigerator Rolls
Ingredients
- 1 cup shortening
- 1 teaspoon fine sea salt
- 1/2 cup granulated sugar
- 1 cup boiling water
- 2 packages instant yeast 4 1/2 teaspoons
- 1 cup warm water
- 2 large eggs lightly beaten
- 6 cups all-purpose flour
Instructions
- Dissolve shortening, salt and sugar in 1 cup of boiling water in a large mixing bowl. Mix and let cool (shortening does not need to completely melt).
- Dissolve yeast in 1 cup of warm water. Add to the cooled shortening mixture along with the eggs. Whisk thoroughly to combine. Stir in the flour until well combined.
- Top the bowl with lightly greased foil and place in the refrigerator for at least 6 hours or up to 48 hours.
- When ready to bake, remove dough from the refrigerator. Gently turn dough out onto a lightly floured surface and divide into 16 equal pieces. For each piece, tuck the edges under until the top of the dough is taught, like a bubble of bubble gum. Then place the roll on the floured surface, "bubble" side up, and roll it between your hands in a clockwise motion to tighten up the roll. Repeat with each dough piece.
- Place rolls in 2 or 3 greased cake pans or 1 greased 13×9-inch pan. Cover lightly and let rise for one hour.
- While rolls rise, preheat oven to 425℉. Bake rolls for 20-25 minutes, until deeply golden on top and the center of the rolls reads 190℉ on an instant-read thermometer.




Lemme borrow your shortening and I’m totes making these! Or you can just bring over a pan and get your chickpea fix =) Bring the fam bam
I’ll be there pronto.
These look perfect! I was just thinking I need an easy roll recipe for Thanksgiving!
These are so easy! And perfect since you can make the dough the day before
Yum! These look delicious! And kudos to you for bringing attention to Stop Hunger Now 🙂
You already know how much I love these rolls. Now you see why Uncle Bob ate so many of them that Christmas. May I point out that you know how I always told you that I usually lost a point or two for my presentation? Yeah. That wouldn’t have happened with you. These seriously look like those perfect ones you buy in the freezer department. Bravo!! Ma-Ma would have been so proud of you. xoxo
I forgot to write about Uncle Bob! Man. Problems with writing late at night.
bahahaaa Nancy sounds hilarious! These rolls look DELICIOUS-looove how simple they are. Yum yum yummm
I truly wish I could have met her!
Love the way these rolls look, such a great thing you are doing Red Star!
Thank you, Cheri!
Please explain the roll up process. It is a bit unclear to me. Thanks.
Hi Deby – Here is a link to a video that might help you: http://youtu.be/5Q_HaC8NgPg – Basically, you want to get the edges tucked under, then “tighten” the roll by rolling it on the countertop, as you can see in the video. (It’s a bit hard to explain in recipe instructions, I will admit. Sometime I’ll make my own video to help explain!)
Your rolls look so good and easy to make. I can’t wait to make them!
Thank you so much for attending week 8 of #PureBlogLove and linking your fantastic blog post. These buns sound fantastic! I can’t wait to see what you have in store for our party next week Thursday 8 PM EST- Sundays at midnight. Your post has been added to the #PureBlogLove Pinterest board for all to see 🙂 Have a great day!
Nicole
http://picnicnz.blogspot.co.nz/
I can smell that warm yeastiness from here! Mouthwatering! Thanks as always Stephie for sharing at #theWeekendSocial. I love seeing what you bring to our table. Hope to see you again Thursday 9:00 PM EST. Pinned. http://www.theKitchenChopper.com
I’m loving all the carbs on your site lately. This is such a great cause. This recipe is the perfect way to celebrate.
Thanks for coming and linking up at #TheWeekendSocial. Please be sure to come back this week starting Thursday at 9PM EST on KitchenDreaming.com ! I hope to see you there! Pinned
Hello – when you say shortening – can I use butter instead, or stick with the shortening? thanks this looks great and can’t wait to try it.
Hi Barbara – You should be able to substitute unsalted butter with no problem.
Hi,
May I ask if I could replace shortening with butter? Thanks:)
You should be able to use butter in this recipe with no problem.
can you use any other yeast if you can not find the red star, I use fleischmann’s, do I use regular or rapid rise
Hi Kathy – You can buy Red Star Platinum yeast online if you are having trouble finding it in stores. Otherwise, you can use an instant/rapid rise yeast of your choice.
Just wondering can they be cooked right away instead of putting in frig? How would you do that
. Thanks for any help!
Hi Corinne – They need the time in the refrigerator to rise and to “age” (which sounds weird, but is really a good thing when you’re talking about yeast and bread dough). You can make the dough up to 48 hours ahead of time, though, so it can just hang out in the refrigerator until you’re ready to bake! If you’re looking for a roll recipe that can be baked all in one go, check out my Texas Roadhouse Rolls.
This recipe is a big hit every time! I was nervous about making them ahead, but it works just beautifully. Thanks for the easy-to-follow instructions. My new son-in-law LOVES these rolls. 🙂
Yay! I am so glad you all love them, Judy!
I’m a sucker for a good bread and these rolls look delicious and easy. I love that it makes extra….perfect for the freezer! Can’t wait to give them a try. Pinning now!
Can I use only half of the dough to bake and save the rest for the next day?
You should be able to keep the dough in the refrigerator for up to 48 hours, so as long as you stay within that window you should be fine! You could try going longer but I can’t vouch for how that would go.
Why water and not milk please and Thank you
That’s a question for my great-grandmother – who, unfortunately, is no longer with us! I just follow her recipes and don’t question her southern wisdom. The recipe works so it works for me!
These are simply perfect. Trying for Christmas!
Thank you! I hope you enjoyed them!
These look amazing! Love that they are no knead and fluffy!
Thank you!
Holy fresh baked rolls how I need you in my life !
Can’t argue with that!
Can i use butter instead of shortening? Thanks a lot!!
You sure can.
Hi,
I want to do it today but i have one question, 1cup shortening – how much is that in grams?
Hi ,
I’ve check already in internet because I couldn’t wait so long for the answer…. In my country we bake always with grams that’s why I was asking. I didn’t want to make a mistake. They were good but little bit dry when they cooled down, maybe too long bake, but still my family likes them;)
They look yummy
This is like the recipe that my Mom would make when we were kids.
I have the ingredients written down, but not temp to cook or how long.
Thanks! Making them tomorrow!??
I hope you enjoyed them!
Hi, do you need to give them extra time to rise just coming out of the refrigerator?
Once you remove the dough from the fridge, you shape them and let them rise for a bit before baking. Hope this helps!
My daughter made these for Thanksgiving. Not only was the recipe surprisingly easy and directions straightforward, these were the best, fluffiest rolls we’ve had in a long time. Thank you so much! A few days later, I’m in the middle of making a second batch because everyone wants more!
I love hearing this, Joyce! Thanks so much for sharing!
These rolls were terrible. I made them for Thanksgiving and Zi had to throw them out. Thank God I bought rolls at the store in case the recipe was a disaster which is was.
Hi Marie – Thanks for sharing your feedback. I’m sorry the recipe didn’t work out for you; I know how frustrating that can be, especially during a holiday. In the future, it would help other readers to know a bit more about what didn’t work for you, rather than just saying that the recipe was terrible and doesn’t even deserve one star. Was the dough to sticky and hard to work with, did the dough not rise, etc – that way other readers can know what to look out for. Have a great day.
It doesn’t even deserve one star.