This is a sponsored post with Red Star Yeast, but all opinions are 100% my own.
MORE BREAD!
That’s not just a proclamation that yes, I am giving you another bread recipe today (because clearly that is the case), but also pretty much what I am thinking on a 24/7 basis. Some people crave chocolate. I crave bread. Bread, bread, bread.
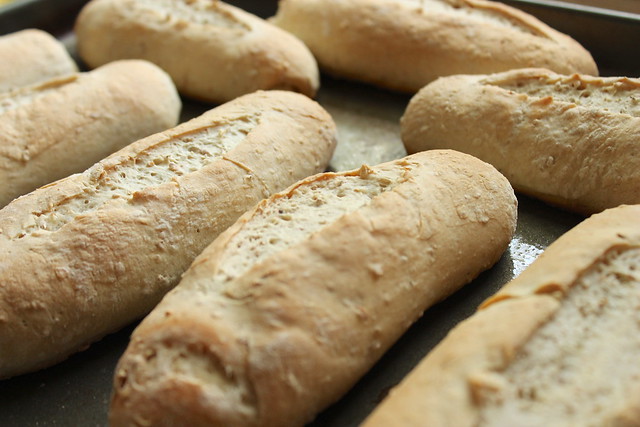
Summer is coming to a close, which means that cooler weather is in store. Cooler weather = soup weather. And these Sourdough Cracked Wheat Rolls? They’re some of the most perfect soup rolls I’ve made in a while. They have a crusty, chewy exterior and a soft interior, perfect for dipping into a nice warm bowl of broccoli cheese soup – not that I have a favorite kind of soup, or anything. The cracked wheat adds just the perfect toothsome bite, making these into just the perfect heart roll. And because we use a little bit of our ever-reliable Red Star Yeast in our dough in concert with the sourdough starter, we are able to create a slightly tangy sourdough roll with a fraction of the rising time.
Are you a new EYHO reader, or perhaps still exploring the idea of baking with sourdough (or yeast in general)? I wrote a whole post dedicated to explaining how sourdough works (complete with an easy starter recipe), but the fine folks over at Red Star Yeast also have a whole host of lessons on yeast and baking available on their website to help you make the most of your bread-baking experience.
Recipe from Red Star Yeast.
Sourdough starter recipe and instructions.
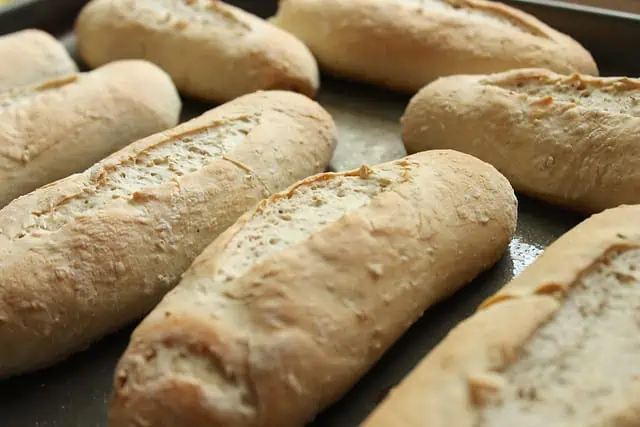
Sourdough Cracked Wheat Rolls
Ingredients
- 3 cups bread flour
- 1 package 2 1/4 teaspoons Red Star Active Dry Yeast
- 1/3 cup cracked wheat
- 2 teaspoons salt
- 1 tablespoon sugar
- 1 cup sourdough starter
- 3/4 cup water
- 1 tablespoon vegetable oil
Instructions
- In the bowl of a stand mixer fitted with a dough hook, combine 1 cup of the flour with the yeast, cracked wheat, salt, and sugar.
- In a microwave-safe bowl or measuring cup, combine the water and the oil. Microwave on high for 30-45 seconds, until warm (but not hot). Add the warm water mixture and the sourdough starter to the dry ingredients. Beat for 4 minutes on medium speed. Gradually add the remaining flour, about 1/2 cup at a time, and knead for 5-7 minutes until the dough is smooth and elastic. Place in a lightly oiled bowl and turn to grease the top. Cover lightly with a tea towel and let rise until doubled in size, about a hour.
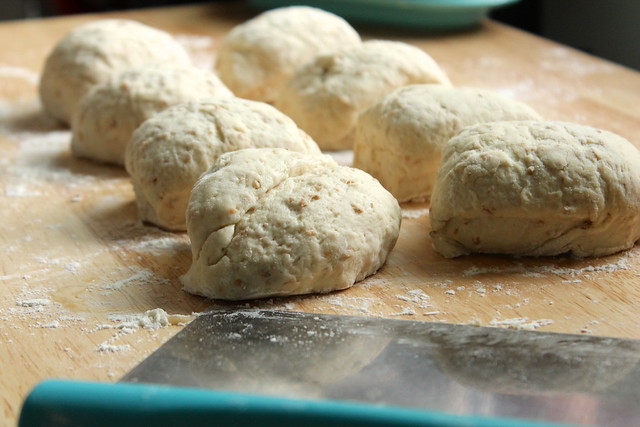
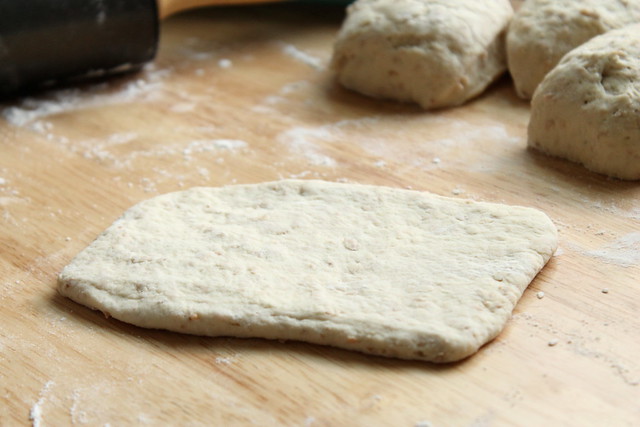
- Turn the risen dough onto a lightly floured surface and gently press or "punch" down to remove air bubbles. Divide the dough into 8 equal pieces. On a lightly floured surface, roll each dough into a 4x6-inch rectangle; then, starting with the longer side, roll up each rectangle tightly, pinching the edges and ends to seal.
- Place shaped rolls onto a greased baking sheet. Cover and let rise until doubled again, about 1 more hour. Near the end of the rising time, preheat oven to 400 degrees. With a sharp knife, make a lengthwise slash down the center of each roll and brush or lightly spray with cold water. Bake for 20-25 minutes or until browned. Remove from cookie sheet and cool on a cooling rack.
Follow Red Star Yeast on Facebook, Twitter, Pinterest, and Google+ for more great bread recipes and baking tips and tricks.

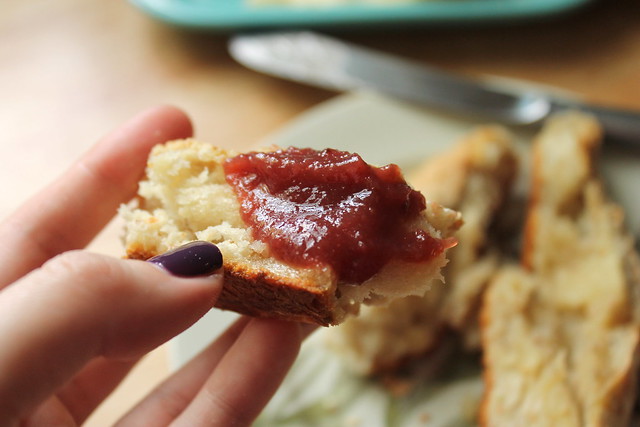
I crave both chocolate and bread all the time. And now these rolls and broccoli cheese soup. My pants already hate me.
Tell your pants I’m sorry. But not really.
Mmmmm I do love this bread!!! All seasons are bread season when you’re Kayle 😉
I’m always craving bread! 🙂 Wishing I had a sandwich made with those rolls right now. Thanks for baking our recipe. ~Linda@RSY
Love baking bread. Can’t wait to try this recipe.
This is why we are friends. The bread cravings! Always. PS love the nail polish!
I can’t wait for cooler weather to arrive so I can spend more time in the kitchen baking bread!
I want to stuff your buns with things. Whooooa inappropriate! But really, these buns would be PERFECT for meatball sub sandwiches! I’m excited for soup weather and could definitely see dunking these beauties in a bowl of chili!
Yum! These sourdough rolls look incredible! I’m a big lover of carbs and bread in particular… but I’ve always been a bit scared of yeasted baking. I’ve never seen Red Star yeast here in Western Australia but I’m going to try this recipe anyway. It looks delicious xx
I always tell my friends that baking with yeast isn’t nearly as scary as it seems – you just have to know what your yeast needs (a warm, slightly damp place to grow) and believe in it…somehow, that takes away a lot of the questions behind it! Feel free to send me any questions you might have if you decide to give it a try!